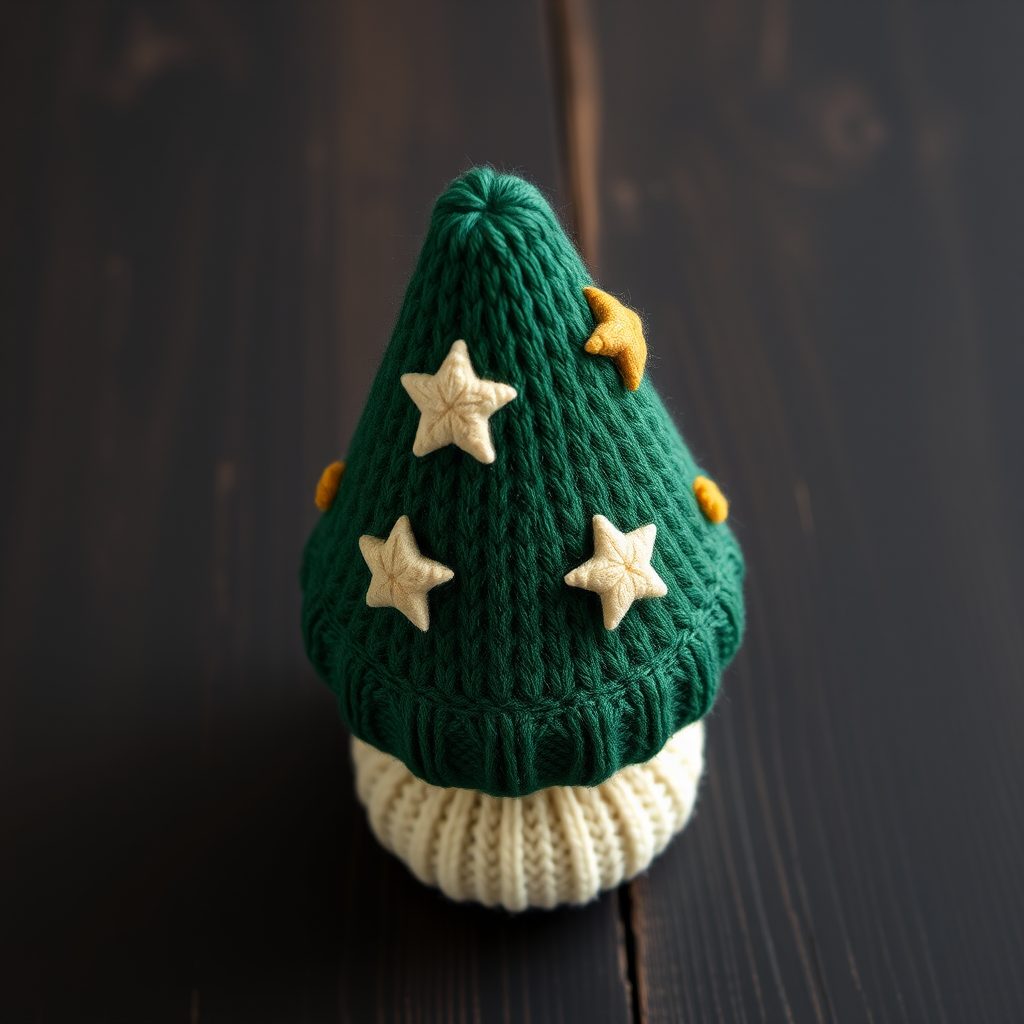
Cranberry Glow Lantern Cozy Free Pattern – A Knitted Winter Luminary Wrap

Cozy Up Your Winter Nights with the Cranberry Glow Lantern Cozy
There's something magical about the soft flicker of candlelight on a cold winter evening. Now imagine that glow filtered through a rich, textured, cranberry-red knitted wrap—and you have the Cranberry Glow Lantern Cozy. This free knitting pattern is the perfect quick weekend project for adding a touch of handmade warmth to your holiday decor. Whether you're crafting a gift for a loved one or simply treating your own home to a snug winter retreat, this cozy combines classic cable and bobble stitches into a rhythmic, dimensional fabric that's as satisfying to knit as it is beautiful to display.
Designed to fit a standard 4-inch diameter mason jar or hurricane glass, this pattern is approachable for confident beginners and a delightful, meditative knit for more experienced crafters. The deep cherry red yarn evokes traditional winter cabin aesthetics, making it a stunning centerpiece for your mantel, dining table, or windowsill. Let's dive into the pattern and create a little glow for your home.
Materials Needed
Before you begin, gather your supplies. This project uses simple, readily available materials:
- Yarn: 1 skein of Red Heart Super Saver in Cherry Red (worsted weight, 100% acrylic, 364 yds/7 oz). This durable, easy-care yarn is perfect for home decor.
- Knitting Needles: US Size 7 (4.5 mm) knitting needles. You'll also need a cable needle for the cable stitches.
- Extras: A tapestry needle for weaving in ends and seaming, plus a stitch marker (optional, but helpful for keeping track of pattern repeats).
Gauge: 20 stitches and 26 rows = 4 inches in stockinette stitch. While gauge isn't critical for a snug fit, maintaining consistent tension throughout your project will ensure your cozy fits your jar perfectly.
Step-by-Step Instructions
This cozy is knitted flat and seamed, making it easy to manage. The pattern is worked over a multiple of 8 stitches, so you can easily adjust the width to fit larger or smaller jars by adding or subtracting 8 stitches. Let's get started!
Pattern Notes & Abbreviations
- C4F (Cable 4 Front): Slip 2 stitches to cable needle and hold in front of work, knit 2 stitches from left needle, then knit 2 stitches from the cable needle.
- MB (Make Bobble): Knit into the front and back of the same stitch 3 times (you'll have 6 stitches on your right needle). Turn work, purl 6 stitches. Turn, knit 6 stitches. Turn, purl 6 stitches. Now, pass the 2nd, 3rd, 4th, 5th, and 6th stitches over the 1st stitch (one at a time) to form a neat bobble.
Getting Started: Cast On & Garter Border
Cast On: Loosely cast on 48 stitches. A loose cast-on is essential to prevent the bottom edge from being too tight.
Rows 1-4 (Garter Border): Knit all stitches across these 4 rows. This creates a neat, sturdy border for the bottom of your cozy.
Creating the Cable & Bobble Pattern
Now we'll begin the main textured pattern. Remember, on all even-numbered rows, you'll work in ribbing: knit the knit stitches and purl the purl stitches as they appear. This maintains the pattern's structure.
Row 5 (Set-up): K3, *purl 2, knit 6, purl 2, knit 2, purl 2, knit 6, purl 2, knit 2*; repeat from * to * once more, end with K3. (Total 48 stitches)
Row 6 (and all even rows): Work in ribbing as established—knit the knit stitches and purl the purl stitches.
Row 7: K3, *purl 2, C4F, C4F, purl 2, knit 2, purl 2, C4F, C4F, purl 2, knit 2*; repeat from * to * once more, end with K3. This row creates the twisted cable columns.
Row 9: K3, *purl 2, knit 6, purl 2, knit 2, purl 2, knit 6, purl 2, knit 2*; repeat from * to * once more, end with K3.
Row 11: K3, *purl 2, knit 6, purl 2, MB, purl 2, knit 6, purl 2, MB*; repeat from * to * once more, end with K3. Here, the bobbles are introduced between the cable sections.
Row 13: K3, *purl 2, knit 6, purl 2, knit 2, purl 2, knit 6, purl 2, knit 2*; repeat from * to * once more, end with K3.
Row 15: K3, *purl 2, C4F, C4F, purl 2, knit 2, purl 2, C4F, C4F, purl 2, knit 2*; repeat from * to * once more, end with K3. This completes the second cable twist.
Row 17: K3, *purl 2, knit 6, purl 2, knit 2, purl 2, knit 6, purl 2, knit 2*; repeat from * to * once more, end with K3.
Row 19: K3, *purl 2, knit 6, purl 2, MB, purl 2, knit 6, purl 2, MB*; repeat from * to * once more, end with K3. This places the second row of bobbles.
Rows 21-24: Repeat Rows 13-16 to complete the second full cable repeat.
Finishing the Top Border
Rows 25-28 (Garter Border): Knit all stitches across these 4 rows to mirror the bottom border.
Bind Off: Bind off loosely in knit. A loose bind-off ensures the top edge stretches easily over your jar.
Seaming & Final Assembly
Now it's time to bring your cozy to life!
- Weave in all ends using your tapestry needle to hide the yarn tails securely.
- Fold the cozy in half with the right side facing out, so the garter borders meet at the top and bottom.
- Sew the side seam using a tapestry needle and a length of yarn. Start from the bottom and sew up to about 1 inch from the top. This leaves a decorative opening for the jar's neck, making it easy to slip over your glass.
- Optional Decorative Closure: For an extra charming touch, sew a button near the top edge and create a small yarn loop on the opposite side. This allows you to fasten the cozy snugly around the jar's neck.
- Slip the cozy over your jar or glass, insert a tea light or small candle, and light it up. Enjoy the beautiful, warm glow!
This pattern is a wonderful way to practice cables and bobbles while creating a functional piece of winter decor. The Cranberry Glow Lantern Cozy also makes a thoughtful, handmade gift for hostesses, teachers, or anyone who loves cozy nights in. Happy knitting, and may your home be filled with warm, festive light!