Driftwood Dune Mosaic Crochet Throw Free Pattern – Sea Glass Secrets Square

Driftwood Dune Mosaic Crochet Throw: The Sea Glass Secrets Square
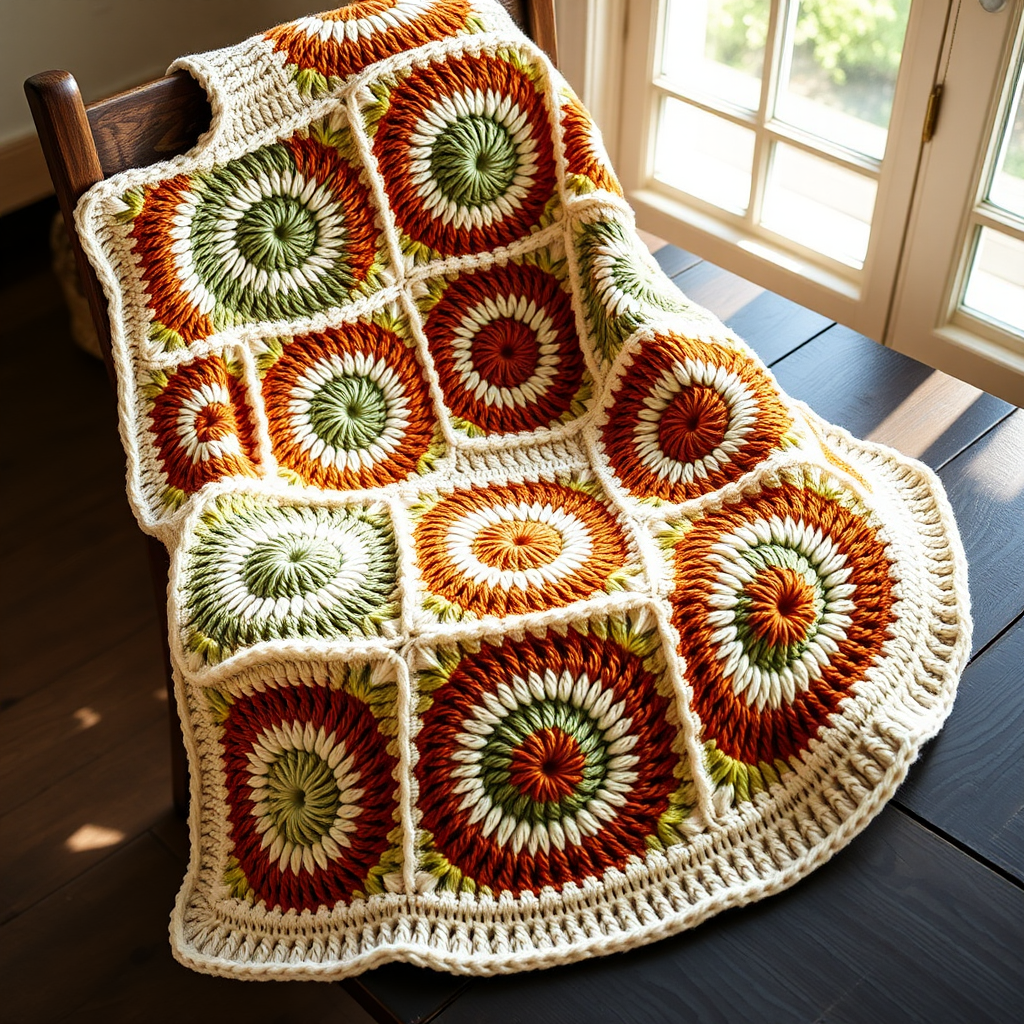
Imagine the quiet shimmer of tide-worn glass, the soft whisper of waves on sand, and the gentle warmth of a handmade throw draped over your favorite chair. That's the magic of the Driftwood Dune Mosaic Crochet Throw. This modular design builds a textured, beach-combed centerpiece for your home, one beautiful square at a time. Using a simple mosaic technique with front-loop stitches, you'll create interlocking geometric waves that mimic the flow of water over glass. Whether you're a seasoned crocheter or a confident beginner looking for a new challenge, this pattern is your ticket to a stunning, tactile piece of home decor.
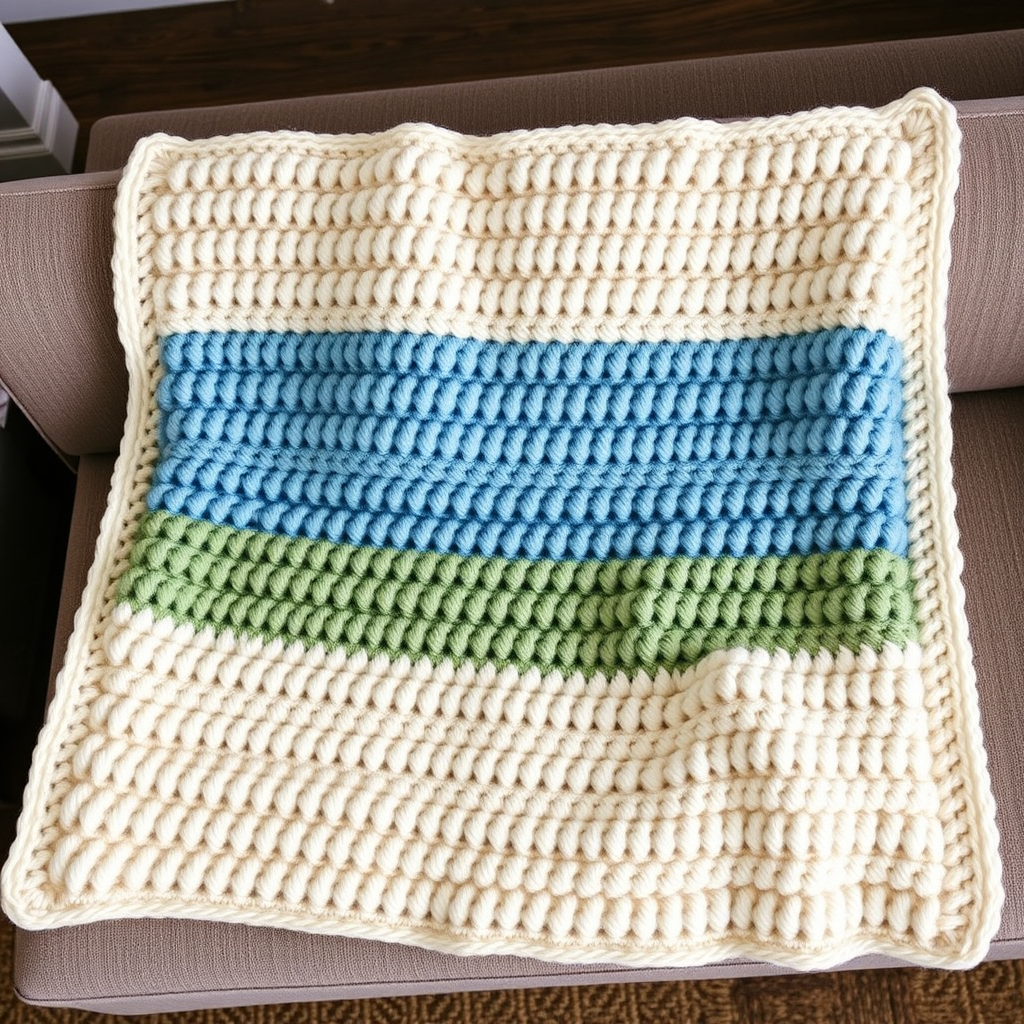
This free pattern focuses on the Sea Glass Secrets Square, the building block of the full throw. Each square is a perfect, flat, and drapey 12-inch block (based on gauge) that you can join together to create a larger afghan. The color palette—frosted aqua, warm sand, soft seafoam, and driftwood gray—captures the serene beauty of a coastal retreat. Let's dive into the pattern and start weaving your own tactile mosaic.
Materials Needed
Before you begin, gather your supplies. This project uses simple, readily available materials, making it perfect for a weekend project or a relaxing weeknight craft.
- Yarn: Worsted weight cotton blend (e.g., Lion Brand 24/7 Cotton) in 4 colors:
- A = Frosted Aqua
- B = Sand Dune
- C = Seafoam
- D = Driftwood Gray
- Hook: 5.0 mm (H-8) crochet hook
- Gauge: 16 sts x 20 rows = 4 inches in single crochet. Always check your gauge to ensure your square comes out the correct size.
- Other: Yarn needle for weaving in ends, scissors.
Step-by-Step Instructions: The Sea Glass Secrets Square
This square is worked flat in mosaic crochet, using single crochet (sc) and front-loop only (FLO) stitches to create the geometric waves. Each row is worked with one color, carrying the other yarn loosely along the side. Don't worry—it's easier than it sounds! We'll break it down row by row.
Getting Started: The Foundation
With Color A (Frosted Aqua), chain 61. This is a multiple of 10 + 1, which sets up the repeating pattern perfectly.
- Row 1 (Right Side): Sc in the 2nd ch from the hook and in each ch across. Turn. (You will have 60 sc total.)
- Row 2 (Wrong Side): Ch 1, sc in each st across. Turn. (60 sc)
The Mosaic Pattern: Rows 3–10
Now we begin the mosaic sequence. The pattern repeats every 8 rows, cycling through colors B, C, D, and A. Pay close attention to the FLO (front-loop only) instructions—this is what creates the raised, textured ridges.
Row 3 (RS, Color B - Sand Dune): Ch 1, sc in first st. *Sc in next 4 sts, FLO sc in next 2 sts (skipping the back loop), sc in next 4 sts.* Repeat from * to * across, ending with sc in the last st. Turn.
Tip: When you work FLO, you only insert your hook under the front loop of the "V" at the top of the stitch. This leaves the back loop unworked, creating a horizontal bar that will be picked up in later rows.
Row 4 (WS, Color B): Ch 1, sc in each st across. Turn. (This is a plain row to stabilize the pattern.)
Row 5 (RS, Color C - Seafoam): Ch 1, sc in first st. *FLO sc in next 2 sts, sc in next 6 sts.* Repeat from * to * across, ending with sc in the last st. Turn.
Row 6 (WS, Color C): Ch 1, sc in each st across. Turn.
Row 7 (RS, Color D - Driftwood Gray): Ch 1, sc in first st. *Sc in next 2 sts, FLO sc in next 2 sts, sc in next 4 sts, FLO sc in next 2 sts.* Repeat from * to * across, ending with sc in the last st. Turn.
Row 8 (WS, Color D): Ch 1, sc in each st across. Turn.
Row 9 (RS, Color A - Frosted Aqua): Ch 1, sc in first st. *FLO sc in next 4 sts, sc in next 6 sts.* Repeat from * to * across, ending with sc in the last st. Turn.
Row 10 (WS, Color A): Ch 1, sc in each st across. Turn.
Repeating the Sequence
You've now completed one full pattern repeat! To continue building your square, simply repeat Rows 3–10 for a total of 40 rows. Always alternate the colors in the sequence B, C, D, A. This means your next Row 3 will be in Color B again, and so on.
Pro Tip: As you work, carry the unused yarn loosely along the side edge. This keeps your edges neat and makes color changes a breeze. Just pick up the new color when you start a new row.
After you've completed 40 rows (which is 5 full pattern repeats), finish with a final row of sc in Color A. Fasten off and weave in all your ends securely.
Adding the Finishing Touch: The Border
The border gives your square a clean, polished look and prepares it for joining (if making a larger throw).
- Round 1: With Color A, sc evenly around all four edges of the square. Work 3 sc in each corner to ensure the border lies flat and turns the corners neatly.
- Round 2: On this next round, work a crab stitch (also known as reverse single crochet) around the entire edge. To do this, work sc stitches from left to right (instead of right to left). This creates a beautiful, twisted rope-like edging.
- Fasten off and weave in your ends.
And there you have it—your very own Sea Glass Secrets Square! The combination of the smooth cotton yarn and the raised FLO stitches creates a wonderfully tactile surface that mimics the organic lines of a tide pool. Make multiple squares and join them together to create a stunning, full-sized throw that will bring the serene beauty of the coast into your living space. Happy crocheting!