Liguria Waves Scarf Free Pattern
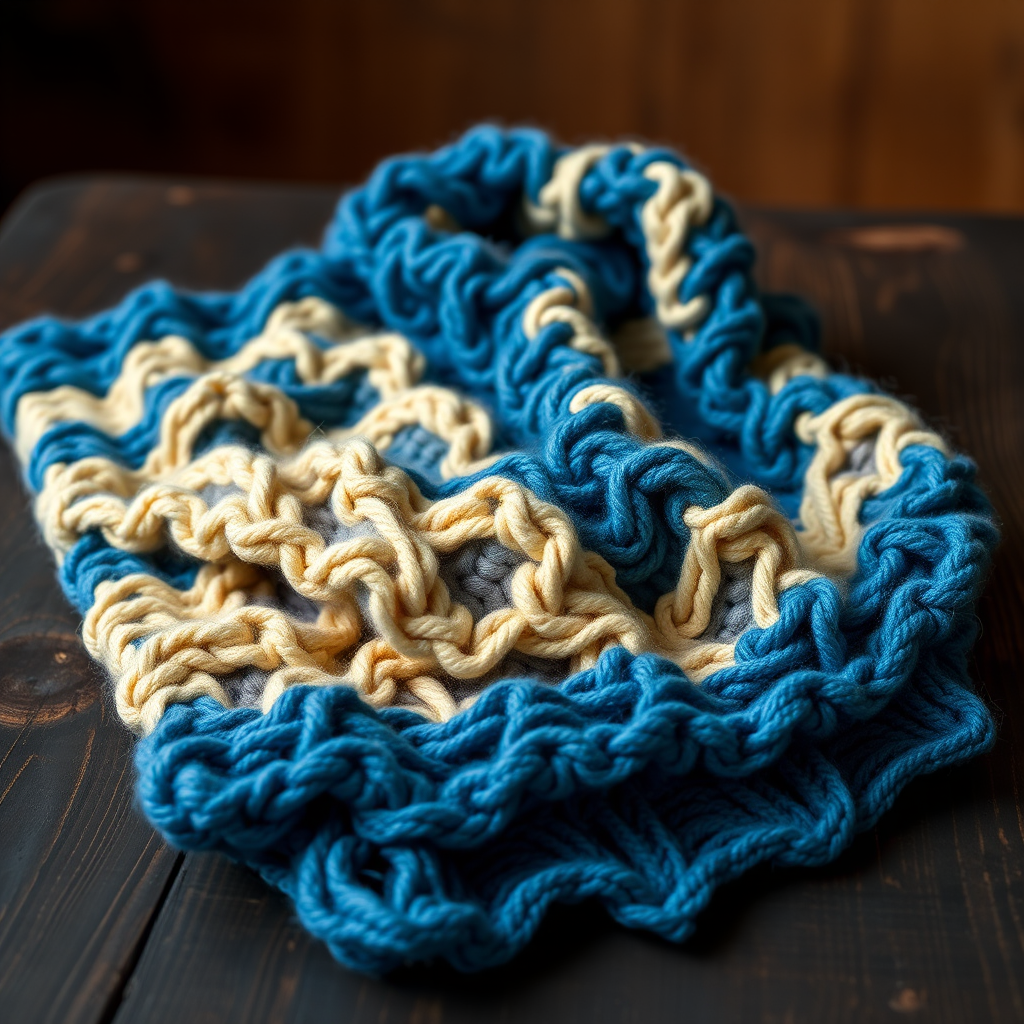
Liguria Waves Scarf Free Pattern
Introduction
Embrace the elegance of the Ligurian coast with this beautifully textured Liguria Waves Scarf. Featuring intricate wave-like patterns, this scarf captures the serene beauty of ocean waves in a cozy, wearable form. Perfect for beginners, this pattern will guide you step-by-step to create a stunning accessory that will keep you warm and stylish.
Materials Needed
- Yarn: Worsted weight yarn in ocean blue and sandy beige
- Needles: US 8 (5mm) knitting needles
- Gauge: 18 stitches and 24 rows = 4 inches in stockinette stitch
Step-by-Step Instructions
1. Casting On
Begin by casting on 48 stitches using the long-tail cast-on method. Ensure that your stitches are not too tight, as this will affect the elasticity of your ribbing.
2. Ribbed Border
To create a ribbed border, follow these rows:
- Row 1 (Right Side - RS): *K2, P2; repeat from * to end of row.
- Row 2 (Wrong Side - WS): *P2, K2; repeat from * to end of row.
Repeat Rows 1 and 2 for 4 inches to create a ribbed border. This will give your scarf a neat and finished edge.
3. Begin Wave Pattern
Now, you will start the wave pattern. Follow these instructions carefully:
- Row 1 (RS): K3, *yo, k2tog, k3; repeat from * to last 3 stitches, k3.
- Row 2 (WS): Purl all stitches.
- Row 3 (RS): K2, *yo, k2tog, k3; repeat from * to last 2 stitches, k2.
- Row 4 (WS): Purl all stitches.
Repeat Rows 1-4 until the scarf measures 60 inches or your desired length. The wave pattern will create a beautiful texture that resembles the gentle undulations of ocean waves.
4. Ending with Ribbing
Once you have reached your desired length, you will finish with another 4 inches of ribbing:
- Row 1 (RS): *K2, P2; repeat from * to end of row.
- Row 2 (WS): *P2, K2; repeat from * to end of row.
Bind off all stitches loosely in pattern to maintain the elasticity of the ribbing.
5. Finishing Touches
Weave in all ends using a yarn needle to ensure a clean finish. Finally, block the scarf to measurements to enhance the wave pattern and give it a polished look.
Conclusion
Your Liguria Waves Scarf is now complete! Wrap it around your neck on a breezy day or gift it to a loved one. Enjoy the cozy warmth and the beauty of your handmade creation!


