Lilac Breeze Poncho Free Pattern – Knit an Airy Boho Layer

Lilac Breeze Poncho Free Pattern – Knit an Airy Boho Layer
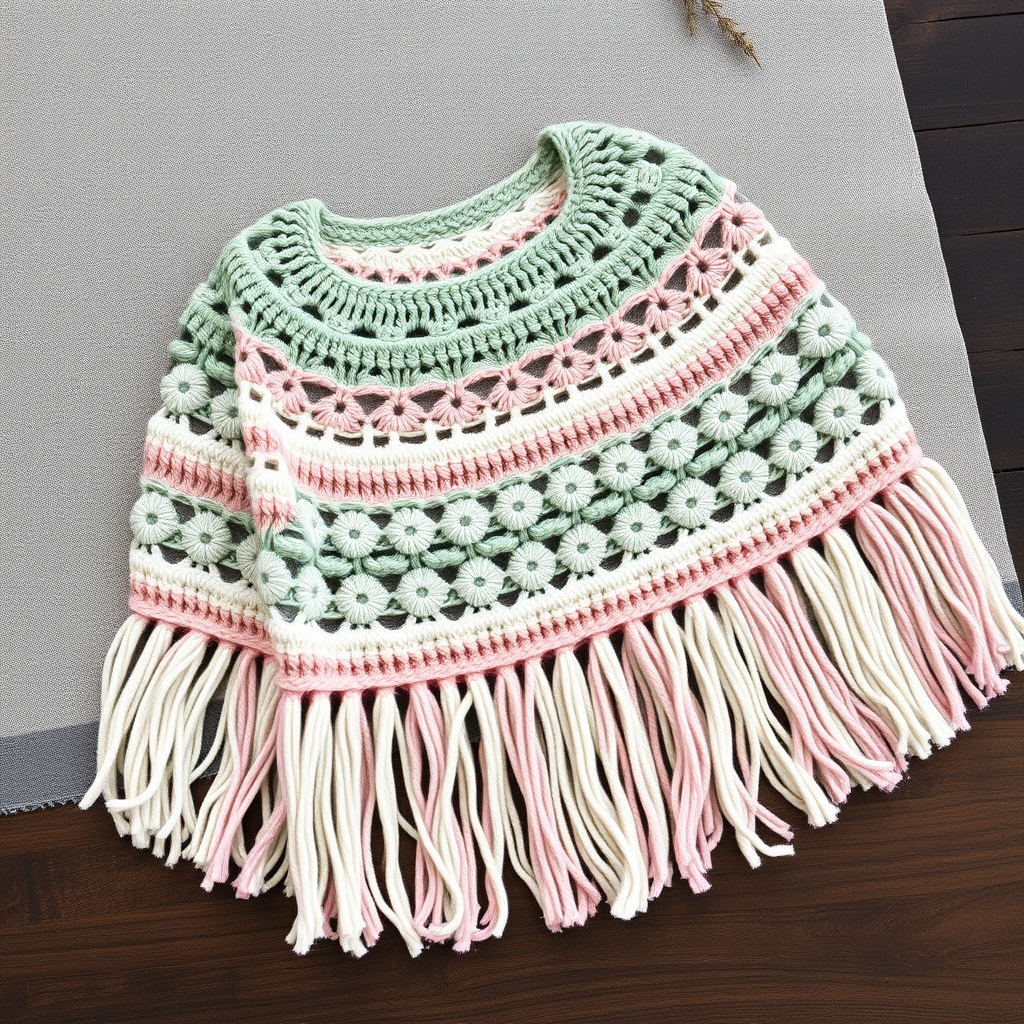
Wrap yourself in the softest cloud of lilac with this open, airy poncho that drapes like a gentle breeze. The delicate lace stitch and flowing fringe make it a dreamy layering piece for cool evenings. Whether you're new to lace knitting or a seasoned maker looking for a quick, satisfying project, this free pattern is designed to guide you through every step with clarity and confidence. The result is a beautiful, bohemian garment that feels as light as it looks—perfect for spring and summer nights.
Materials Needed
Before you begin, gather the following supplies. All items are readily available at your local yarn shop or online.
- Yarn: Worsted weight cotton-blend yarn in lilac (approx. 900 yards), plus a small amount of contrasting cream yarn for fringe.
- Needle: US Size 8 (5 mm) circular knitting needle, 24-inch cable (or straight needles if preferred).
- Notions: Stitch markers (optional), tapestry needle for weaving in ends, crochet hook (for fringe), scissors.
- Gauge: 18 stitches and 24 rows = 4 inches in stockinette stitch. Always check your gauge to ensure the correct drape and size.
Step-by-Step Instructions
This poncho is knit flat in two identical rectangles, then seamed at the shoulders to create a draped, open-sided silhouette. The lace pattern is simple to memorize and creates a beautiful, airy fabric. Follow along carefully, and you'll have a stunning finished piece in no time.
Lace Pattern (multiple of 6 + 1 stitches)
This is the heart of the poncho. Work the following four rows repeatedly until your rectangle reaches the desired length.
- Row 1 (RS): *K1, yo, k2tog, k1, ssk, yo; repeat from * to last st, k1.
- Row 2 (WS): Purl all stitches.
- Row 3 (RS): *K2, yo, k2tog, yo, ssk, k1; repeat from * to last st, k1.
- Row 4 (WS): Purl all stitches.
- Repeat Rows 1-4 for pattern.
Rectangle 1 (make 2)
Both rectangles are identical. Take your time and keep your tension even for a professional finish.
- Cast on: Loosely cast on 85 stitches. A long-tail cast-on works beautifully here.
- Garter edge: Knit 4 rows in garter stitch (knit every row) for a neat, stable edge that won't curl.
- Begin lace pattern: Start the lace pattern as written above. Work even until the piece measures 22 inches from the cast-on edge, ending with a wrong-side row (Row 2 or 4 of the pattern).
- Bottom edge: Knit 4 rows in garter stitch to mirror the top edge.
- Bind off: Bind off loosely—use a larger needle or a stretchy bind-off method to keep the edge flexible.
- Repeat: Make a second identical rectangle.
Finishing and Seaming
This is where the magic happens. The simple folding and seaming technique creates the poncho's signature draped shape.
- Lay out the rectangles: Place both rectangles flat with the right sides facing up. Position them side by side so the long edges are horizontal. The short edges will be the top and bottom.
- Fold each rectangle: Fold each rectangle in half lengthwise, bringing the top and bottom short edges together. This creates a point at the center of each rectangle. You'll now have two folded pieces, each with a point at one end.
- Position the pieces: Place the two folded rectangles together so the folded points are at the center front and center back. The side edges will hang open naturally—this is the intended design.
- Seam the shoulders: Using a tapestry needle and the same yarn, seam the top edges of the folded rectangles together for about 4 inches from the fold on each side. This creates the shoulder seams and leaves a neck opening in the center. Tip: Try the poncho on at this stage and adjust the seam length if you prefer a wider or narrower neckline.
- Weave in ends: Secure all yarn tails with a tapestry needle, weaving them invisibly into the seams or edges.
Adding the Fringe
The fringe gives this poncho its boho charm. It's easy to add and instantly elevates the finished look.
- Cut the strands: Cut strands of cream yarn about 12 inches long. You'll need enough to space them about 1 inch apart along the bottom and side edges.
- Attach the fringe: Take 3 strands together, fold them in half to form a loop. Insert a crochet hook through the edge of the poncho, pull the loop through, then pull the ends through the loop and tighten gently. Repeat this process along the bottom edge and the side edges, spacing each fringe about 1 inch apart.
- Trim for evenness: Once all fringe is attached, lay the poncho flat and trim the fringe ends evenly for a polished look.
Final Thoughts
Your Lilac Breeze Poncho is now complete! The airy lace stitch, soft cotton-blend yarn, and flowing cream fringe combine to create a truly ethereal layering piece. Whether you're heading out for a cool evening walk or simply want to add a touch of handmade boho elegance to your wardrobe, this poncho is sure to become a favorite. Enjoy wearing your creation, and don't forget to share your finished project with fellow knitters—this pattern is perfect for gifts, too!