Meadow Mosaic Scrap Blanket Free Pattern

Meet Your New Favorite Blanket: The Meadow Mosaic Scrap Blanket
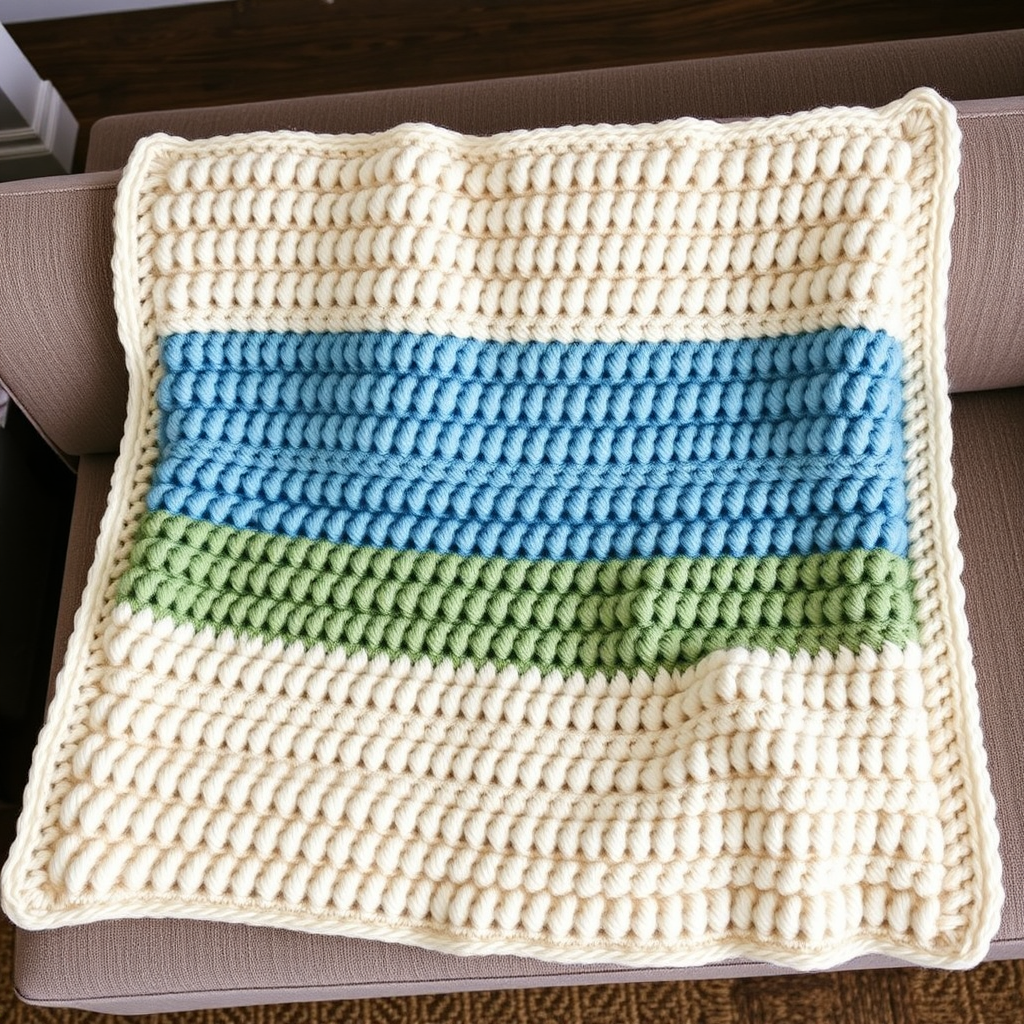
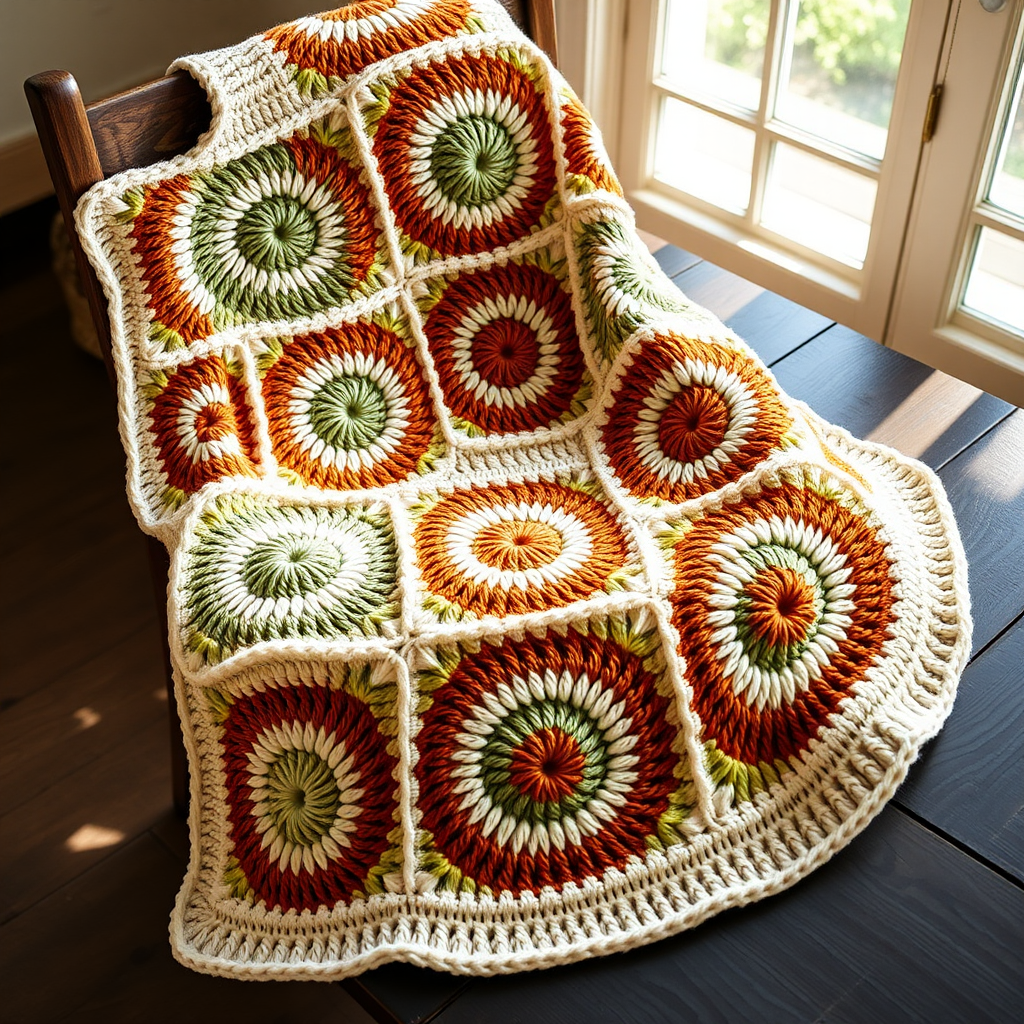
If you have ever looked at a basket of leftover yarn and wished it could become something beautiful, this blanket is for you. The Meadow Mosaic Scrap Blanket is perfect for complete beginners, for anyone who has never held a crochet hook before, and for anyone who simply wants a cozy, no-stress project that uses up odds and ends. What makes it special is its clever strip method: instead of crocheting one giant blanket all at once, you make eight long, narrow strips and join them side by side, so you never have to wrestle a heavy blanket on your lap. The finished throw is about 48 by 60 inches, soft and squishy, with a dense, textured double crochet fabric and a neat two-round border that frames it like a picture. The color blocks stack up into a warm, harmonious mosaic of mustard, sage, terracotta, cream, denim, and charcoal, and the seams add a subtle handmade ridge that makes it look wonderfully store-bought-but-better.
Materials Needed
- Yarn: Worsted weight yarn (also called Category 4 or medium weight), approximately 1,800 to 2,200 yards total. Acrylic or a wool blend works beautifully. Use any combination of colors, but for a cohesive look, group your scraps into warm colors (mustard, terracotta, rust), cool colors (sage, denim, teal), and neutrals (cream, gray, charcoal).
- Crochet hook: Size H/8, which is 5.0 mm. The "H/8" is the US size and "5.0 mm" is the metric size; they are the same hook.
- Stitch markers: At least 10. These are small clips or loops of plastic that you slip onto a stitch so you can find it again. They are your best friends.
- Tapestry needle: A large, blunt-tipped sewing needle with an eye big enough for yarn. You will use it to weave in yarn ends.
- Scissors: Any sharp pair for cutting yarn.
- Measuring tape or ruler: For checking your gauge and your strip length.
- Finished size: Approximately 48 inches wide by 60 inches long (122 cm by 152 cm). Each of the 8 strips is about 6 inches wide and 60 inches long.
Abbreviations and Beginner Glossary
Every abbreviation used in this pattern is listed below in plain English. Read through this list once before you begin, and come back to it any time a term feels confusing.
- ch – chain. Make a loop with the yarn on your hook, then pull the yarn through that loop. Each pull-through makes one chain stitch. Chains look like a tiny braid or a row of little "V" shapes.
- dc – double crochet. Yarn over (wrap the yarn around your hook once), insert the hook into the stitch, yarn over again, pull up a loop (you now have 3 loops on your hook), yarn over, pull through the first 2 loops (2 loops remain), yarn over, pull through the last 2 loops (1 loop remains). That is one double crochet.
- sc – single crochet. Insert the hook into the stitch, yarn over, pull up a loop (2 loops on hook), yarn over, pull through both loops (1 loop remains). That is one single crochet.
- sl st – slip stitch. Insert the hook into the stitch, yarn over, and pull that loop straight through the loop already on your hook in one motion. It makes a nearly invisible joining stitch.
- st(s) – stitch or stitches. One completed loop or "V" in your fabric.
- sp – space. A gap in the fabric, usually created by a chain.
- yarn over – wrap the working yarn (the yarn coming from the ball) around your hook from back to front.
- turn – flip your work over so you can crochet back along the row you just made.
- fasten off – cut the yarn a few inches from your work, then pull the tail all the way through the last loop on your hook to lock it. This is how you end a section.
- right side – the "pretty" front of the fabric that will show on the finished blanket.
- row-end – the little edge stitch at the end of each row. When joining strips, you work into these edges.
- 3rd ch from hook – count three chain stitches back from your hook and work into that third one.
Gauge
Gauge: 14 stitches and 8 rows = 4 inches (10 cm) in double crochet after blocking.
Gauge simply means how big your stitches turn out. It matters because if your stitches are much bigger or smaller than the pattern expects, your blanket will come out a different size than planned. For this blanket gauge is not critical, since a slightly bigger or smaller throw still works beautifully, but a consistent gauge keeps all eight strips the same width so they line up neatly.
How to make a gauge swatch: With your hook and yarn, chain 20. Work double crochet in the 3rd chain from the hook and in each chain across (18 double crochet). Work 8 more rows of double crochet, turning at the end of each row. Lay the swatch flat, measure 4 inches across the middle, and count how many stitches fit in those 4 inches. Then measure 4 inches up and count the rows. If you get about 14 stitches and 8 rows, you are right on target. If you get many more stitches, your tension is tight; try a larger hook. If you get many fewer, try a smaller hook.
Beginner Tips Before You Start
- Use stitch markers to count your rows. Place a marker in the first stitch of every 10th row. Counting 120 rows is much easier when you only ever have to count to 10.
- Do not pull your yarn too tight. Hold the yarn with a relaxed hand. Tight tension makes stiff fabric and sore hands. Your stitches should slide easily off the hook.
- Always count your stitches at the end of each row. You should have 20 double crochet in every row of a strip. If you have 19 or 21, fix it right away rather than discovering it 50 rows later.
- Change colors at the end of a row, not the middle. Finish the last double crochet until only 2 loops remain on your hook, drop the old color, yarn over with the new color, and pull through. This keeps the color change tidy.
- Keep your strips the same length. Measure each strip against the first one you finish rather than trusting the row count alone, since yarn weight can vary slightly between scraps.
- Relax and enjoy the scrappy look. Slight differences in yarn texture and color are the whole point of a mosaic blanket. Nothing here needs to be perfect.
Step-by-Step Instructions
Construction overview: You will make 8 identical strips, each 6 inches wide and 60 inches long, worked in double crochet with random color blocks. Then you will join the strips side by side with single crochet, and finally add a two-round single crochet border around the whole blanket.
Part 1: The Strips (make 8)
Foundation: With your first scrap color, ch 22.
Row 1: Dc in the 3rd ch from hook and in each ch across. Turn. (20 dc)
Row 2: Ch 2 (this does not count as a stitch here or throughout), dc in each st across. Turn. (20 dc)
Rows 3–120: Repeat Row 2 exactly: ch 2, dc in each st across, turn. Change colors whenever you like at the end of a row. To change color, work the last dc of the row until 2 loops remain on your hook, drop the old color, yarn over with the new color, and pull through to finish the stitch. Carry the old color loosely up the side edge, or fasten off and weave the end in later. Continue until the strip measures 60 inches. Fasten off. (20 dc in every row)
Repeat the entire strip (Foundation through Row 120) seven more times, for a total of 8 strips. Use a different arrangement of colors on each strip so the finished blanket looks like a mosaic.
Part 2: Join-As-You-Go Assembly
Lay all 8 strips side by side on a flat surface in the color order you like best. Decide which strip is Strip 1 (the leftmost) through Strip 8 (the rightmost).
Joining Row 1 (Strip 1 to Strip 2): Hold Strip 1 and Strip 2 with right sides facing each other. Join your joining color (a consistent neutral works well) with a sl st through the corner stitch of both strips at one end. Ch 1, then sc through both layers across the long edge, working 1 sc into each double crochet row-end. Fasten off. (120 sc)
Joining Row 2 (Strip 3 to Strip 2): Hold Strip 3 and Strip 2 with right sides facing. Join with a sl st at the corner, ch 1, and sc through both layers across the long edge, 1 sc in each row-end. Fasten off. (120 sc)
Joining Rows 3–7: Repeat the same joining row to attach Strip 4 to Strip 3, Strip 5 to Strip 4, Strip 6 to Strip 5, Strip 7 to Strip 6, and Strip 8 to Strip 7. Each joining row is worked exactly the same way: right sides facing, sl st to join at the corner, ch 1, 1 sc in each row-end across, fasten off. (120 sc per joining row)
When all 8 strips are joined, you will have a flat blanket with a subtle single crochet ridge along each seam on the wrong side.
Part 3: The Border
Border Round 1: With the right side facing you, join your border color (cream is lovely) in any corner with a sl st. Ch 1, then sc evenly around the entire blanket: work 1 sc in each stitch along the top and bottom edges, and 1 sc in each row-end along the side edges, working 3 sc in each corner so the corners lie flat. Join with a sl st to the first sc. (Approximately 340 sc, including 12 corner stitches)
Border Round 2: Ch 1, sc in each sc around, working 3 sc in each corner. Join with a sl st to the first sc. Fasten off. (Approximately 352 sc)
Assembly and Finishing
Seaming: Your seams are already done, because the strips were joined as you went. If any seam looks uneven, simply run your finger along it and gently tug the fabric into shape.
Weaving in ends: Thread each yarn tail onto your tapestry needle. Turn the blanket to the wrong side and weave the tail in and out through the backs of about 2 inches of stitches, changing direction once so it cannot work loose. Trim the tail close to the fabric. Do this for every color change and every fasten-off.
Blocking: Lay the blanket flat on a clean towel or blocking mat. Mist it lightly with water from a spray bottle until it is damp but not soaking. Smooth it flat with your hands and gently pat the edges straight, but do not over-stretch it. Let it dry completely, which usually takes several hours or overnight. Blocking relaxes the stitches and makes the color blocks look even and crisp.
Pro Tips and Variations
- Change the size: For a baby blanket, make 5 strips and stop each strip at 36 inches. For a larger throw, make 10 strips and work each strip to 72 inches. The strip method makes resizing simple.
- Plan your palette: Sort your scraps into warm, cool, and neutral piles before you start, then assign each strip a mood. This keeps the mosaic cohesive instead of chaotic.
- Substitute yarn: Any worsted weight (Category 4) yarn works. If you use a thinner yarn, go down a hook size or two; if you use a thicker yarn, go up. Always check your gauge swatch first.
- Try a striped border: Work Border Round 1 in one scrap color and Border Round 2 in another for a playful frame that ties your palette together.