Montana Mist Poncho Free Pattern – Knit a Cozy High-Altitude Wrap

Wrap Yourself in Mountain Comfort: The Montana Mist Poncho
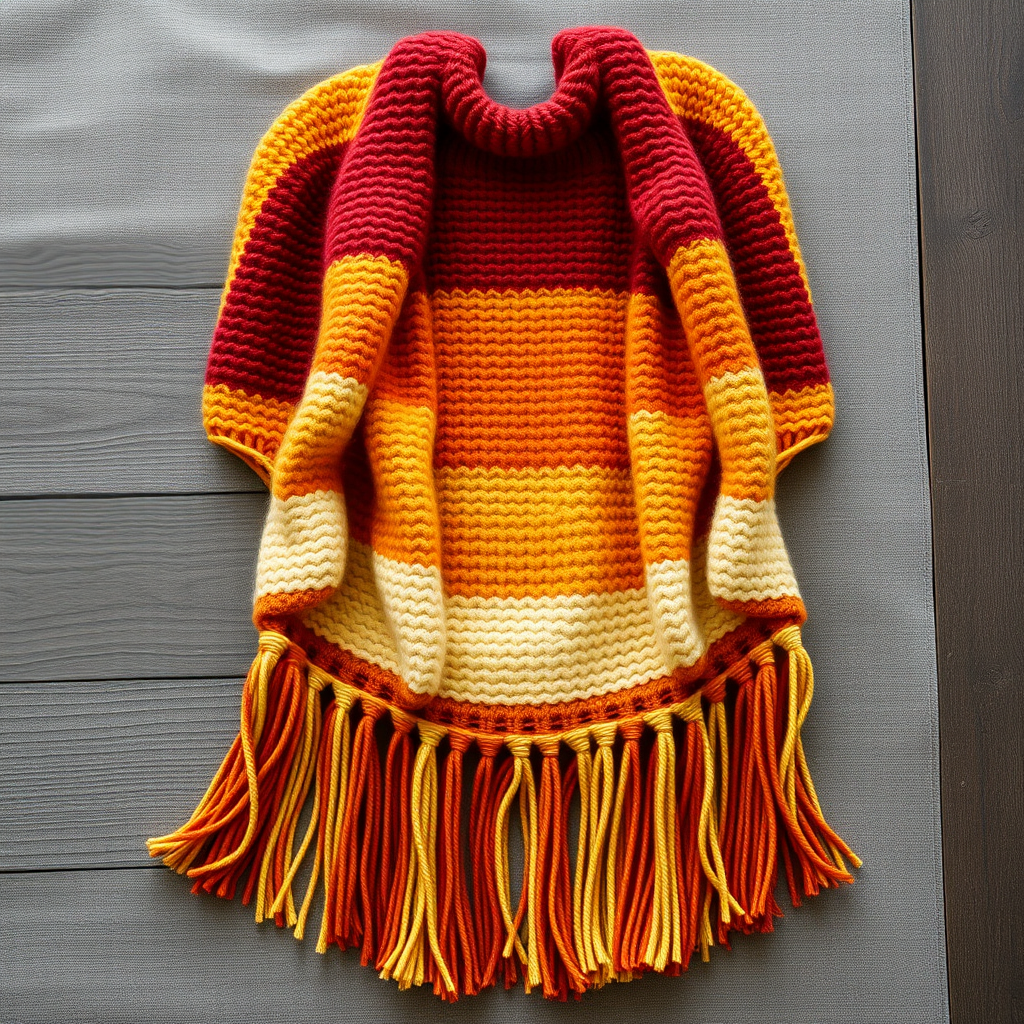
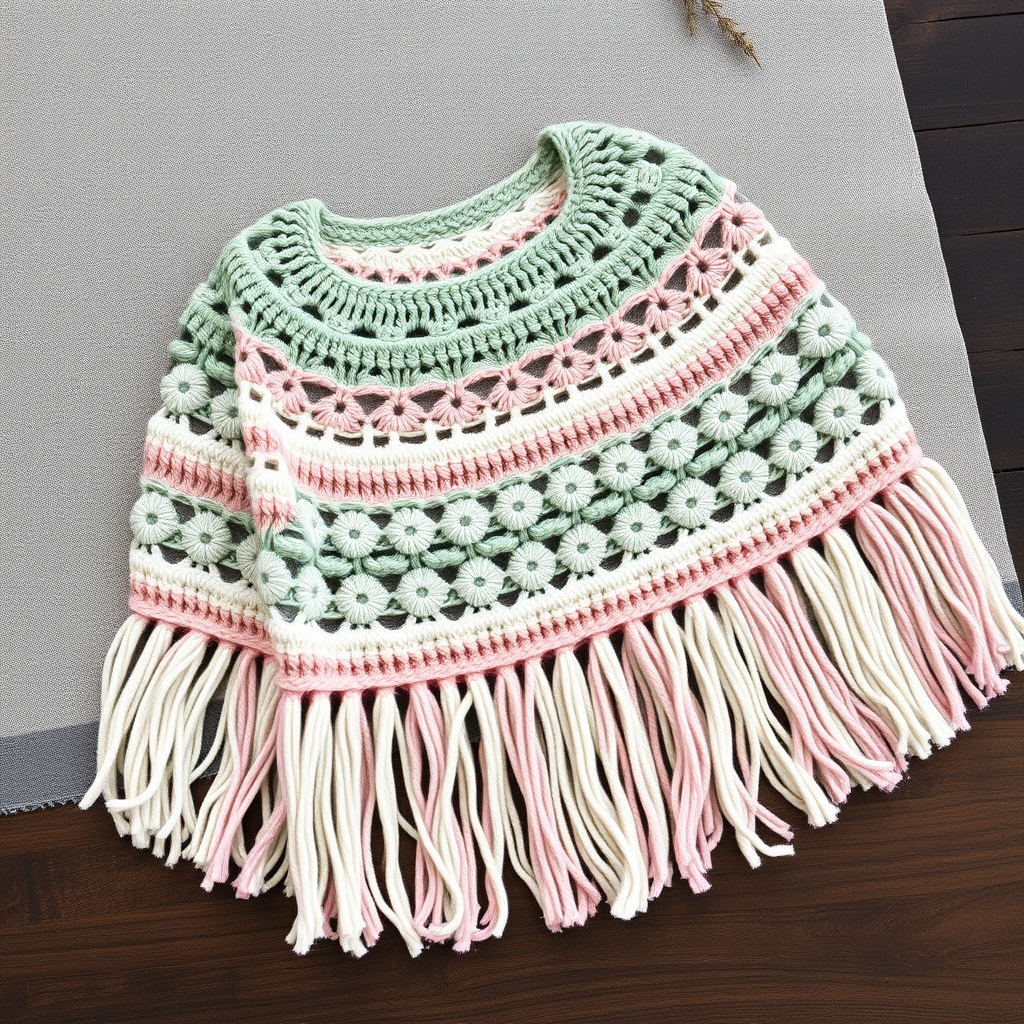
Imagine the crisp, clean air of the Montana high country, the feeling of a warm, handcrafted garment shielding you from the chill. That's the magic of the Montana Mist Poncho. This isn't just another knitting project; it's an experience. Designed to be knit in the round from the top down, this oversized wrap features a stunning interplay of chunky cables and soft, heathered yarn, creating a textured masterpiece that feels like a warm mountain hug. Whether you're a seasoned knitter looking for a satisfying project or a confident beginner ready for a challenge, this free pattern will guide you to create a statement piece that's both ruggedly elegant and deeply cozy.
This pattern is perfect for those cozy evenings by the fire or crisp autumn walks. The combination of a high, ribbed turtleneck and a flowing, A-line body makes it both stylish and functional. Let's dive into the materials and steps you'll need to create your own piece of mountain-inspired luxury.
Gathering Your Materials: What You'll Need
Before you cast on, let's ensure you have everything ready. The beauty of this pattern is in its simplicity of materials, allowing the texture of the yarn and cables to shine.
- Yarn: Worsted weight wool or wool blend (approx. 900-1100 yards). The sample shown uses a heathered charcoal and forest green, but any worsted weight yarn will work beautifully.
- Needles: US 9 (5.5 mm) 24-inch circular needle for the body, and US 9 (5.5 mm) double-pointed needles (or a longer circular for magic loop) for the neck ribbing.
- Notions: Stitch markers (at least 4), a cable needle, a tapestry needle for weaving in ends, and a tape measure.
- Gauge: 18 stitches and 24 rows = 4 inches in stockinette stitch (blocked). Getting the correct gauge is crucial for achieving the right size and drape.
Step-by-Step Instructions: Knitting Your Montana Mist Poncho
This pattern is knit from the top down, starting with the neck and working your way to the hem. Follow these detailed instructions carefully, and you'll be amazed at what you create.
Sizes and Abbreviations
Sizes: One size fits most (approx. 30-inch length from neck to hem, 50-inch width across shoulders).
Abbreviations:
- CO: Cast on
- K: Knit
- P: Purl
- K2tog: Knit two together
- P2tog: Purl two together
- C4F: Cable 4 front (slip 2 stitches to cable needle, hold in front, knit 2, knit 2 from cable needle)
- C4B: Cable 4 back (slip 2 stitches to cable needle, hold in back, knit 2, knit 2 from cable needle)
- PM: Place marker
- SM: Slip marker
- St(s): Stitch(es)
- M1L: Make one left (increase)
- M1R: Make one right (increase)
Part 1: The Neck Ribbing
We'll start with the cozy turtleneck that sets the tone for the entire poncho.
- Cast On: CO 80 sts. Join in the round, being very careful not to twist your stitches. Place a marker for the beginning of the round.
- Rounds 1-8: Work in a *K2, P2* ribbing pattern for 8 rounds. This creates a stretchy, snug neckline.
Part 2: Yoke Increases
Now we'll shape the shoulders by increasing stitches evenly. This creates the roomy, draped fit of the poncho.
- Round 9 (Setup): Place 4 markers to divide your work into 4 equal sections. PM after 20, 40, 60, and 80 sts. You will now have 4 sections of 20 sts each.
- Round 10 (Increase Round): *K1, M1L, knit to 1 st before marker, M1R, K1, SM*; repeat from * to * around. You will have increased 8 stitches in this round.
- Rounds 11-12: Knit all stitches (no increases).
- Repeat: Repeat Rounds 10-12 until you have 160 sts on your needles. This will take a total of 10 increase rounds. The increases will create a gentle, flared shape.
Part 3: The Cable Body Pattern
This is where the magic happens! We'll introduce the beautiful cable pattern that gives the Montana Mist its distinctive texture. The body is worked in a repeating 20-stitch pattern.
- Round 1: *P2, C4F, P2, K4, P2, C4B, P2*; repeat from * to * around. (This is your 20-stitch repeat).
- Round 2: *P2, K4, P2, K4, P2, K4, P2*; repeat from * to * around. (Knit the knit stitches and purl the purl stitches as they appear).
- Round 3: Repeat Round 2.
- Round 4: *P2, C4B, P2, K4, P2, C4F, P2*; repeat from * to * around. (Notice the cables are crossing in the opposite direction).
- Round 5: Repeat Round 2.
- Round 6: Repeat Round 2.
- Repeat: Continue repeating Rounds 1-6 for the pattern. Work even (with no increases) until the piece measures 12 inches from the neck edge.
Part 4: Hem Increases
To give the poncho its final, graceful A-line flare, we'll add a few more increases before the hem.
- Round 1 (Increase): *K1, M1L, knit to 1 st before marker, M1R, K1, SM*; repeat from * to * around. (8 increases).
- Rounds 2-6: Work 5 rounds even in your established cable pattern.
- Repeat: Repeat these 6 rounds until you have 200 sts on your needles. This will take a total of 5 increase rounds.
Part 5: Hem Ribbing and Finishing
The final stretch! We'll finish with a ribbed hem that matches the neckline and provides a polished edge.
- Rounds 1-8: *K2, P2*; repeat from * to * around for 8 rounds.
- Bind Off: Bind off loosely in pattern (knit the knits and purl the purls). A loose bind-off is essential to keep the hem stretchy and flared.
- Finishing: Weave in all loose ends with your tapestry needle. Block the poncho gently to open up the cables and even out the stitches. Lay flat to dry for the best results.
And there you have it—your very own Montana Mist Poncho. A beautiful, textured garment that's as enjoyable to make as it is to wear. The combination of the chunky yarn and intricate cables creates a piece that looks far more complex than it is. Once you've finished, you'll have a cozy, stylish wrap that's perfect for any cold-weather adventure, whether you're in the mountains or just dreaming of them.