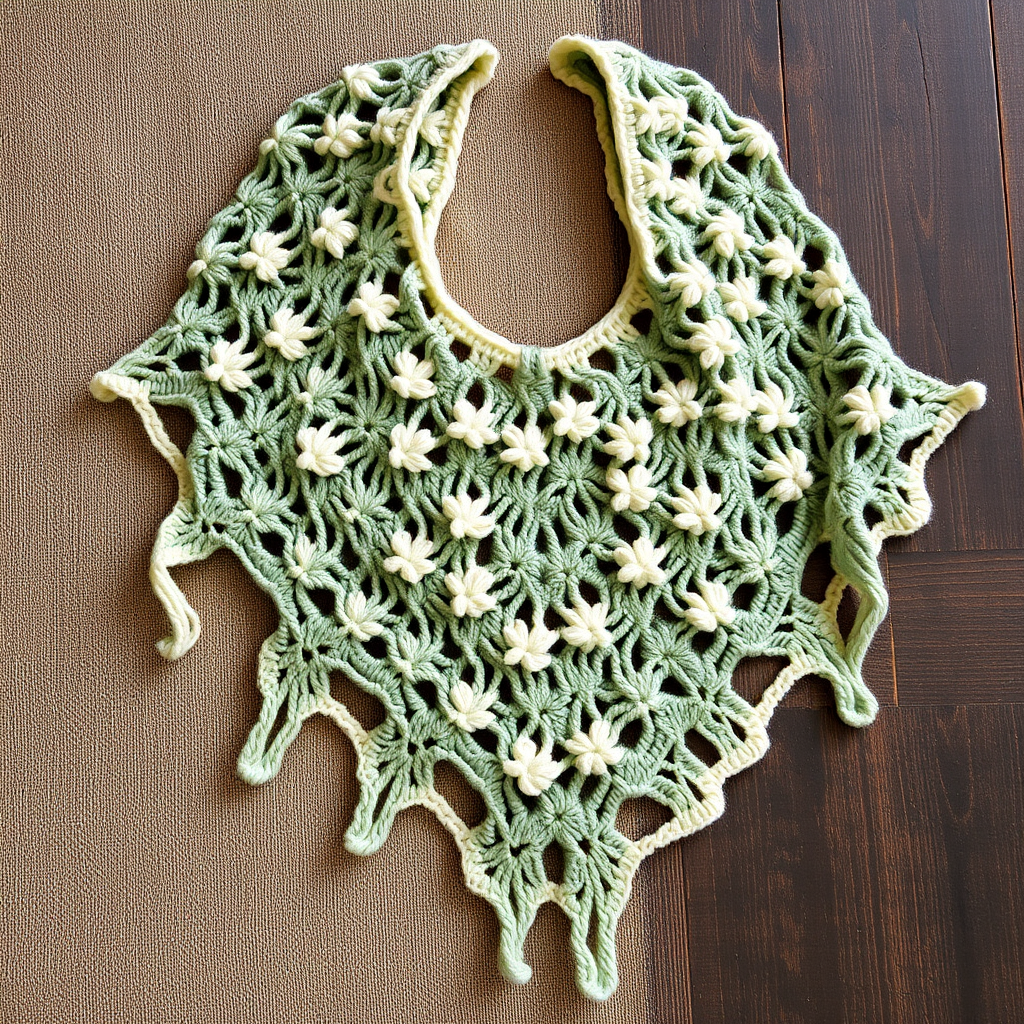
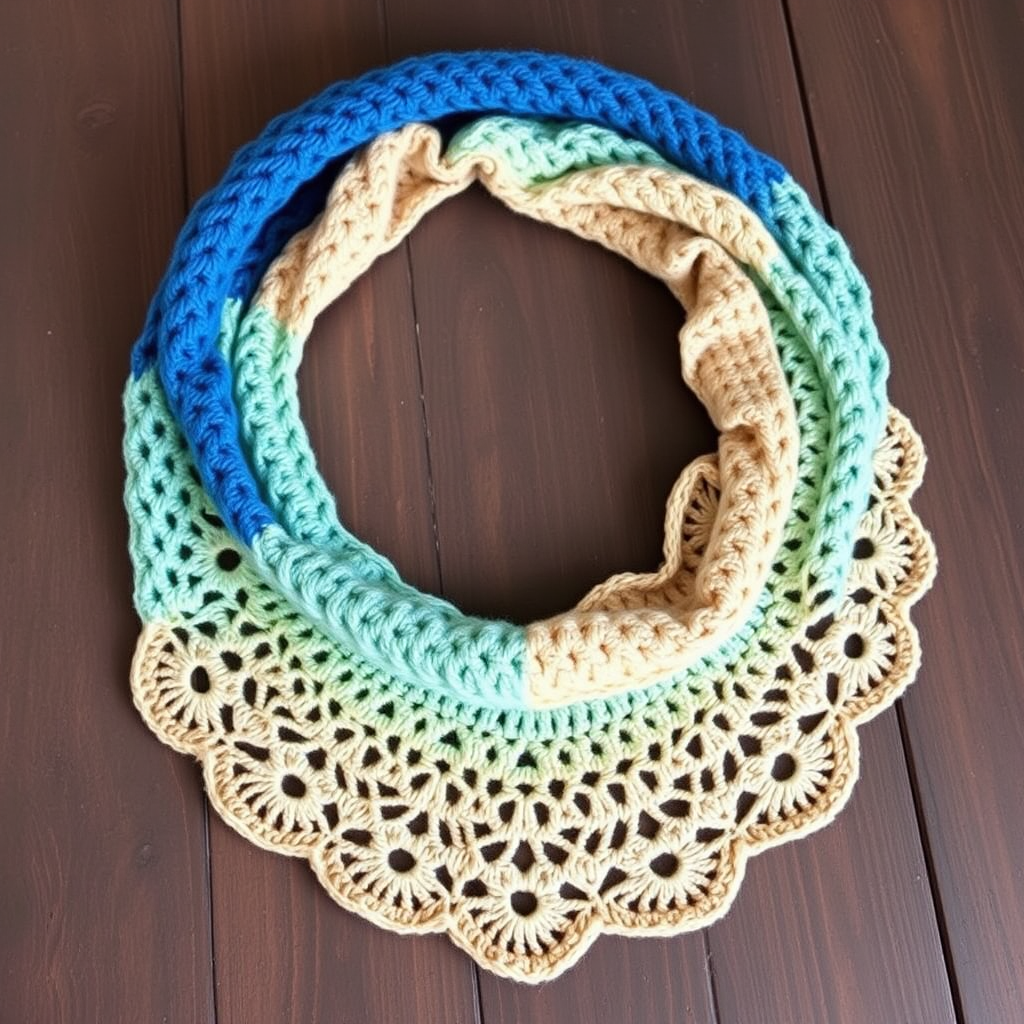
Solar Flare Crescent Crochet Shawl Free Pattern

Solar Flare Crescent Crochet Shawl: A Free Beginner-Friendly Pattern
Wrap yourself in the warm, radiant hues of a sunset with this stunning crescent shawl. Featuring a simple yet striking stitch pattern, this bulky-weight project works up quickly and drapes beautifully, making it a cozy and stylish addition to any wardrobe. Whether you're a confident beginner looking for your next wearable project or an experienced crocheter seeking a relaxing make, this free pattern is perfect for autumn evenings and beyond.
This shawl is worked from the top center down, increasing at the edges to form a graceful crescent shape. Using only double crochet and chains, the pattern is easy to memorize while still producing a textured, airy fabric with a beautiful scalloped edge. The gradient color sequence—from vibrant sunset orange to golden yellow and deep magenta—creates a truly eye-catching piece that will become a staple in your handmade collection.
Materials Needed
Before you begin, gather the following supplies to ensure a smooth and enjoyable crochet experience:
Yarn
- Bulky weight yarn (Category 5) in three colors:
- Color A (Sunset Orange): 250g (approximately 250-300 yards)
- Color B (Golden Yellow): 200g (approximately 200-250 yards)
- Color C (Deep Magenta): 150g (approximately 150-200 yards)
- Suggested yarn: Lion Brand Wool-Ease Thick & Quick in 'Papaya', 'Goldfish', and 'Raspberry' (or any bulky weight yarn of your choice)
Hook and Notions
- 8 mm (L/11) crochet hook
- Yarn needle for weaving in ends
- Scissors
- Blocking mats and pins (for finishing)
Gauge
2 pattern repeats (4 rows) = 4 inches (10 cm) wide and 2 inches (5 cm) tall, after blocking. Gauge is important for achieving the correct drape and size, so be sure to check your tension before starting.
Special Stitches and Pattern Notes
Before diving into the instructions, familiarize yourself with these special stitches and important pattern notes:
Special Stitches
- V-stitch (V-st): (dc, ch 1, dc) worked in the same stitch or space.
- Shell: 3 dc worked in the same stitch or space.
Pattern Notes
- The shawl is worked in rows, starting with a foundation chain at the top center.
- Ch 3 at the beginning of each row counts as the first double crochet.
- Color changes are made at the end of each row. Do not cut the yarn—carry it up the side of the work to be picked up again when needed.
- The shawl increases by one V-stitch on each side every row, creating the crescent shape.
Step-by-Step Instructions
Follow these detailed instructions carefully, and you'll have a beautiful crescent shawl in no time. Remember to work at a relaxed, even tension for the best results.
Getting Started: The Foundation
Row 1 (Right Side): With Color A, ch 4. In the 4th ch from hook (which counts as your first dc), work 2 dc, ch 2, 3 dc. This forms the starting point of the crescent. Turn.
Explanation: You've just created the center point of your shawl. The ch-2 space in the middle will be the focal point where the bottom edge curves. The 3 dc on each side of the ch-2 space form the initial "wings" of your crescent.
Building the Shape: Rows 2-4
Row 2: Ch 3 (counts as dc), 2 dc in first st (this is your increase), ch 1, skip next 2 dc, in the ch-2 space work (3 dc, ch 2, 3 dc) (this creates the center point), ch 1, skip next 2 dc, 3 dc in last st (increase). Turn.
Explanation: You now have 6 dc on each side of the center ch-2 space. The increases at the beginning and end of the row are what create the crescent shape. The ch-1 spaces are the beginning of your open V-stitch pattern.
Row 3: Ch 3, 2 dc in first st, ch 1, skip next 2 dc, V-st in next ch-1 space, ch 1, skip next 2 dc, in center ch-2 space work (3 dc, ch 2, 3 dc), ch 1, skip next 2 dc, V-st in next ch-1 space, ch 1, skip next 2 dc, 3 dc in last st. Turn.
Explanation: Notice how you're now working V-sts into the ch-1 spaces from the previous row. The center point remains consistent with (3 dc, ch 2, 3 dc) worked into the ch-2 space. Your increases at each end continue.
Row 4: Ch 3, 2 dc in first st, ch 1, skip next 2 dc, V-st in next ch-1 space, ch 1, skip next dc, V-st in next ch-1 space, ch 1, skip next 2 dc, in center ch-2 space work (3 dc, ch 2, 3 dc), ch 1, skip next 2 dc, V-st in next ch-1 space, ch 1, skip next dc, V-st in next ch-1 space, ch 1, skip next 2 dc, 3 dc in last st. Turn.
Explanation: You're now adding a second V-st on each side. The key to this pattern is understanding the rhythm: you skip the dc stitches between V-sts and work your V-sts only into the ch-1 spaces from the row below.
The Repeat Pattern: Rows 5 and Beyond
Row 5: Ch 3, 2 dc in first st, ch 1, V-st in next ch-1 space, ch 1, skip next dc, repeat from to until 1 ch-1 space remains before center, V-st in that space, ch 1, skip next 2 dc, in center ch-2 space work (3 dc, ch 2, 3 dc), ch 1, skip next 2 dc, V-st in next ch-1 space, ch 1, skip next dc, V-st in next ch-1 space, ch 1, repeat from to until 1 dc remains before end, skip that dc, 3 dc in last st. Turn.
Row 6 and onward: Repeat Row 5, but now you will have one more V-st on each side. Continue repeating Row 5, adding one V-st on each side every row. Work until the shawl measures approximately 20 inches (50 cm) from the center point to the top edge, ending with a wrong-side row.
Pro Tip: To keep track of your rows, count your V-sts on each side. Each row should have one more V-st on each side than the previous row. If you ever lose your place, this counting method will help you get back on track.
Color Sequence
Follow this color sequence to achieve the beautiful sunset gradient:
- Work Rows 1-4 with Color A (Sunset Orange)
- Work Rows 5-8 with Color B (Golden Yellow)
- Work Rows 9-12 with Color C (Deep Magenta)
Repeat this sequence, but on each repeat, add 2 more rows of each color (i.e., next time: 6 rows A, 6 rows B, 6 rows C, then 8 rows each, etc.) until you have used all your yarn or reached your desired size.
Important: When changing colors, work the last dc of the row with the new color. Simply drop the old color, pick up the new one, and complete the final yarn over and pull through. Carry the unused yarn loosely up the side of your work, being careful not to pull too tightly.
Adding the Edging
Once your shawl has reached the desired size, it's time to add a clean, finished edge:
Edging: With Color C, do not turn. Work a single crochet border evenly around the entire outer edge of the shawl, working 3 sc in each corner and (sc, ch 2, sc) in the center point of the bottom edge. Join with slip stitch to first sc. Fasten off.
Explanation: The 3 sc in each corner helps the corners lay flat and prevents curling. The (sc, ch 2, sc) at the bottom center point emphasizes the graceful curve of the crescent and adds a decorative touch.
Finishing Touches
Your shawl is almost complete! Follow these final steps for a professional-looking finish:
- Weave in all ends using your yarn needle. Be sure to weave in the ends securely, going back and forth through the stitches to prevent them from coming loose with wear.
- Block the shawl to shape. This is a crucial step for achieving the beautiful drape and defined crescent shape. Pin the top edge straight on your blocking mats, and let the bottom edge form a gentle crescent curve. Gently stretch the fabric to open up the V-stitches and create an airy, lace-like appearance.
- Allow to dry completely before unpinning. This may take 24-48 hours depending on your climate and yarn type.
Once dry, your Solar Flare Crescent Shawl is ready to wear! Drape it over your shoulders on a cool autumn evening, or gift it to someone special who appreciates handmade warmth.
This pattern is perfect for practicing your color changes, mastering the V-stitch, and understanding how increases shape a garment. The result is a stunning, wearable piece that showcases your crochet skills beautifully.
Happy crocheting, and enjoy your beautiful sunset-inspired creation!