The Ember & Ash Child's Poncho: A Free Knitting Pattern for a Textured, Color-Blocked Fall Essential

Wrap Your Little One in Autumn: The Ember & Ash Child's Poncho
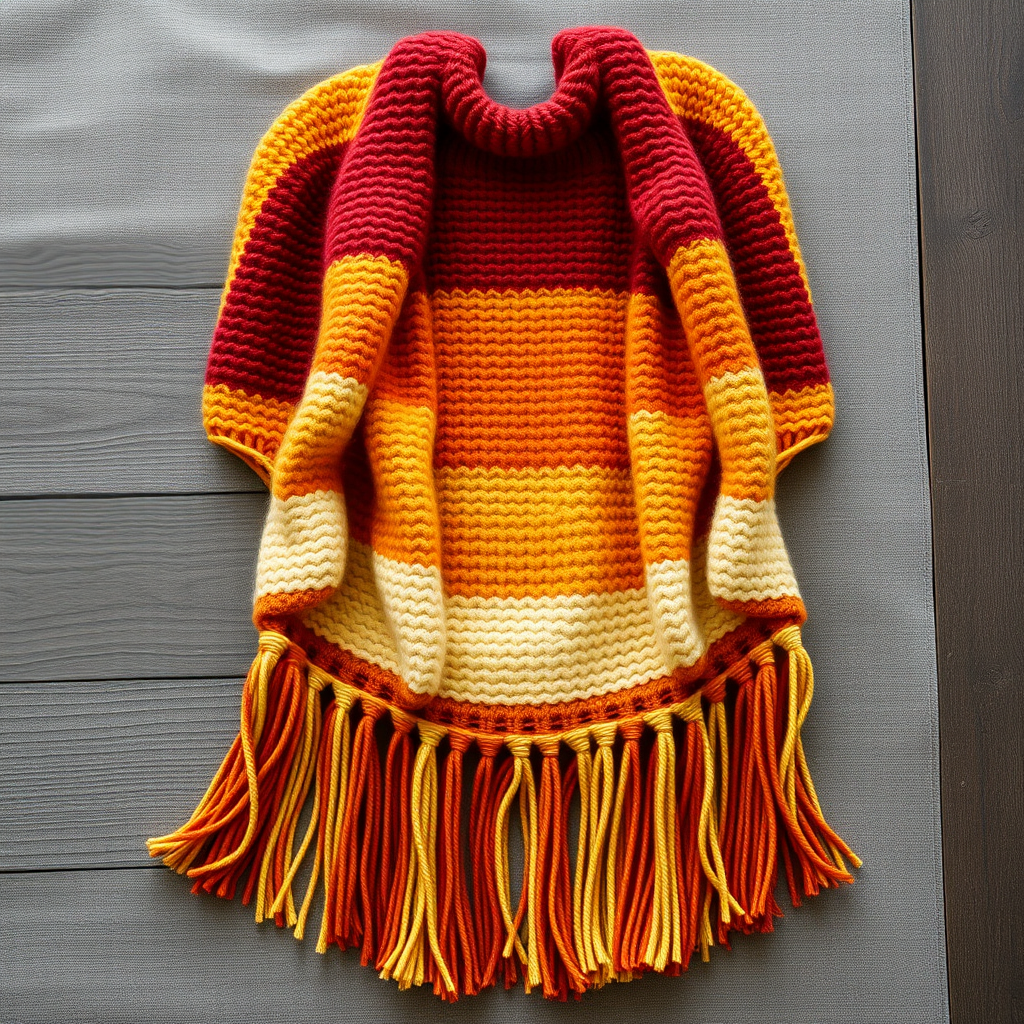
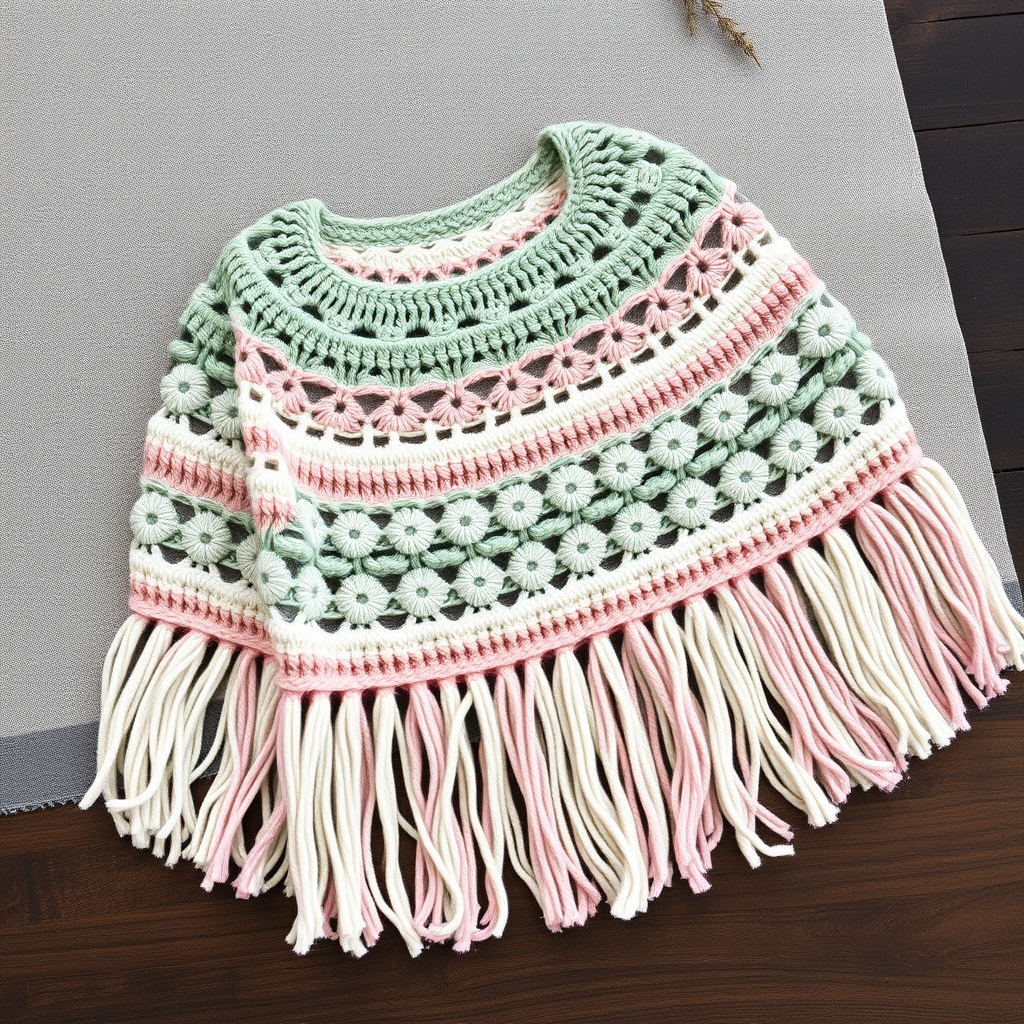
There's something magical about a hand-knit poncho—it's the perfect blend of a sweater and a scarf, offering warmth without restriction. The Ember & Ash Child's Poncho captures the essence of fall with its rich, heathered colors and satisfyingly textured seed stitch. This free pattern is designed for confident beginners and intermediate knitters alike, creating a modern, cozy garment that your child will love to wear. The color-blocked design uses two complementary shades—a warm burnt orange (Ember) and a heathered charcoal grey (Ash)—to create a piece that's both stylish and practical for crisp autumn days.
Materials Needed
Before you begin, gather the following supplies. All measurements are based on the sample using Lion Brand Wool-Ease, but any worsted weight (#4) yarn will work beautifully.
Yarn
- Color A (Ember): Worsted weight (#4) yarn in burnt orange/terracotta. You'll need approximately 200g (350 yards). Sample used Lion Brand Wool-Ease in 'Pumpkin'.
- Color B (Ash): Worsted weight (#4) yarn in heathered charcoal grey. You'll need approximately 150g (260 yards). Sample used Lion Brand Wool-Ease in 'Charcoal Heather'.
Needles & Notions
- US Size 8 (5.0 mm) circular knitting needle, 24-inch (60 cm) length
- US Size 8 (5.0 mm) double-pointed needles (DPNs) for the neckband (or a long circular needle for magic loop)
- Stitch markers (optional, for keeping track of pattern repeats)
- Tapestry needle for weaving in ends
- Scissors
Gauge
- Stockinette stitch: 18 stitches and 24 rows = 4 inches (10 cm), after blocking
- Pattern stitch: 18 stitches and 26 rows = 4 inches (10 cm), after blocking
Always take time to check your gauge. If your gauge is off, adjust needle size accordingly.
Sizes & Measurements
This pattern is written for three sizes. Choose the size that best fits your child.
- Child 2-4: Finished chest circumference: 24 inches. Length from shoulder: 14 inches.
- Child 4-6: Finished chest circumference: 26 inches. Length from shoulder: 16 inches.
- Child 6-8: Finished chest circumference: 28 inches. Length from shoulder: 18 inches.
Abbreviations
- CO: Cast on
- K: Knit
- P: Purl
- K2tog: Knit two together
- P2tog: Purl two together
- St(s): Stitch(es)
- RS: Right side
- WS: Wrong side
- Rep: Repeat
Pattern Stitch (Multiple of 2 + 1)
This simple seed stitch creates a beautiful, nubby texture that's perfect for a cozy poncho.
- Row 1 (RS): K1, *P1, K1; rep from * to end.
- Row 2 (WS): P1, *K1, P1; rep from * to end.
- Repeat Rows 1-2 for pattern.
Step-by-Step Instructions
The poncho is worked flat in two identical pieces (Front and Back), then seamed together. Follow carefully for a flawless finish.
Front Piece
- Cast On: With Color A (Ember), CO 55 (59, 63) sts.
- First Color Block (Ember): Work in Pattern Stitch for 2 inches, ending with a WS row.
- Second Color Block (Ash): Switch to Color B (Ash). Continue in Pattern Stitch for 4 (5, 6) inches, ending with a WS row.
- Third Color Block (Ember): Switch back to Color A (Ember). Continue in Pattern Stitch for 4 (5, 6) inches, ending with a WS row.
- Fourth Color Block (Ash): Switch to Color B (Ash). Continue in Pattern Stitch for 4 (5, 6) inches, ending with a WS row. The piece should measure approximately 14 (16, 18) inches from the cast-on edge.
- Bind Off: Bind off all stitches loosely in pattern. Do not cut the yarn yet—you'll use it for seaming.
Back Piece
- Work exactly as for the Front piece. Bind off loosely in pattern.
Finishing: Seaming the Sides
- Lay the Front and Back pieces flat with the right sides facing up.
- Place the two pieces together with right sides facing each other.
- Shoulder Seams: Using the yarn tail from the bind-off (or a separate length of yarn), seam the top 6 (7, 8) inches of each side edge. This creates the shoulder seams. Use a mattress stitch or whip stitch for a neat finish.
- Armholes: Leave the bottom 8 (9, 10) inches open on each side for the armholes. These openings should be symmetrical.
- Weave in all ends securely using a tapestry needle.
Neckband
- With the right side facing you and using double-pointed needles (or a long circular needle for magic loop), pick up and knit 48 (52, 56) stitches evenly around the neck opening. Distribute the stitches evenly across the four DPNs (or around the circular needle).
- Join to work in the round, being careful not to twist the stitches. Place a stitch marker to mark the beginning of the round.
- Round 1: Knit all stitches.
- Round 2: Purl all stitches.
- Rounds 3-4: Repeat Rounds 1-2 once more (for a total of 4 rounds).
- Bind Off: Bind off all stitches loosely in knit. Cut yarn, leaving a 6-inch tail, and pull through the last stitch to secure.
Bottom Edging (Optional but Recommended)
This edging gives the poncho a polished, professional finish and helps it lay flat.
- With the right side facing you and using the circular needle, pick up and knit 1 stitch for every bound-off stitch along the bottom edge of the poncho. Work all the way around.
- Join to work in the round. Place a stitch marker.
- Round 1: Knit all stitches.
- Round 2: Purl all stitches.
- Bind Off: Bind off all stitches loosely in knit. Cut yarn and pull through the last stitch.
Final Steps
- Weave in all remaining ends using a tapestry needle. Be sure to weave them in on the wrong side for a clean finish.
- Blocking: Gently block the poncho to the specified measurements. Lay it flat on a towel, shape it gently, and allow it to dry completely. This evens out the stitches and gives the garment a professional look.
Your Ember & Ash Child's Poncho is now complete! This cozy, textured garment will keep your little one warm and stylish all season long. The seed stitch pattern is forgiving and creates a beautiful fabric that only gets softer with wear. Enjoy watching your child wrap themselves in the warmth of autumn—and the love you've knitted into every stitch.