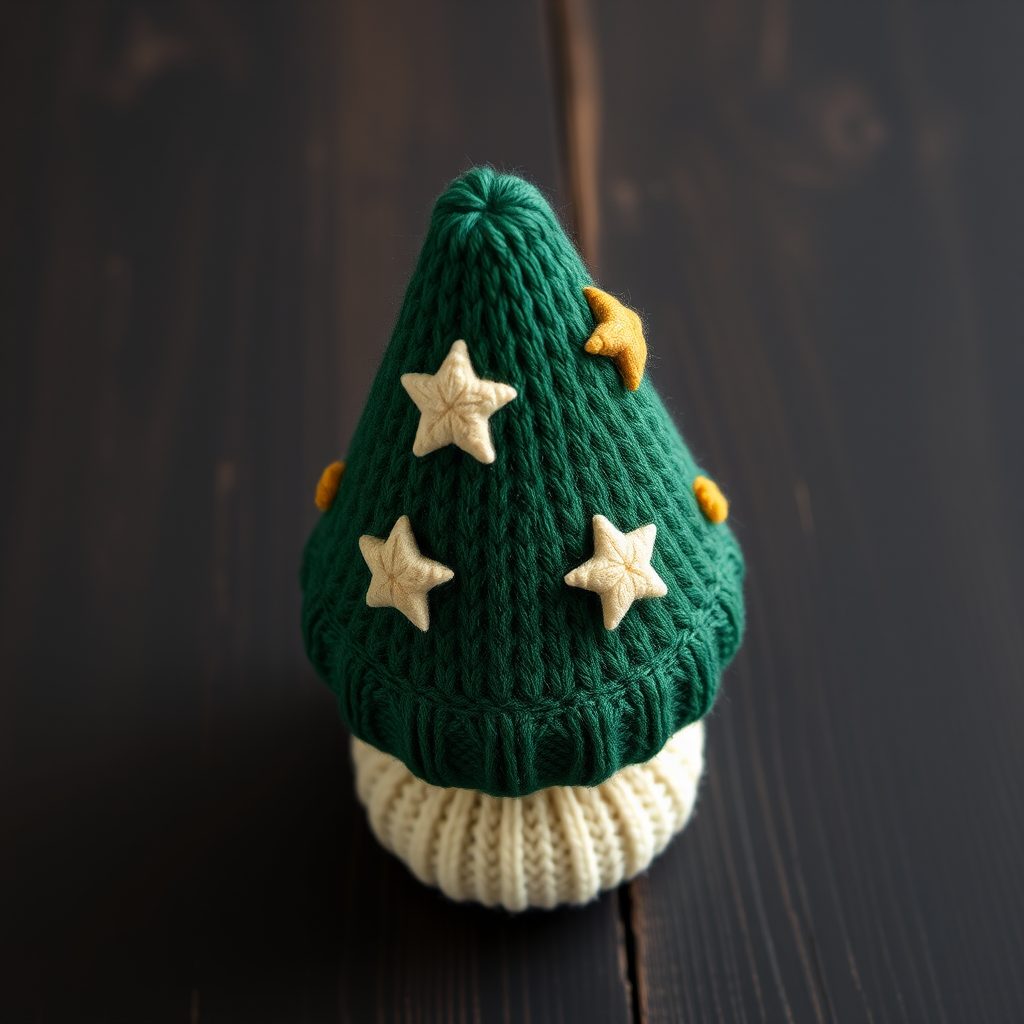
The Frosted Pinecone Stocking Free Pattern – A Knitted Cable and Bobble Christmas Stocking

The Frosted Pinecone Stocking: A Free Knitted Cable & Bobble Christmas Stocking Pattern
Wrap your mantel in woodland charm this holiday season with the Frosted Pinecone Stocking. This richly textured, heirloom-quality piece features a sculpted pinecone motif, a snowy white ribbed cuff, and a prominent cable stitch that runs down the front. Knitted in cozy worsted weight yarn, this pattern brings the serene beauty of a snow-dusted forest directly into your home. Whether you're an experienced knitter looking for a rewarding project or a confident beginner ready for a challenge, this free pattern will guide you through creating a stunning piece of holiday decor you'll cherish for years.
This pattern is designed to be approachable, with clear instructions for the cable, bobbles, and short-row heel. The result is a thick, plush stocking that looks like it came straight from a rustic cabin. Let's gather our materials and get started on making this beautiful centerpiece for your holiday mantle.
Materials Needed
Before you begin, ensure you have all the necessary supplies. This project uses simple, readily available materials to create a professional-looking finish.
- Yarn: Worsted weight yarn in three colors:
- MC (Main Color): Forest Green – approximately 300g (600 yards)
- CC (Contrast Color): Cream – approximately 100g (200 yards)
- AC (Accent Color): Rust – approximately 50g (100 yards)
- Needles: US 7 (4.5mm) knitting needles (straight or circular for the body), plus a cable needle.
- Notions: Tapestry needle for weaving in ends and seaming, stitch holders or waste yarn, stitch markers.
Gauge
20 stitches and 26 rows = 4 inches in stockinette stitch. Always take the time to knit a gauge swatch. This ensures your stocking will be the correct size and that your yarn usage matches the estimates.
Step-by-Step Instructions
This pattern is worked in three main parts: the cuff, the leg (with heel and foot), and the pinecone appliqué. We'll work through each section meticulously to ensure a flawless finish.
Part 1: The Cuff (Worked in the Round)
The cuff is knit in the round to create a seamless, stretchy ribbed edge that folds over beautifully.
- Cast On: With your Cream (CC) yarn, cast on 64 stitches. Distribute them evenly across your needles. Join in the round, being extremely careful not to twist the stitches. Place a stitch marker to mark the beginning of the round.
- Ribbing: Work the ribbing pattern for 12 rounds:
- Rounds 1-12: *K2, P2*; repeat from * to * around.
- Switch to Main Color: On Round 13, cut the CC yarn and join your Forest Green (MC) yarn.
- Round 13: Knit all stitches.
- Cuff Body: Continue in stockinette stitch (knit every round) for the next 7 rounds (Rounds 14-20).
- Fold Line: On Round 21, we will create a clean fold line. Fold the cuff down so the cast-on edge is on the outside of the stocking. Knit all stitches in this round. This creates a crisp turning point.
- Finish Cuff: Continue in stockinette stitch for 10 more rounds. The cuff is now complete. Cut the MC yarn, leaving a long tail for seaming later.
Part 2: The Leg (Worked Flat)
We will now work the leg of the stocking back and forth in rows. This allows us to create the cable and bobble patterns on the front panel.
- Separate Stitches: Slip the first 32 stitches onto a stitch holder or waste yarn. These will form the back of the leg. You will now work on the remaining 32 stitches on your needle for the front of the leg.
- Set-Up Row (Right Side): Join your MC yarn if you cut it. Work the following pattern:
- Row 1 (RS): K2, P2, K4, P2, K8 (this is the cable section), P2, K4, P2, K2, P2, K2. (Total: 32 stitches)
- Row 2 (WS): P2, K2, P4, K2, P8, K2, P4, K2, P2, K2, P2.
- Repeat Pattern: Repeat Rows 1 and 2 until the leg measures 8 inches from the fold line, ending with a Wrong Side row.
- Cable Twist: On the 8th Right Side row, and every 8th RS row thereafter, you will twist the cable:
- Cable Row (RS): K2, P2, K4, P2, slip next 4 stitches onto your cable needle and hold it to the FRONT of your work, K4 from your left needle, then K4 from the cable needle, P2, K4, P2, K2, P2, K2.
Part 3: The Heel (Short Rows)
The heel is shaped using short rows, which creates a rounded cup for the heel of the foot.
- Begin Short Rows: Work on the 32 stitches of the front leg.
- Row 1 (RS): K31, turn. (Leave 1 stitch unworked on the left needle).
- Row 2 (WS): P30, turn. (Leave 1 stitch unworked).
- Row 3: K29, turn.
- Continue Decreasing: Continue in this manner, working one fewer stitch each row, until you have 8 stitches left unworked in the center of the row.
- Work Back: Now, you will work back in the other direction. On each subsequent row, work one more stitch than the previous row (picking up the unworked stitches) until all 32 stitches are active again. You have now completed the heel.
Part 4: The Foot
Now we will knit the foot of the stocking in a simple stockinette stitch.
- Knit Foot: Continue in stockinette stitch (knit on RS, purl on WS) for 6 inches from the heel, ending with a Wrong Side row.
Part 5: Toe Shaping
We will now decrease stitches to close the toe of the stocking.
- Decrease Row 1 (RS): K2tog, K12, K2tog, K2tog, K12, K2tog. (28 stitches remain).
- Row 2 (WS): Purl all stitches.
- Decrease Row 3 (RS): K2tog, K10, K2tog, K2tog, K10, K2tog. (24 stitches remain).
- Row 4 (WS): Purl all stitches.
- Decrease Row 5 (RS): K2tog, K8, K2tog, K2tog, K8, K2tog. (20 stitches remain).
- Finish: Cut your yarn, leaving a long tail (at least 12 inches). Thread the tail onto a tapestry needle and weave it through the remaining 20 stitches. Pull tight to close the toe, and secure the yarn firmly.
Part 6: Back of Leg & Foot
- Pick Up Stitches: Carefully place the 32 held stitches from the back of the leg back onto your needle.
- Knit Back: Join your MC yarn and work in stockinette stitch (knit on RS, purl on WS) for the exact same length as the front leg (8 inches).
- Heel & Foot: Work the heel and foot identically to the front section (Parts 3 and 4).
- Toe Shaping: Work the toe shaping exactly as you did for the front (Part 5).
Part 7: The Pinecone Motif (Appliqué)
This charming pinecone is knit flat and then sewn onto the stocking. The bobbles give it a realistic, textured look.
- Cast On: With your Rust (AC) yarn, cast on 3 stitches.
- Increase Rows:
- Row 1 (RS): K1, M1, K1, M1, K1. (5 stitches).
- Row 2 (WS): Purl all stitches.
- Row 3 (RS): K1, M1, K3, M1, K1. (7 stitches).
- Row 4 (WS): Purl all stitches.
- Continue Increasing: Continue increasing 2 stitches on every Right Side row (by working M1 after the first stitch and before the last stitch) until you have 15 stitches on your needle.
- Bobble Rows: Now we will create the textured bobble pattern.
- Row 1 (RS): K1, *K1, P1, K1, P1, K1 all into the next stitch (this creates 5 stitches from 1). Then, pass the 2nd, 3rd, 4th, and 5th stitches over the first stitch – this is your bobble. K1; repeat from * to * across the row.
- Row 2 (WS): Purl all stitches.
- Repeat: Repeat these 2 rows 3 times to create 3 rows of bobbles.
- Decrease Rows:
- Row 1 (RS): K2tog, knit to the last 2 stitches, K2tog.
- Row 2 (WS): Purl all stitches.
- Finish: Repeat these 2 decrease rows until only 3 stitches remain. Bind off these 3 stitches. Weave in the yarn ends.
Part 8: Finishing & Assembly
- Seam the Stocking: Using your tapestry needle and the mattress stitch, carefully sew the back seam of the leg and foot together, from the top of the leg down to the toe. This will join the front and back pieces.
- Attach Pinecone: Position the pinecone appliqué on the front of the stocking, just below the cuff, with the point facing down. Sew it securely in place using the Rust yarn and a tapestry needle.
- Fold the Cuff: Fold the cream cuff down over the top of the stocking.
- Add Hanging Loop (Optional): To create a hanging loop, use your Cream (CC) yarn to crochet a chain of 20 stitches (or knit an i-cord). Attach the loop to the top corner of the stocking on the inside or outside, as preferred.
- Weave in Ends: Weave in all remaining loose ends securely to ensure your stocking is durable and neat.
Your Frosted Pinecone Stocking is now complete! Admire your handiwork—the rich green, the crisp white cuff, and the rustic rust pinecone come together to create a truly special holiday heirloom. Hang it with pride and enjoy the cozy, woodland charm it brings to your home for many Christmases to come.