Accessory Knitting Patterns
The Nordic Snowflake Headband Free Pattern
Anonymous
•
July 03, 2026

The Nordic Snowflake Headband Free Pattern
Introduction
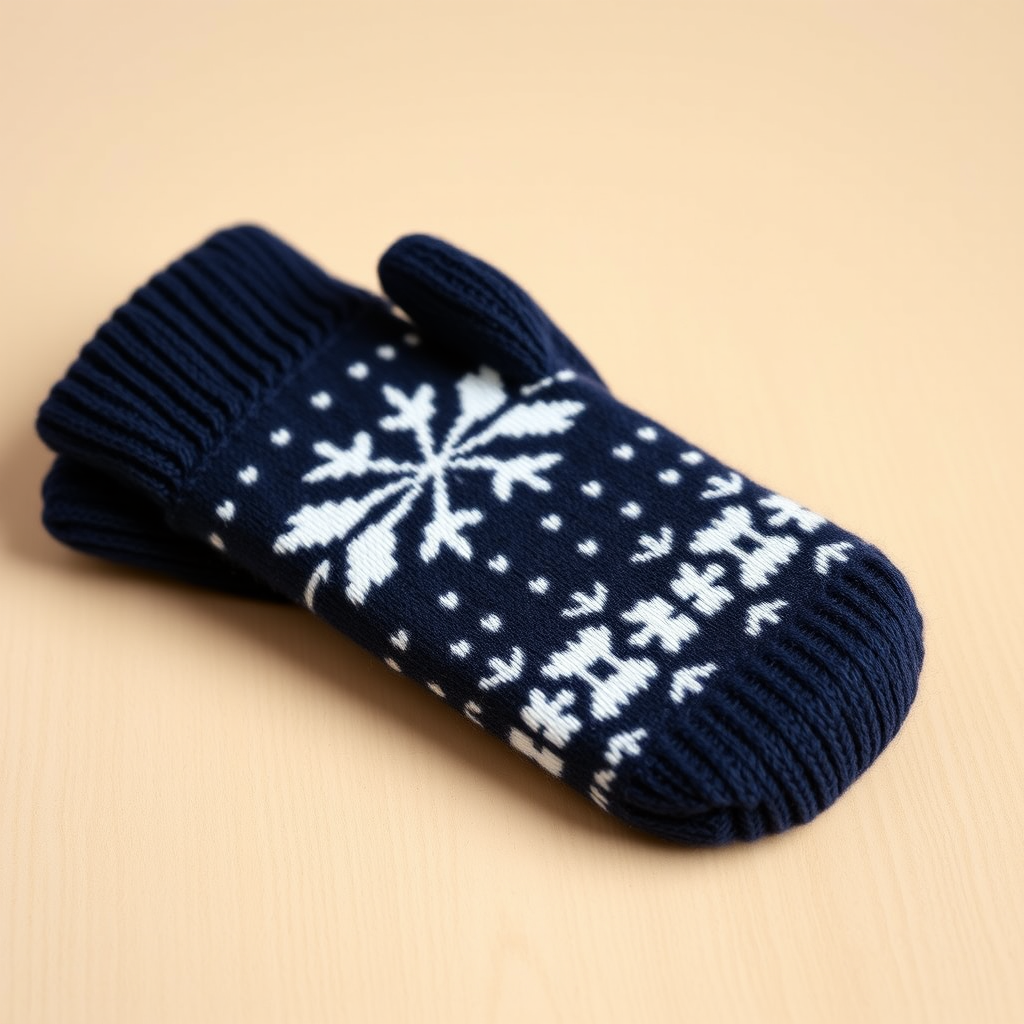
Embrace the winter chill with this cozy Nordic Snowflake Headband, featuring intricate colorwork that captures the essence of a snowy landscape. Perfect for keeping your ears warm while adding a touch of Scandinavian charm to your winter wardrobe. This pattern is designed for beginners and is easy to follow, making it a great project for anyone looking to enhance their knitting skills.
Materials Needed
- Yarn: DK weight yarn in two contrasting colors (e.g., white and navy blue)
- Needles: US 6 (4.0 mm) circular needles
- Gauge: 22 stitches and 30 rows = 4 inches in stockinette stitch
- Other: Scissors, tapestry needle for weaving in ends
Step-by-Step Instructions
- Cast On: Using the long-tail cast-on method, cast on 108 stitches with your main color (MC). Make sure to leave a long enough tail for your cast-on.
- Join in the Round: Carefully join your stitches in the round, ensuring that they are not twisted. This is crucial for a seamless headband.
- Work the Ribbing: Begin working in 1x1 ribbing (knit 1, purl 1) for 1 inch. This will create a stretchy and comfortable fit for your headband.
- Switch Colors: After completing the ribbing, switch to your contrasting color (CC) to start the snowflake pattern.
- Follow the Snowflake Chart Pattern:
- Round 1-4: Knit all stitches with MC.
- Round 5: *Knit 2 with MC, knit 2 with CC; repeat from * around.
- Round 6: *Knit 1 with MC, knit 2 with CC, knit 1 with MC; repeat from * around.
- Round 7: *Knit 2 with CC, knit 2 with MC; repeat from * around.
- Round 8: *Knit 1 with CC, knit 2 with MC, knit 1 with CC; repeat from * around.
- Repeat Pattern: Continue repeating Rounds 5-8 until your headband measures 3 inches from the cast-on edge. This will ensure that the snowflake motif is prominent and beautifully displayed.
- Finish with Ribbing: Switch back to your main color (MC) and work 1 inch in 1x1 ribbing to finish the headband.
- Bind Off: Bind off loosely in pattern to maintain the elasticity of the ribbing. This will help your headband fit comfortably.
- Weave in Ends: Using a tapestry needle, weave in all loose ends to give your headband a clean finish.
Congratulations! You have successfully knitted your own Nordic Snowflake Headband. Enjoy wearing it or gift it to someone special this winter!