The Textured Waves Chunky Blanket Free Pattern
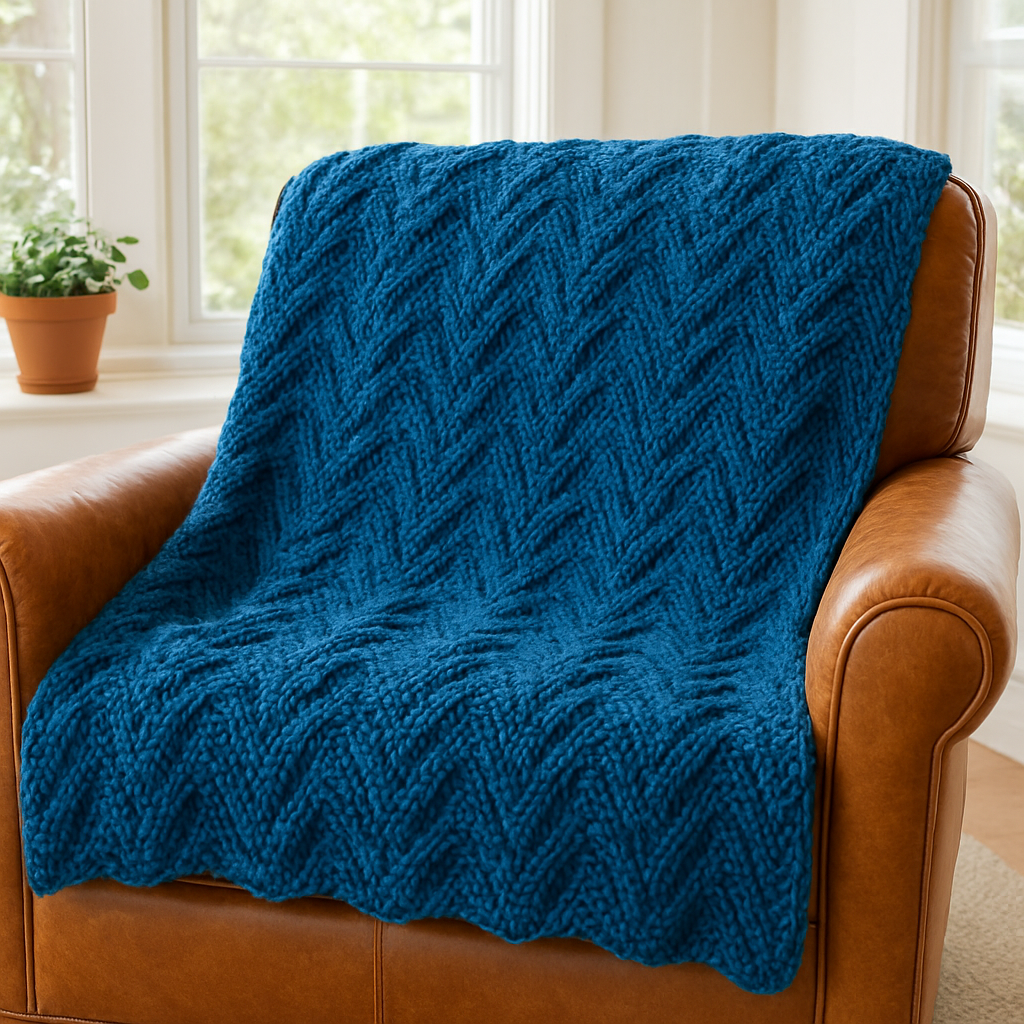
The Textured Waves Chunky Blanket Free Pattern
Dive into the world of texture with the Textured Waves Chunky Blanket, a cozy and bold statement piece for any room. This pattern combines undulating waves and rich textures to create a visually stunning and tactilely satisfying blanket. Perfect for beginners, this project will not only enhance your knitting skills but also provide you with a beautiful handmade addition to your home decor.
Materials Needed
- Yarn: Super bulky weight yarn, 100% wool (approximately 800 yards)
- Needles: US size 15 (10mm) circular needles, 32 inches long
- Gauge: 8 stitches and 12 rows = 4 inches in stockinette stitch
- Scissors: For cutting yarn
- Tapestry needle: For weaving in ends
Step-by-Step Instructions
Follow these detailed instructions to create your very own Textured Waves Chunky Blanket:
- Cast On: Begin by casting on 80 stitches using your super bulky weight yarn and size 15 circular needles. Ensure your stitches are not too tight; they should be comfortably loose to allow for easy knitting.
- Establish the Texture:
- Row 1 (Right Side): *Knit 4, purl 4; repeat from * to end of row.
- Row 2: *Purl 4, knit 4; repeat from * to end of row.
Repeat Rows 1 and 2 until your piece measures 10 inches from the cast-on edge. This will create the initial textured section of your blanket.
- Create the Waves:
- Row 3: *Knit 2, purl 2, knit 4, purl 2; repeat from * to end of row.
- Row 4: *Purl 2, knit 2, purl 4, knit 2; repeat from * to end of row.
Repeat Rows 3 and 4 until your piece measures 20 inches from the cast-on edge. This section introduces the wave pattern that gives your blanket its unique texture.
- Continue the Texture:
- Row 5: *Knit 4, purl 4; repeat from * to end of row.
- Row 6: *Purl 4, knit 4; repeat from * to end of row.
Repeat Rows 5 and 6 until your piece measures 30 inches from the cast-on edge. This will add another layer of texture to your blanket.
- Bind Off: Once your blanket measures approximately 50 inches by 60 inches, it’s time to bind off. Bind off all stitches loosely to ensure the edge remains flexible.
- Finishing Touches: Use your tapestry needle to weave in any loose ends. This step is crucial for a polished finish, so take your time to ensure all ends are securely tucked away.
Congratulations! You have now completed your Textured Waves Chunky Blanket. Enjoy the warmth and beauty of your new handmade piece, perfect for snuggling up on chilly evenings or as a stunning addition to your home decor.