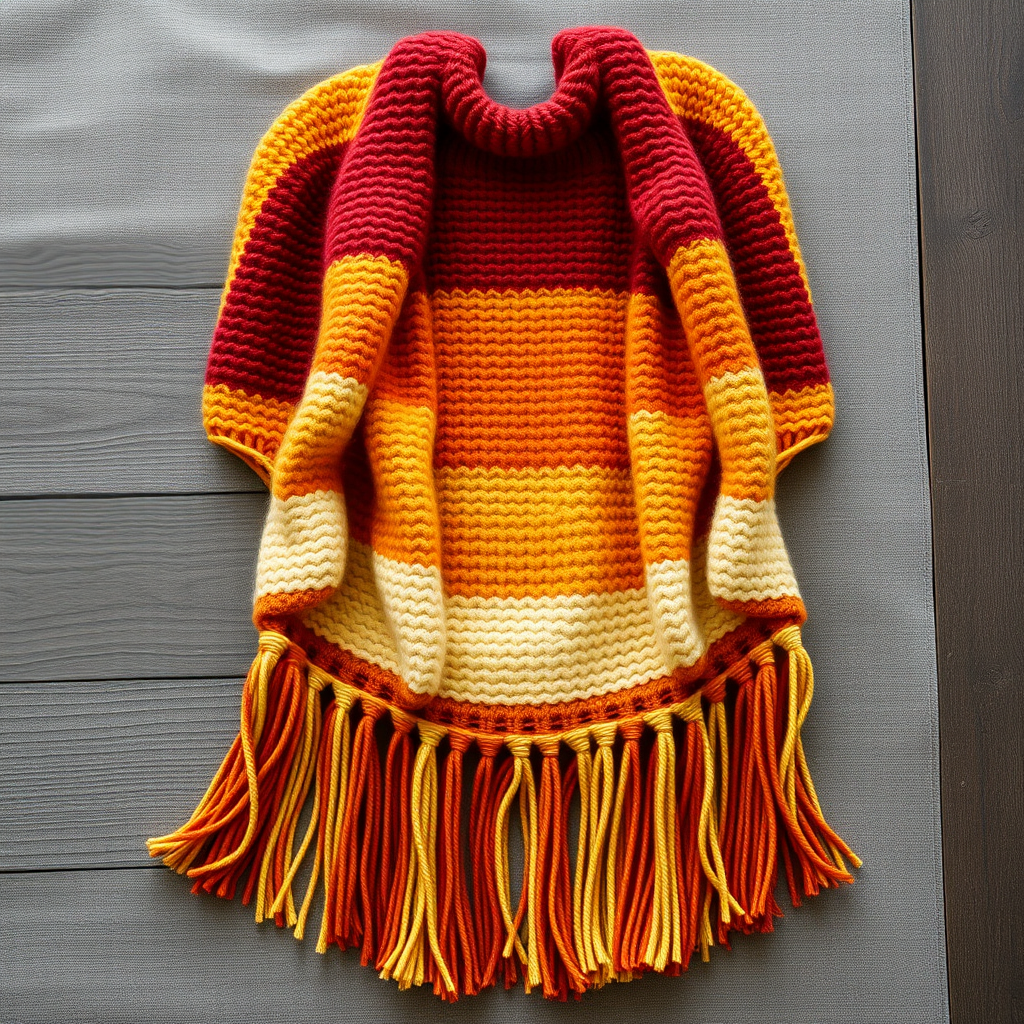
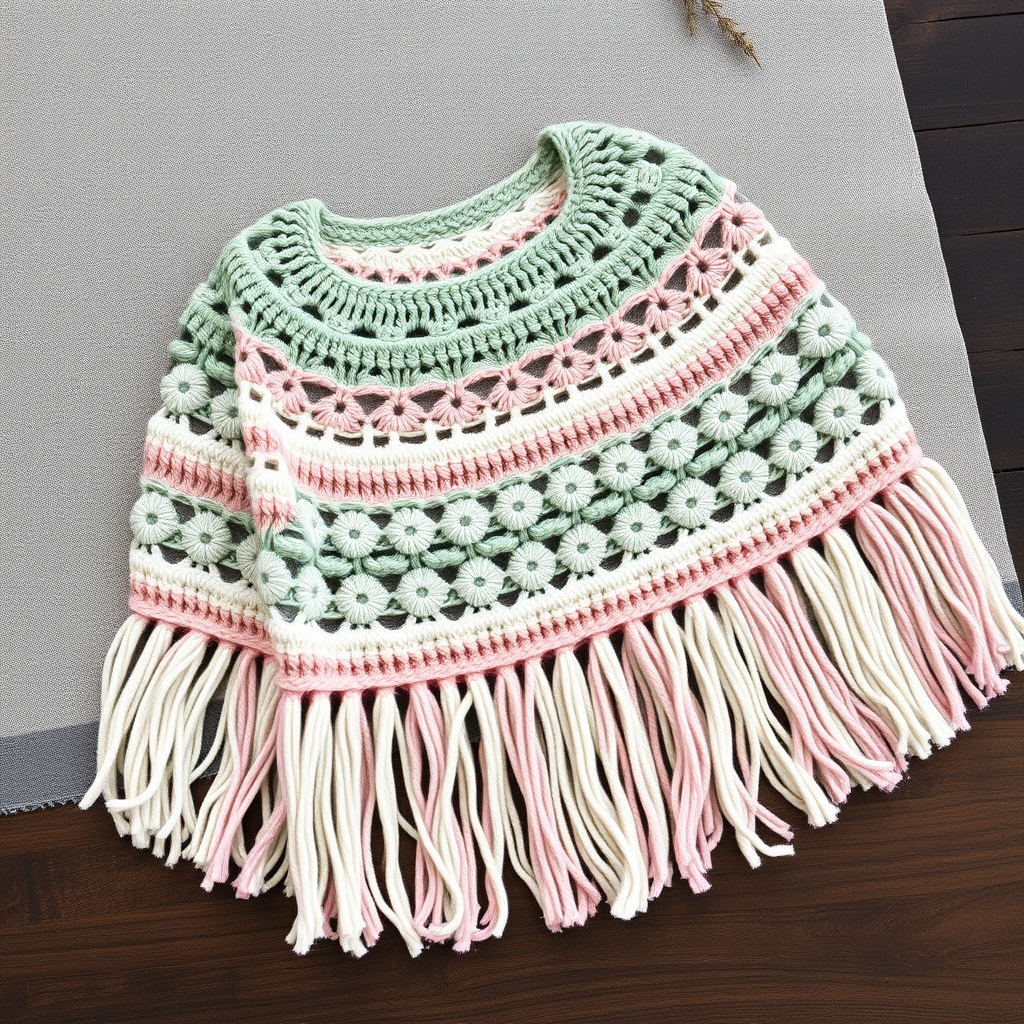
The Woven Horizon Poncho: A Free Knitting Pattern for a Textured, Asymmetrical, and Modern Layering Piece

The Woven Horizon Poncho: A Free Knitting Pattern for a Textured, Asymmetrical, and Modern Layering Piece
Escape the ordinary with this uniquely constructed poncho, featuring a dramatic asymmetrical hem and a rich tapestry of woven-like textures created entirely with knits and purls. This modern layering piece is designed to be both a statement and a staple, perfect for adding a touch of artisan flair to any outfit. The clever construction uses two main pieces worked flat from the bottom up, then seamed at the shoulders. The result is a wide, relaxed rectangle that drapes beautifully, with a left front side that extends lower than the right for that coveted asymmetrical look. Whether you're a confident beginner or an experienced knitter looking for a satisfying project, this pattern delivers a stunning, wearable piece of art.
Materials Needed
- Yarn: Worsted weight yarn (Category 4). Approx. 800-1000 yards total.
- Color A (Main Color): 3 skeins of a heathered taupe or oatmeal (approx. 500-600 yards).
- Color B (Contrast Color): 2 skeins of a deep, muted rust or burnt orange (approx. 250-300 yards).
- Color C (Accent Color): 1 skein of a soft cream or off-white (approx. 100-150 yards).
- Needles:
- US Size 9 (5.5 mm) circular needles, 32-inch or longer for the main body.
- US Size 8 (5.0 mm) circular needles for the neckline and hem ribbing.
- Notions: Stitch holders or waste yarn, tapestry needle for weaving in ends and seaming, scissors.
- Gauge: 18 stitches and 24 rows = 4 inches in Stockinette stitch on larger needles, after blocking. Take time to check your gauge for best results.
Step-by-Step Instructions
Abbreviations
- CO: Cast on
- K: Knit
- P: Purl
- St(s): Stitch(es)
- RS: Right side
- WS: Wrong side
- Rep: Repeat
Special Stitch Pattern: Woven Texture (Multiple of 4 + 2)
This 4-row repeat creates a dense, woven-like fabric that is the hallmark of this poncho. Practice on a swatch first to get comfortable with the rhythm.
- Row 1 (RS): K2, *P2, K2; rep from * to end.
- Row 2 (WS): P2, *K2, P2; rep from * to end.
- Row 3 (RS): P2, *K2, P2; rep from * to end.
- Row 4 (WS): K2, *P2, K2; rep from * to end.
Repeat these 4 rows for the entire pattern.
FRONT PIECE (Asymmetrical)
Step 1: Cast On and Begin Pattern
With Color A and larger needles, CO 82 sts. Work in Woven Texture pattern for 12 inches, ending with a WS row. This forms the main body of the front piece.
Step 2: Begin Asymmetrical Shaping
Next Row (RS): Work in pattern across first 62 sts, then place remaining 20 sts on a holder for the left shoulder. Turn work. You will now work back and forth on these 62 sts only for the right side of the front.
Step 3: Shape Right Side Neck
Continue in pattern, decreasing 1 st at the neck edge (the beginning of RS rows) every other row 4 times. To decrease: at the beginning of RS rows, work the first 2 sts together (k2tog or p2tog depending on pattern). After 4 decreases, you will have 58 sts. Work even until piece measures 18 inches from CO edge. Bind off all sts loosely.
Step 4: Shape Left Side Neck and Shoulder Extension
Rejoin yarn to the held 20 sts on the left side (RS facing). Work in pattern across these 20 sts, then CO 42 new sts at the end of this row for the left shoulder extension. You now have 62 sts. Work back and forth on these 62 sts.
Step 5: Shape Left Side Neck
Continue in pattern, decreasing 1 st at the neck edge (the end of RS rows) every other row 4 times. To decrease: at the end of RS rows, work the last 2 sts together (ssk or p2tog depending on pattern). After 4 decreases, you will have 58 sts. Work even until piece measures 18 inches from CO edge. Bind off all sts loosely.
BACK PIECE (Symmetrical)
Step 1: Cast On and Work Even
With Color A and larger needles, CO 82 sts. Work in Woven Texture pattern for 18 inches, ending with a WS row. Bind off all sts loosely.
FINISHING
Step 1: Shoulder Seams
With Color A and tapestry needle, sew the top edges of the Front and Back pieces together at the shoulders. The Front's longer left shoulder extension will overlap the Back's left shoulder. Use a mattress stitch or whip stitch for a secure seam.
Step 2: Neckline Edging
With smaller needles and Color C, pick up and knit approximately 80 sts around the neck opening. Work in K1, P1 ribbing for 1.5 inches. Bind off loosely in pattern (knit the knits and purl the purls as you bind off).
Step 3: Hem Edging
With smaller needles and Color B, pick up and knit approximately 140 sts along the bottom edge of the poncho. Work in K1, P1 ribbing for 1 inch. Bind off loosely in pattern.
Step 4: Weave in Ends and Block
Weave in all ends using a tapestry needle. Block gently to shape, focusing on opening up the woven texture. Lay flat to dry. Your Woven Horizon Poncho is complete!