Baby Blanket Knitting Patterns
Vintage Retro Moody Baby Blanket with Free Pattern
Anonymous
•
June 29, 2026
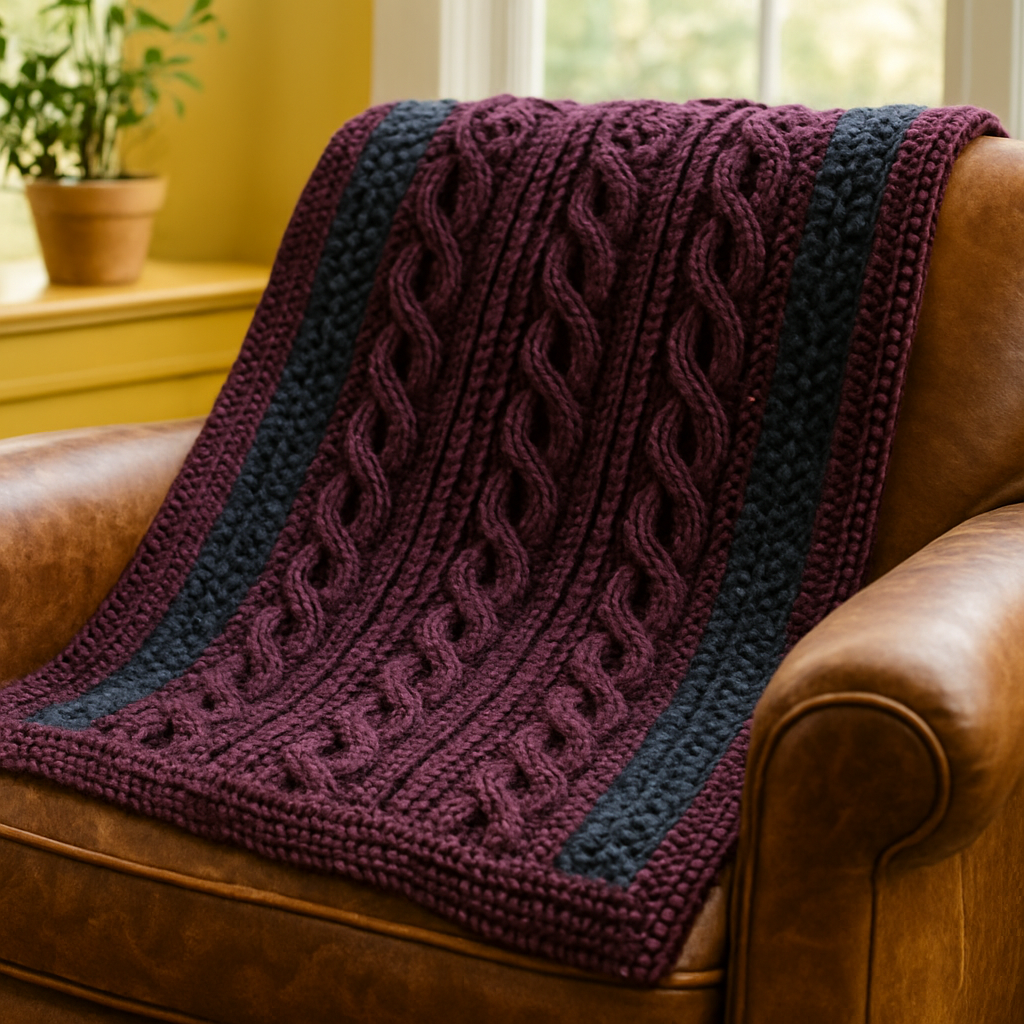
Vintage Retro Moody Baby Blanket with Free Pattern
Introduction
This enchanting baby blanket combines vintage retro charm with a modern twist, featuring moody dark colors and a textured 3D cable stitch. Perfect for adding a touch of elegance to any nursery, this blanket is not only beautiful but also cozy and warm. Whether you're a seasoned knitter or a beginner, this pattern is easy to follow and will guide you through every step of the process. Let’s get started on creating a lovely piece that will be cherished for years to come!
Materials Needed
- Yarn: DK weight, 100% merino wool in shades of deep plum, charcoal, and midnight blue.
- Needles: US size 8 (5mm) circular needles, 32 inches long.
- Gauge: 18 stitches and 24 rows = 4 inches in stockinette stitch.
- Scissors: For cutting yarn.
- Tapestry needle: For weaving in ends.
- Measuring tape: To check the size of your blanket.
Step-by-Step Instructions
- Cast On: Begin by casting on 120 stitches using the long-tail cast-on method. Ensure your stitches are not too tight; they should be comfortably loose to allow for easy knitting.
- Border: Work in garter stitch (knit every row) for 6 rows. This will create a neat border at the top and bottom of your blanket.
- Main Pattern: Now, we will begin the main pattern. Follow these rows carefully:
- Row 1 (Right Side): K5, *p2, k8, p2, k5; repeat from * to end.
- Row 2 (Wrong Side): K5, *k2, p8, k2, k5; repeat from * to end.
- Row 3: K5, *p2, C4F, C4B, p2, k5; repeat from * to end. (C4F = Cable 4 Front, C4B = Cable 4 Back)
- Row 4: Repeat Row 2.
- Row 5: K5, *p2, k8, p2, k5; repeat from * to end.
- Row 6: Repeat Row 2.
- Row 7: K5, *p2, C4B, C4F, p2, k5; repeat from * to end.
- Row 8: Repeat Row 2.
- Repeat: Continue repeating Rows 1-8 until your blanket measures 36 inches from the cast-on edge, ensuring you end with Row 4.
- Top Border: Once you reach the desired length, work in garter stitch for another 6 rows to form the top border.
- Bind Off: Bind off all stitches loosely. This will help maintain the elasticity of your blanket edges.
- Finishing Touches: Weave in all loose ends using a tapestry needle. This step is crucial to ensure a clean finish.
- Blocking: Finally, block your blanket to the measurements of 36 inches by 36 inches. This will enhance the texture and shape of your blanket.
Congratulations! You have successfully created your very own Vintage Retro Moody Baby Blanket. This cozy piece is perfect for snuggling and will surely be a treasured item in any nursery.
Also Check Out: We think you'd love this beautiful pattern on our sister site: Bright Orange Knit Ribbed Beanie


