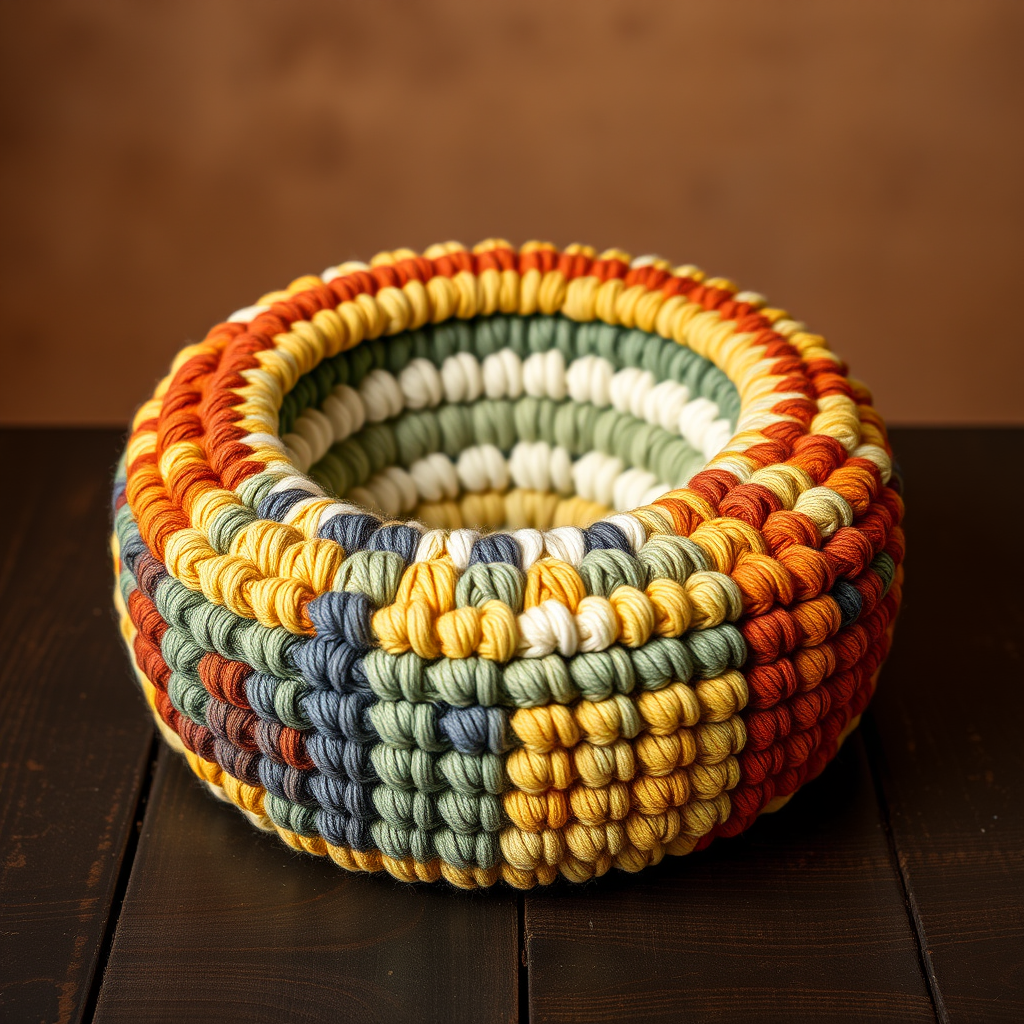
Whispering Pines Coaster Trio Free Pattern – Crochet a Forest Floor Set

Bring the Forest Home: The Whispering Pines Coaster Trio
Imagine the quiet serenity of a pine forest, the earthy scent of moss, and the gentle warmth of natural wood. Now, picture that tranquility resting right on your coffee table. The Whispering Pines Coaster Trio is more than just a set of drink coasters; it's a small piece of handcrafted nature designed to bring a modern, organic touch to your living space. This free crochet pattern is perfect for beginners and experienced makers alike, offering a quick, satisfying project that uses simple stitches to create a beautifully textured, dense fabric. In just an afternoon, you can craft a set of three matching coasters in earthy tones that will protect your furniture while adding a cozy, handmade aesthetic to any room.
This pattern is designed to be your peaceful escape into crafting. With a continuous spiral and basic single crochet increases, you'll watch a flat circle bloom in your hands. The result is a thick, sturdy coaster with a subtle spiral texture and a slightly raised edge, perfect for holding your morning coffee or evening tea. Let's gather our materials and begin this calming, creative journey.
Materials Needed
Before you begin, ensure you have the following supplies ready. Using the specified yarn weight and hook size is crucial for achieving the correct gauge and the perfect, dense texture that makes these coasters so effective.
- Yarn: Worsted weight cotton yarn in three colors:
- Color A: Moss Green
- Color B: Birch Beige
- Color C: Driftwood Brown
- Crochet Hook: 5.0 mm (H-8) crochet hook
- Other Tools: Yarn needle for weaving in ends, scissors, and a blocking mat with pins (optional but recommended for a professional finish).
Gauge: 4 rounds = 2 inches in single crochet. (While gauge is important for size, this project is forgiving. As long as you use the recommended yarn and hook, your coasters will be the perfect size.)
Step-by-Step Instructions
This pattern creates three matching coasters, each worked in a continuous spiral. Do not join rounds unless specified; simply continue working in the round. Use a stitch marker to keep track of the beginning of your rounds. Each coaster measures approximately 4 inches in diameter.
Coaster 1 (Moss Green - Color A)
We'll start with the deep, calming green of the forest floor.
- Round 1: With color A, make a magic ring. Work 6 single crochet (sc) into the ring. Pull the tail tight to close the circle. (6 sts)
- Round 2: Work 2 sc in each stitch around. (12 sts)
- Round 3: *Sc in next stitch, 2 sc in next stitch* repeat around. (18 sts)
- Round 4: *Sc in next 2 stitches, 2 sc in next stitch* repeat around. (24 sts)
- Round 5: *Sc in next 3 stitches, 2 sc in next stitch* repeat around. (30 sts)
- Round 6: *Sc in next 4 stitches, 2 sc in next stitch* repeat around. (36 sts)
- Round 7: Work even, sc in each stitch around. (36 sts) (This round without increases helps the coaster lay flat and begin to form its shape.)
- Round 8: *Sc in next 5 stitches, 2 sc in next stitch* repeat around. (42 sts)
- Round 9: Work even, sc in each stitch around. (42 sts)
- Round 10: *Sc in next 6 stitches, 2 sc in next stitch* repeat around. (48 sts)
- Round 11: Work even, sc in each stitch around. (48 sts)
- Round 12: *Sc in next 7 stitches, 2 sc in next stitch* repeat around. (54 sts)
- Round 13: Work even, sc in each stitch around. (54 sts)
- Round 14: *Sc in next 8 stitches, 2 sc in next stitch* repeat around. (60 sts)
- Round 15: Work even, sc in each stitch around. (60 sts)
- Finish: Fasten off, leaving a 6-inch tail. Weave the tail through the final stitches to secure, then weave in all ends neatly on the wrong side of the coaster.
Coaster 2 (Birch Beige - Color B)
Now, let's create the soft, neutral tone of birch bark.
- Rounds 1-15: Repeat the exact same instructions as for Coaster 1, but using color B (Birch Beige). Follow the same stitch counts and increase pattern.
- Finish: Fasten off and weave in all ends as described for Coaster 1.
Coaster 3 (Driftwood Brown - Color C)
Finally, we'll add the warm, grounding shade of driftwood.
- Rounds 1-15: Repeat the exact same instructions as for Coaster 1, but using color C (Driftwood Brown). Follow the same stitch counts and increase pattern.
- Finish: Fasten off and weave in all ends as described for Coaster 1.
Finishing Touches
To give your coasters a polished, professional look, follow these simple finishing steps.
- Blocking: This is a crucial step for a flat, even finish. Lightly wet each coaster with cool water or use a steam iron (without touching the yarn directly). Gently press them into shape on a blocking mat, pinning the edges if necessary to ensure they are perfectly round and flat. Allow them to dry completely.
- Optional Border: For a more defined and finished edge, you can add a simple border. With the right side facing you, join your yarn with a slip stitch in any stitch. Work a round of slip stitches (sl st) into each stitch around the entire edge. Join with a slip stitch to the first slip stitch, fasten off, and weave in the ends. This creates a neat, slightly raised rim.
Your Whispering Pines Coaster Trio is now complete! Place them on your coffee table, side table, or desk. They make a wonderful handmade gift for a housewarming or a thoughtful, personal present for a friend who loves nature. Enjoy the quiet, forest-inspired calm they bring to your home, one cup at a time.