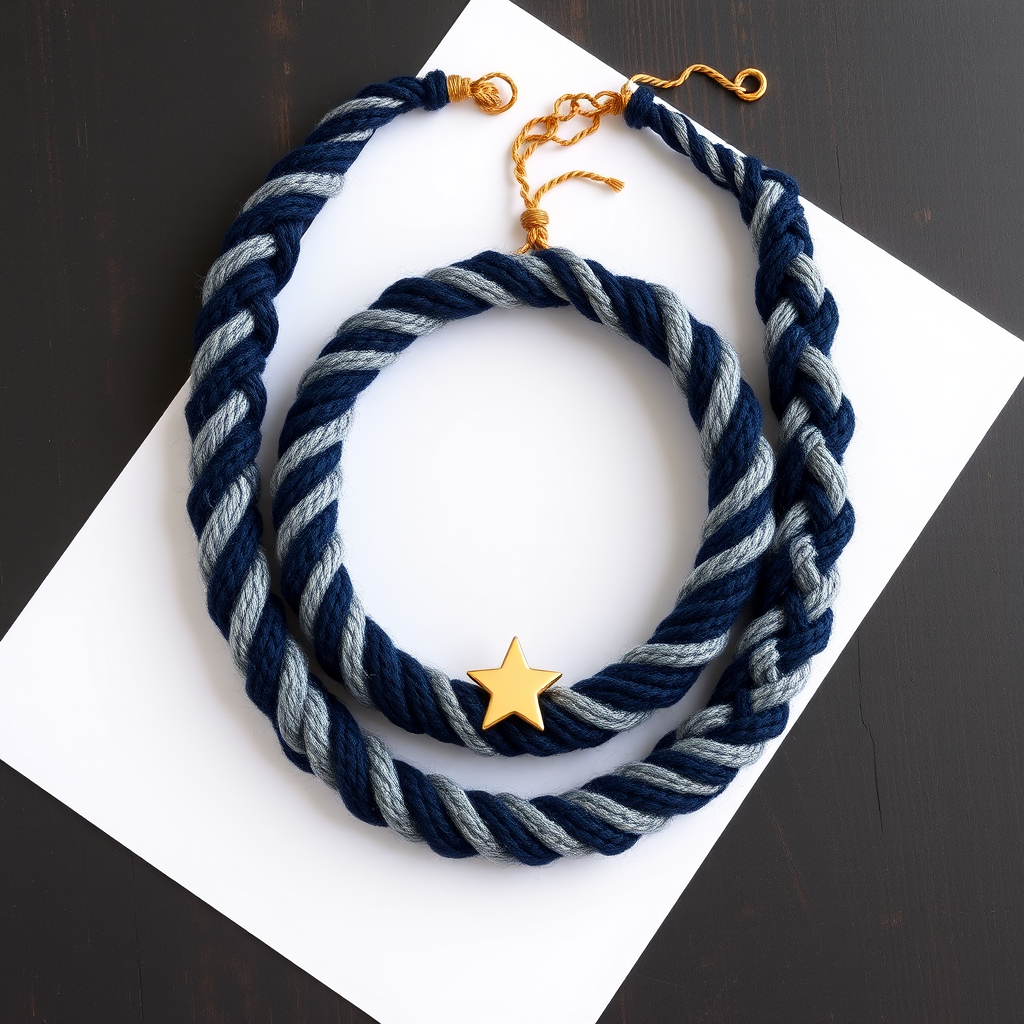
Willow Wisp Crochet Necklace Free Pattern – Boho Twisted Yarn Pendant

Willow Wisp Crochet Necklace Free Pattern – Boho Twisted Yarn Pendant
Imagine wearing a piece of the forest around your neck—a delicate, nature-inspired pendant that whispers of woodland walks and sun-dappled leaves. The Willow Wisp Crochet Necklace is exactly that: a stunning, lightweight statement piece crafted from soft cotton yarn and a simple twisted cord technique. This beginner-friendly project is perfect for those new to crochet or anyone looking for a quick, satisfying make. With just two colors of worsted weight cotton yarn and a single crochet hook, you'll create a boho-chic accessory that feels like a woven treasure. Let's dive in and craft something beautiful together.
Materials Needed
Before we begin, gather these simple supplies. The beauty of this project lies in its minimalism—you likely have most of these items already.
- Yarn: Worsted weight cotton yarn in two colors:
- Main Color (MC): Sage Green
- Accent Color (AC): Cream
- Hook: 5.0 mm crochet hook (US H-8)
- Notions: Yarn needle for weaving in ends, scissors
- Optional: Two small wooden beads for the cord ends
- Fixed point: A doorknob or sturdy hook to anchor your cord while twisting
Gauge: Not critical for this project. Aim for a firm tension to keep the pendant shape crisp and defined. If your stitches are loose, the leaf will be floppy; if too tight, it will curl. Practice a few rows to find your rhythm.
Step-by-Step Instructions
This necklace is constructed in four simple parts: the twisted cord, the crocheted leaf pendant, the accent border, and final assembly. Follow along carefully, and you'll have a gorgeous necklace in under an hour.
Part 1: Twisted Cord Necklace
The cord is created using a classic finger-crochet technique that produces a beautiful, rope-like strand. It's easier than it sounds!
- Cut your strands: Cut 4 strands of MC yarn, each measuring 3 yards long. Lay them together and fold them in half, creating a loop at one end.
- Anchor the loop: Place the folded loop over a fixed point, such as a doorknob or a sturdy hook. Ensure the loop is secure and won't slip.
- Twist the strands: Hold the loose ends together in one hand. With your other hand, twist the strands in one direction (clockwise or counterclockwise—consistency is key) until they start to kink and curl back on themselves. This will take about 30-60 seconds of continuous twisting. The tighter you twist, the more defined the cord will be.
- Form the cord: Carefully remove the loop from the doorknob. Bring the two ends together, letting the twisted strands naturally coil onto themselves. This creates a beautiful, self-twisting cord. Smooth out any kinks by running your fingers along the length.
- Secure the ends: Tie a simple overhand knot at the end where the strands meet to prevent unraveling. Trim the ends evenly. Your cord should measure approximately 18 inches long.
Part 2: Crocheted Leaf Pendant
Now for the star of the show—the leaf pendant. Worked in continuous rounds, this shape emerges organically from simple single crochet increases and decreases.
- Magic ring: With MC, make a magic ring. If you're unfamiliar with this technique, wrap the yarn around your fingers, insert the hook, and pull up a loop. Then chain 1 to secure.
- Round 1: Work 6 single crochet (sc) into the magic ring. Pull the tail tight to close the ring. You should have 6 stitches. (6 sts)
- Round 2: Chain 1 (this counts as your first sc for this round—or you can work a standing sc). Work 2 sc in each stitch around. This doubles your stitch count. (12 sts)
- Round 3: Chain 1. *Sc in the next stitch, 2 sc in the next stitch.* Repeat from * to * around. This creates a gentle increase. (18 sts)
- Round 4: Chain 1. *Sc in the next 2 stitches, 2 sc in the next stitch.* Repeat from * to * around. (24 sts)
- Round 5: Chain 1. *Sc in the next 3 stitches, 2 sc in the next stitch.* Repeat from * to * around. (30 sts)
- Round 6: Chain 1. Sc in each stitch around. This is a plain round with no increases, allowing the leaf to start curving. (30 sts)
- Round 7: Chain 1. *Single crochet 2 together (sc2tog), sc in the next 3 stitches.* Repeat from * to * around. This begins the decrease, shaping the top of the leaf. (24 sts)
- Round 8: Chain 1. *Sc2tog, sc in the next 2 stitches.* Repeat from * to * around. (18 sts)
- Round 9: Chain 1. *Sc2tog, sc in the next stitch.* Repeat from * to * around. (12 sts)
- Round 10: Chain 1. *Sc2tog* around. You'll have 6 stitches remaining. (6 sts)
- Fasten off: Cut the yarn, leaving a long tail (about 12 inches). Thread the tail onto a yarn needle. Weave the needle through the front loops of the remaining 6 stitches, then pull tight to cinch the top of the leaf closed. Do not cut this tail—you'll use it for assembly later.
Part 3: Adding Texture and Accent
This step transforms your simple leaf into a polished pendant with a delicate border and a loop for the cord.
- Attach AC: With the AC yarn, insert your hook into the bottom point of the leaf (the magic ring end). Pull up a loop and chain 1 to secure.
- Row 1 – Left edge: Work single crochet evenly along the left edge of the leaf. Insert your hook into each row end (the sides of your rounds). You'll work approximately 1 sc per row. Continue until you reach the top of the leaf where you cinched it closed.
- Create the loop: At the top, chain 5. This forms a small loop that will hold your cord.
- Row 1 – Right edge: Now work single crochet down the right edge of the leaf, back to the bottom point. Ensure you work the same number of stitches on this side as you did on the left, so the border is even.
- Finish: Fasten off and weave in the ends securely. This border not only adds a beautiful cream contrast but also stabilizes the leaf shape.
Part 4: Assembly
Bringing it all together is the most satisfying part. In just a few minutes, you'll have a finished necklace.
- Thread the cord: Take your twisted cord and thread it through the loop at the top of the leaf pendant. If the loop is tight, gently stretch it with your fingers.
- Center the pendant: Slide the pendant to the center of the cord. Adjust so it hangs evenly.
- Optional beads: For a polished, boho finish, slide a small wooden bead onto each end of the cord. Tie a knot after each bead to secure it in place.
- Final touches: Weave in any remaining yarn ends from the pendant using your yarn needle. Trim any stray threads from the cord.
Your Willow Wisp Necklace is complete! Slip it on and enjoy the lightweight, organic feel of your handmade creation. The sage green and cream palette is versatile enough to pair with everything from casual denim to a flowy summer dress. Because you made it yourself, it carries a unique charm that no store-bought accessory can replicate.
Pro Tip: Experiment with different color combinations to match your wardrobe or the seasons. A dusty rose MC with a blush AC would be lovely for spring, while a deep forest green with a gold accent would be perfect for autumn. The possibilities are endless!
We'd love to see your Willow Wisp creations. Share your finished necklace on social media with the hashtag #WillowWispNecklace and inspire fellow crafters. Happy crocheting!