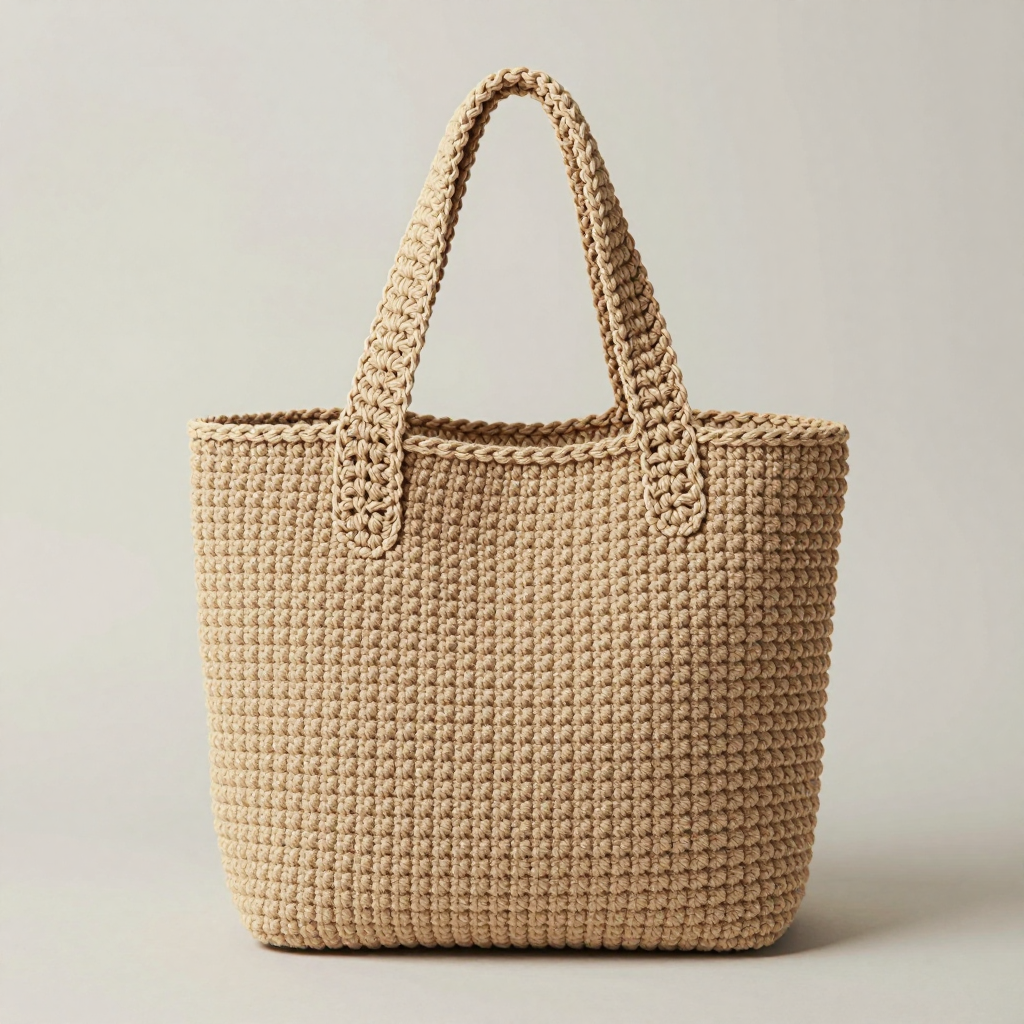
Astronaut Helmet Drawstring Bag Free Crochet Pattern

Astronaut Helmet Drawstring Bag: A Free Beginner Crochet Pattern
Introduction
If you have never held a crochet hook before, this is the perfect first project to make you feel like a real maker. The Astronaut Helmet Drawstring Bag is a soft, rounded white pouch shaped just like a space helmet, with a big grey visor sewn on the front and two little ear blocks on the sides. It is worked almost entirely in single crochet, the simplest stitch there is, so you only need to learn one basic move to finish the whole bag. The finished piece is a squishy little sack about 6 inches wide and 7 inches tall that cinches shut with a handmade cord, perfect for holding tiny treasures, marbles, hair ties, or a small gift. It looks handmade in the best way, with a clear, slightly ridged stitch texture and a friendly, space-age personality.
Materials Needed
- Yarn: Worsted weight (category 4) acrylic yarn. You will need about 120 yards of white (bag body and drawstring), about 25 yards of medium grey (visor), and about 15 yards of light grey (ear blocks). A smooth worsted acrylic works best.
- Crochet hook: US J/10, which is 6.0 mm.
- Stitch marker: one, to mark the first stitch of each round.
- Tapestry needle: a blunt-tipped yarn needle for sewing on the appliqués and weaving in ends.
- Scissors for cutting yarn.
- Straight pins (optional but helpful) to hold appliqués in place while sewing.
Finished measurements: Bag body about 6 inches (15 cm) wide and 7 inches (18 cm) tall before cinching. Visor about 3.5 inches (9 cm) across. Each ear block about 1.5 inches (4 cm) square. Each drawstring cord about 20 inches (51 cm) long.
Abbreviations and Beginner Glossary
- ch – chain. Make a loop of yarn on your hook, then pull the yarn through the loop. Each loop you pull through is one chain.
- sc – single crochet. Insert your hook into the stitch, pull up a loop of yarn (you now have 2 loops on the hook), then pull the yarn through both loops. One single crochet made.
- sl st – slip stitch. Insert your hook into the stitch, pull up a loop, and pull that loop straight through the loop already on your hook. It joins without adding height.
- sc2tog – single crochet 2 stitches together (a decrease). Insert your hook into the first stitch and pull up a loop, insert your hook into the next stitch and pull up a loop (3 loops on hook), then pull the yarn through all 3 loops. Two stitches become one.
- st – stitch (one completed stitch).
- sts – stitches (more than one).
- rnd – round. One complete circle of stitches worked around the bag.
- magic ring – an adjustable loop of yarn you crochet into to start a circle with no hole in the middle. If you prefer, you can instead ch 2 and work your first round into the second chain from the hook.
- 2 sc in next st – work two single crochets into the same stitch. This is an increase and makes the circle bigger.
- ch-2 space – the little gap made by two chains in the eyelet round. You will crochet into that gap later.
- fasten off – cut the yarn a few inches from the work and pull the tail all the way through the last loop to lock it.
- weave in ends – thread a yarn tail onto the tapestry needle and sew it back and forth through the inside of the work so it disappears.
Gauge
Gauge: 12 single crochet stitches x 14 rounds = 4 inches (10 cm) in single crochet worked in the round.
Gauge means how many stitches and rounds fit into a square of fabric. It matters because it controls the finished size: if your stitches are much bigger than the gauge, the bag will come out larger, and if they are much smaller, it will come out smaller. Gauge is not critical for this bag, but matching it keeps the measurements accurate.
How to make a gauge swatch: With your white yarn and J/10 hook, make a magic ring and work 6 sc into it. Work 4 more rounds of single crochet, increasing as needed so the circle stays flat (add 6 stitches per round). Your swatch should measure about 4 inches across after 5 rounds. If it is much smaller, try a larger hook; if much larger, try a smaller hook. You can unravel the swatch and use the yarn in your bag.
Beginner Tips Before You Start
- Use a stitch marker. Because the bag is worked in a continuous spiral, the rounds blend together. Place a marker in the first stitch of each round and move it up as you go, so you always know where a round begins.
- Do not pull the yarn too tight. Tension that is too tight makes the bag stiff and hard to crochet into. Keep your loops relaxed and even.
- Count your stitches at the end of every increase round. The number in parentheses tells you exactly how many stitches you should have. If you are off, fix it before moving on.
- Keep the base flat. After the increase rounds, lay the circle on a table. It should lie flat like a pancake, not cup upward. If it cups, your stitches are too tight; if it ruffles, they are too loose.
- Work the appliqués after the bag. The visor and ear blocks are small and quick, and doing them last means you already know the single crochet stitch well.
- Leave long tails on the appliqués. A 12-inch tail makes sewing them on much easier than a short one.
Step-by-Step Instructions
Bag Body (white yarn)
The bag body is worked in continuous rounds in single crochet. Do not join or turn unless the pattern says so. Place a stitch marker in the first stitch of each round and move it up as you work.
Set-up: Make a magic ring with white yarn.
Rnd 1: Work 6 sc into the magic ring. (6 sts)
Rnd 2: 2 sc in each st around. (12 sts)
Rnd 3: [2 sc in next st, 1 sc in next st] around. (18 sts)
Rnd 4: [2 sc in next st, 1 sc in each of next 2 sts] around. (24 sts)
Rnd 5: [2 sc in next st, 1 sc in each of next 3 sts] around. (30 sts)
Rnd 6: [2 sc in next st, 1 sc in each of next 4 sts] around. (36 sts)
Rnd 7: [2 sc in next st, 1 sc in each of next 5 sts] around. (42 sts)
Rnd 8: [2 sc in next st, 1 sc in each of next 6 sts] around. (48 sts)
Rnd 9: [2 sc in next st, 1 sc in each of next 7 sts] around. (54 sts)
Rnd 10: [2 sc in next st, 1 sc in each of next 8 sts] around. (60 sts)
The base should now measure about 6 inches (15 cm) across. If it is noticeably smaller or larger, adjust your hook size; the bag still works, only the finished size changes.
Rnds 11–35: Sc in each st around. (60 sts) Do not increase. The tube should measure about 7 inches (18 cm) tall from the base after Round 35.
Rnd 36 (eyelet round for the drawstring): Ch 1, sc in first st, [ch 2, skip 2 sts, sc in next st] around, ending with ch 2, skip 2 sts, sl st to the first sc. This creates 20 small chain-2 openings evenly spaced around the top.
Rnd 37: Ch 1, sc in each st and in each ch-2 space around, working 2 sc into each ch-2 space. (60 sts) Sl st to the first sc. Fasten off white yarn and weave in ends.
Drawstring (make 2, white yarn)
Cord: With white yarn, ch 60. Sc in the second ch from hook and in each ch across. Fasten off, leaving a 4-inch tail. This makes a slim cord about 20 inches (51 cm) long. Make a second identical cord.
Visor Appliqué (medium grey)
Worked flat in rows in single crochet.
Row 1: With medium grey, ch 2, work 3 sc in the second ch from hook. (3 sts)
Row 2: Ch 1, turn, 2 sc in each st across. (6 sts)
Row 3: Ch 1, turn, [2 sc in next st, 1 sc in next st] across. (9 sts)
Row 4: Ch 1, turn, [2 sc in next st, 1 sc in each of next 2 sts] across. (12 sts)
Row 5: Ch 1, turn, [2 sc in next st, 1 sc in each of next 3 sts] across. (15 sts)
Row 6: Ch 1, turn, [2 sc in next st, 1 sc in each of next 4 sts] across. (18 sts)
Row 7: Ch 1, turn, [2 sc in next st, 1 sc in each of next 5 sts] across. (21 sts)
Row 8: Ch 1, turn, sc in each st across. (21 sts)
Row 9: Ch 1, turn, [sc2tog, 1 sc in each of next 5 sts] across. (18 sts)
Row 10: Ch 1, turn, [sc2tog, 1 sc in each of next 4 sts] across. (15 sts)
Row 11: Ch 1, turn, [sc2tog, 1 sc in each of next 3 sts] across. (12 sts)
Row 12: Ch 1, turn, [sc2tog, 1 sc in each of next 2 sts] across. (9 sts)
Row 13: Ch 1, turn, [sc2tog, 1 sc in next st] across. (6 sts)
Row 14: Ch 1, turn, [sc2tog] across. (3 sts)
Fasten off, leaving a long tail for sewing. The visor is a rounded oval about 3.5 inches (9 cm) wide and 2.5 inches (6 cm) tall. Do not stuff; sew flat.
Ear Blocks (make 2, light grey)
Row 1: With light grey, ch 6. Sc in the second ch from hook and in each ch across. (5 sts)
Rows 2–6: Ch 1, turn, sc in each st across. (5 sts)
Fasten off, leaving a long tail. Each block is a small rectangle about 1.5 inches (4 cm) wide and 1.5 inches (4 cm) tall. Do not add a border.
Assembly and Finishing
1. Sew on the visor. Thread the tapestry needle with the long tail of the visor. Center the visor on the front of the bag, about 1.5 inches (4 cm) below the eyelet round. Pin it in place. Sew around the entire edge with small whip stitches: bring the needle up through the bag and over the edge of the visor, then back down, repeating all the way around. Catch only the surface of the bag so the inside stays neat. Fasten off and weave in the end.
2. Sew on the ear blocks. Center one ear block on each side of the bag, level with the lower half of the visor and about 1 inch (2.5 cm) in from the side edge. Pin and sew around all four edges with small whip stitches. Fasten off and weave in ends.
3. Add the drawstrings. Thread one white cord through the eyelet round, starting and ending at the front center. Thread the second cord through the same openings in the opposite direction so the two ends emerge on opposite sides. Knot the two ends of each cord together to prevent pulling through. Pull both cords to cinch the top closed.
4. Weave in all remaining ends. Thread each tail on the tapestry needle and sew it back and forth through the inside of the work for about an inch, then trim close to the fabric.
5. Block. Gently steam or block the bag and appliqués flat with a warm iron held above the surface, never pressing directly on the stitches. Let it dry completely. The bag is now ready to fill and cinch.
Pro Tips and Variations
- Change the colors. Make the bag in any color you like, and use a contrasting color for the visor so it pops. A dark grey or black visor looks especially space-age.
- Adjust the size. To make a bigger bag, add more increase rounds before the straight sides (each round adds 6 stitches) and work more straight rounds. To make a smaller bag, stop increasing sooner. Keep the eyelet round the same.
- Substitute yarn. Any worsted weight yarn works. Cotton gives a crisper, sturdier bag; acrylic stays soft and squishy. Just check your gauge so the finished size stays close to the measurements.
- Add a lining or a charm. Sew a small fabric lining inside for heavier treasures, or attach a tiny star charm to the drawstring for extra space flair.