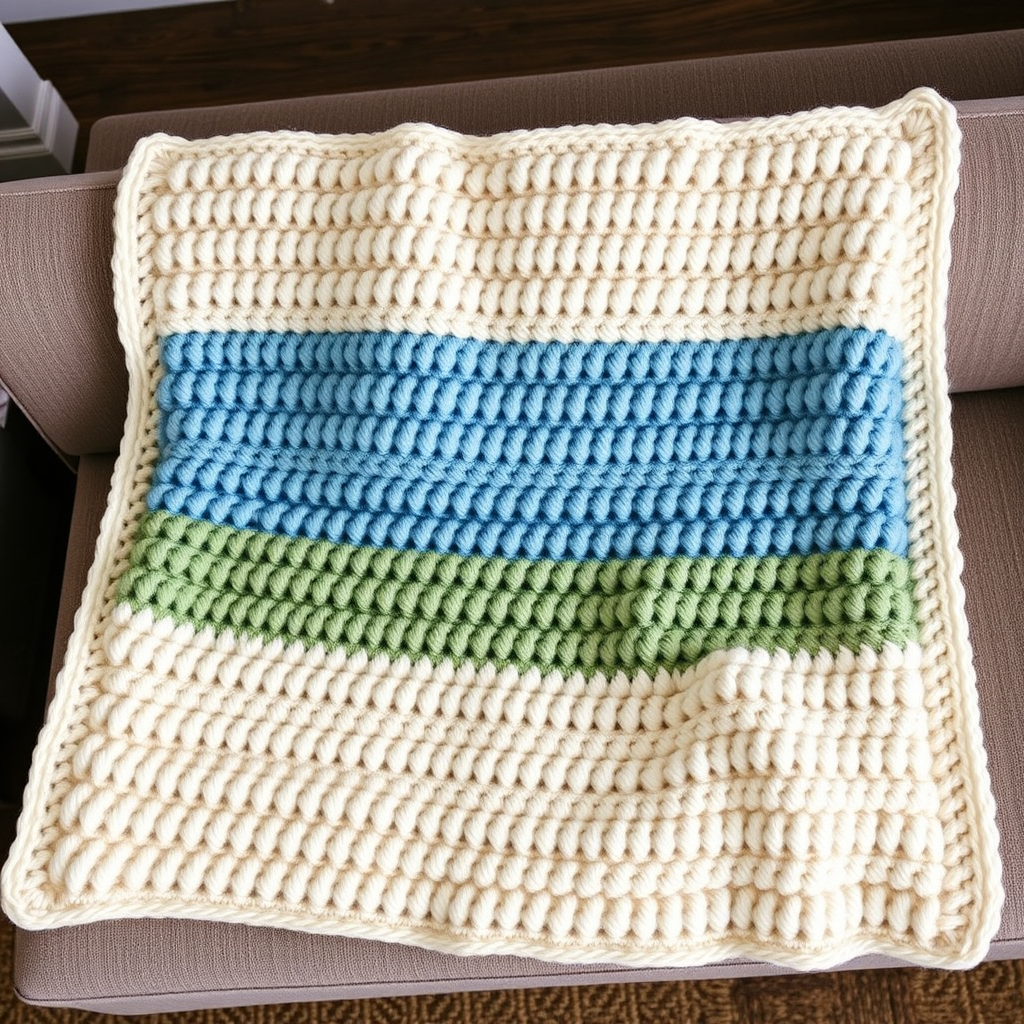
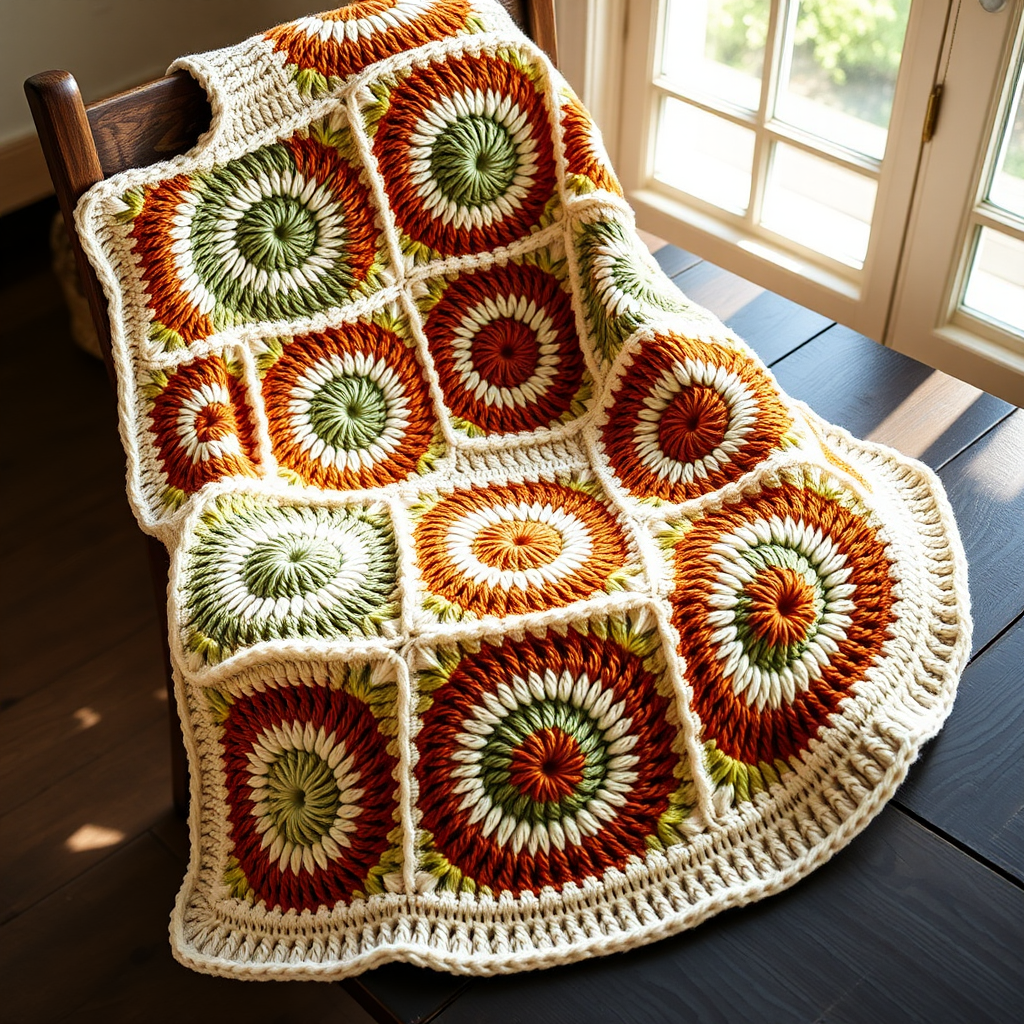
Aurora Waves Throw Free Pattern – Crochet a Shifting Sky Blanket

Wrap Yourself in the Northern Lights: The Aurora Waves Throw
Imagine wrapping yourself in a blanket that captures the ethereal dance of the aurora borealis. The Aurora Waves Throw is a stunning crochet pattern that uses a rhythmic shell stitch to create a rippling, textured fabric that shifts through twilight blues, teals, emerald greens, and soft white. This isn't just a blanket; it's a piece of art that brings the serene beauty of a midnight sky into your home. Whether you're a seasoned crocheter looking for a meditative project or a confident beginner ready for a beautiful challenge, this free pattern is designed to guide you through every step. The result is a cozy, handmade throw that feels like a gentle breeze across a midnight meadow.
Materials Needed: Gathering Your Midnight Palette
Before you begin your journey into the aurora, gather the following materials. The quality of your yarn will greatly affect the drape and feel of your finished throw, so choose a soft, worsted-weight yarn that you love to touch.
- Yarn: Worsted weight yarn in 4 colors (approximately 1800 yards total):
- Color A (Midnight Blue): 450 yards
- Color B (Teal): 450 yards
- Color C (Emerald): 450 yards
- Color D (Soft White): 450 yards
- Crochet Hook: 5.5 mm (I-9) crochet hook
- Other Tools: Yarn needle for weaving in ends, scissors, and a tape measure.
Gauge: 4 shells and 6 rows = 4 inches in pattern stitch. (Always check your gauge to ensure your blanket turns out the correct size.)
Step-by-Step Instructions: Crocheting the Shifting Sky
This pattern is built on a simple, repetitive shell stitch that creates a beautiful wave effect. The key is to count your stitches carefully, especially in the first few rows. Let's begin.
Getting Started: The Foundation Chain
To begin, you will create a foundation chain that is a multiple of 12 + 2. For a throw-sized blanket, we will chain 134 stitches.
- Make a slip knot and place it on your 5.5 mm hook.
- Chain (ch) 134 stitches. Tip: Use a stitch marker in the 130th chain to help you count if needed.
Row 1: Establishing the Shell Pattern
This first row sets the rhythm for the entire blanket. Pay close attention to where you place your stitches.
- Single crochet (sc) in the 2nd chain from your hook.
- *Skip the next 2 chains. Work 5 double crochet (dc) into the next chain. This creates your first "shell."
- Skip the next 2 chains. Work 1 sc into the next chain.
- Chain 3. Skip the next 2 chains. Work 1 sc into the next chain.
- Skip the next 2 chains. Work 5 dc into the next chain (another shell).
- Skip the next 2 chains. Work 1 sc into the next chain.*
- Repeat from * to * across the row. You should end with a sc in the last chain. Turn your work.
Row 2: Building the Ripples
Now you will build upon the shells from Row 1, creating the interlocking wave pattern.
- Chain 1. Work 1 sc into the first sc of the previous row.
- *Skip the next 2 dc. Work 5 dc into the next sc (this is the center of the shell from the row below).
- Skip the next 2 dc. Work 1 sc into the next sc.
- Chain 3. Work 1 sc into the ch-3 space from the row below.
- Chain 3. Work 1 sc into the next sc.
- Skip the next 2 dc. Work 5 dc into the next sc (center of the next shell).
- Skip the next 2 dc. Work 1 sc into the next sc.*
- Repeat from * to * across the row. Turn your work.
Row 3 and Beyond: The Repeat Pattern
Row 3 is identical to Row 2. This is the row you will repeat for the entire body of the blanket.
- Chain 1. Work 1 sc into the first sc.
- *Skip the next 2 dc. Work 5 dc into the next sc (center of the shell).
- Skip the next 2 dc. Work 1 sc into the next sc.
- Chain 3. Work 1 sc into the ch-3 space.
- Chain 3. Work 1 sc into the next sc.
- Skip the next 2 dc. Work 5 dc into the next sc.
- Skip the next 2 dc. Work 1 sc into the next sc.*
- Repeat from * to * across the row. Turn your work.
Important: Continue repeating Row 3 for the rest of the blanket. The pattern is rhythmic and meditative once you get the hang of it.
Creating the Aurora Gradient: Color Changes
To achieve the beautiful "shifting sky" effect, you will change colors every 6 rows. When changing colors, simply finish the last stitch of the row with the new color. Weave in your ends as you go to keep the back of your work tidy.
- Rows 1-6: Color A (Midnight Blue)
- Rows 7-12: Color B (Teal)
- Rows 13-18: Color C (Emerald)
- Rows 19-24: Color D (Soft White)
- Rows 25-30: Color C (Emerald)
- Rows 31-36: Color B (Teal)
- Rows 37-42: Color A (Midnight Blue)
Continue alternating colors in this gradient sequence (A, B, C, D, C, B, A) until your blanket measures approximately 60 inches long. Be sure to end with a complete row of Color A.
Finishing Touches: The Final Row and Border
Once your blanket reaches the desired length, it's time to finish it off with a clean, even edge.
- Final Row: Chain 1. Work 1 sc in each stitch across the row. This means 1 sc in each dc and each sc, and 3 sc in each ch-3 space. Fasten off and weave in all ends.
- Optional Border (Round 1): Attach your yarn in any corner. Work a round of single crochet evenly around the entire blanket, working 3 sc in each corner to help the corners lie flat.
- Optional Border (Round 2): For a polished, finished edge, work a round of reverse single crochet (crab stitch). This is a simple stitch worked from left to right (instead of right to left) that creates a beautiful, twisted rope-like edge.
Once your border is complete, fasten off and weave in all remaining ends. Your Aurora Waves Throw is now ready to be draped, admired, and enjoyed. The rhythmic texture and shifting colors will bring a touch of magic to any room.