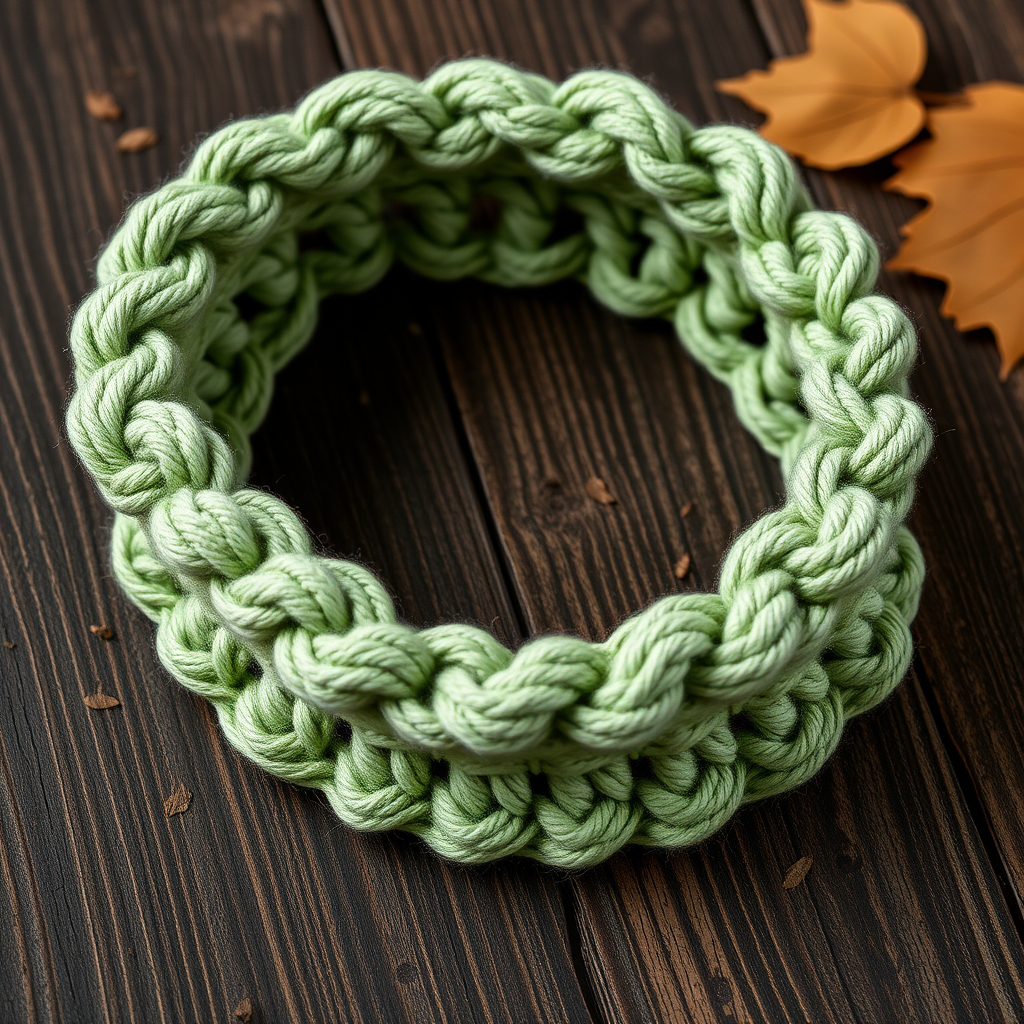
Candy Ribbon Puff Headband Free Crochet Pattern
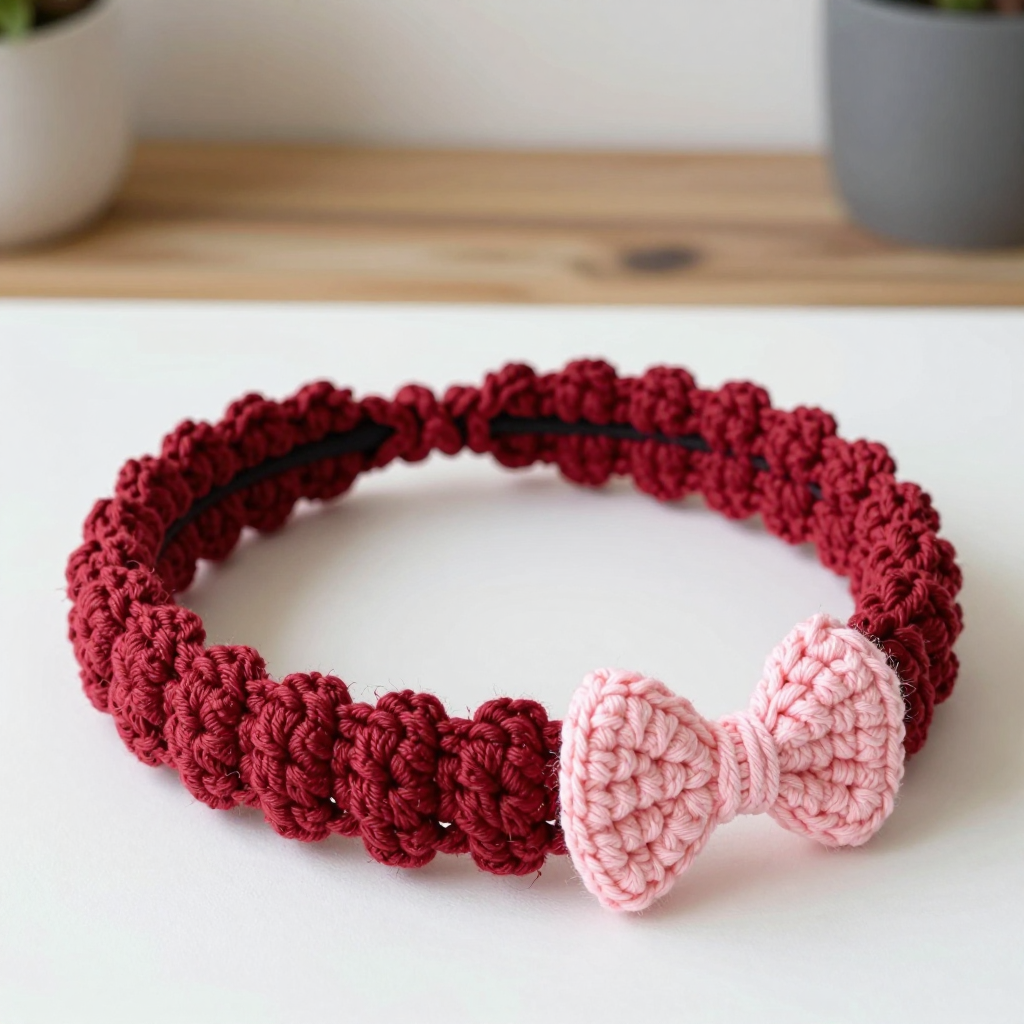
Candy Ribbon Puff Headband: A Sweet First Crochet Project
If you have never held a crochet hook before, this is the perfect place to start. The Candy Ribbon Puff Headband is a narrow cherry-red tube worked in a soft, stretchy puff-braid lace and joined into a seamless loop, then finished with a tiny pink bow at the side. It looks like something you bought at a boutique, but it is made from just a few yards of yarn and a handful of simple stitches. The finished band is about 1 inch (2.5 cm) wide and 20 inches (51 cm) around, so it hugs your head gently and stays put without squeezing. It feels light, slightly squishy, and wonderfully sweet — and you can make it in a single afternoon.
Materials Needed
- Yarn for the band: DK / (3) Light weight yarn, approximately 30–35 yards (27–32 m) of cherry red. The sample used a smooth cotton-acrylic blend, which gives crisp stitch definition and a little stretch.
- Yarn for the bow: DK / (3) Light weight yarn, approximately 5 yards (4.5 m) of soft pink.
- Crochet hook: 2.25 mm steel crochet hook (this is a very small hook; it does not have a standard US letter size, but it is often labeled US B-1 in some brands). Use a 2 mm hook if you want a firmer, narrower band.
- Stitch marker: 1 removable stitch marker (or a small safety pin, or a scrap of contrasting yarn).
- Tapestry needle: A blunt-tipped needle with a large eye, for seaming and weaving in ends.
- Scissors: Any small, sharp pair.
- Matching pink sewing thread (optional, for sewing on the bow) or use the bow's yarn tail.
- Finished size: One size fits most (head circumference 21–23 in / 53–58 cm). The finished band measures approximately 20 in / 51 cm unstretched around and 1 in / 2.5 cm wide. The puff-braid lace is stretchy, so the band grips gently.
Abbreviations and Beginner Glossary
Every abbreviation used in this pattern is listed below in plain English. Read through this list once before you begin — you do not need to memorize it.
- ch – chain. Make a loop with the yarn on your hook (this is a slip knot), then wrap the yarn over the hook and pull it through the loop already on the hook. That is one chain. Chains are the foundation of most crochet.
- sl st – slip stitch. Insert your hook into the stitch, wrap the yarn over the hook, and pull it through both the stitch and the loop on your hook at the same time. It makes a tiny, flat join.
- sc – single crochet. Insert your hook into the stitch, wrap the yarn over, pull up a loop (you now have 2 loops on the hook), wrap the yarn over again, and pull through both loops. One single crochet made.
- dc – double crochet. Wrap the yarn over the hook first, insert the hook into the stitch, wrap the yarn over, pull up a loop (3 loops on hook), wrap the yarn over, pull through 2 loops, wrap the yarn over, pull through the last 2 loops.
- puff – puff stitch. Wrap the yarn over the hook, insert the hook into the indicated stitch, wrap the yarn over, and pull up a loop to the height of a double crochet. Do this 3 times in the same stitch (you will have 7 loops on your hook). Then wrap the yarn over and pull through all 7 loops at once, and chain 1 to close the puff. This makes one plump, rounded bump.
- st(s) – stitch(es). One completed stitch, or several.
- sp – space. The small gap made by a chain. When the pattern says "ch-1 sp," it means the little hole created by a single chain.
- round – one complete circle of stitches worked around the tube. Unlike a "row," which goes back and forth, a round goes all the way around.
- fasten off – cut the yarn, leaving a tail, then pull the tail through the last loop on your hook and tighten it so it does not unravel.
- whipstitch – a simple sewing stitch. Bring the needle up through both layers, then over the edge and back up, making small diagonal stitches that look like a row of slanted lines.
Gauge
Gauge: 8 puff-stitch columns and 10 rounds = 4 inches (10 cm) worked in the round. The band's circumference is sized by stitch count, not by row gauge.
Why gauge matters: Gauge is simply how big your stitches turn out. If your stitches are looser than the pattern's, your headband will be too big and slide off; if they are tighter, it will be too small and pinch. Because this band is sized by the number of stitches in the starting ring (16 chains), the most important thing is that your starting ring measures about 20 inches (51 cm) around when gently stretched. If it does not, go up or down one hook size.
How to make a gauge swatch: Chain 16, join into a ring, and work Rounds 1–3 exactly as written below. Lay the swatch flat and measure across the puff columns. You should get about 8 puff columns across 4 inches. If you get more columns than that, your stitches are too tight — try a larger hook. If you get fewer, your stitches are too loose — try a smaller hook. Do not skip this step; it takes five minutes and saves you from re-making the whole band.
Beginner Tips Before You Start
- Use a stitch marker to track your rounds. This band is worked in continuous rounds, which means you never join at the end of a round — you just keep spiraling upward. Place a marker in the first stitch of each round so you always know where the round began.
- Do not pull the yarn too tight. Beginners often grip the yarn hard, which makes tiny, stiff stitches. Keep your tension relaxed so the puff stitches stay plump and the band stays stretchy.
- Count your chains carefully at the start. The set-up ring of 16 chains is the entire circumference of the band. Count them twice before joining.
- Keep the starting chain untwisted. Before you join the ring, lay the chain flat on the table and make sure it is not twisted like a figure-eight. A twisted ring cannot be fixed later.
- Work the puff stitch slowly. It is the only "fancy" stitch in this pattern. Pull each of the three loops up to the same height so the puff looks even.
- Try the band on as you go. After Round 5, slip the tube over your head (it will still be open at the top) to check the fit. It should feel snug but comfortable.
Step-by-Step Instructions
Band (make 1, cherry red)
Note on the puff-braid lace: The band is a straight tube worked in continuous rounds (no joining, use a stitch marker). Each round alternates a puff stitch with a chain-1 space, and the puffs of the next round sit in the chain-1 spaces of the round below, creating a braided, ribbon-like lace.
Set-up: Ch 16. Being careful not to twist the chain, join with a sl st to the first ch to form a ring. (This ring of 16 ch = the circumference of the band; 16 ch at this gauge gives approx. 20 in / 51 cm.)
Round 1: Ch 1 (does not count as a st). Work 1 sc in each ch around the ring. Do not join. Place a stitch marker in the first sc. (16 sc)
Round 2: Puff in the first sc, ch 1, skip next sc, *puff in next sc, ch 1, skip next sc; repeat from * around. Do not join. (8 puffs, 8 ch-1 sps)
Round 3: Puff in the first ch-1 sp, ch 1, *puff in next ch-1 sp, ch 1; repeat from * around. Do not join. (8 puffs, 8 ch-1 sps)
Rounds 4–10: Repeat Round 3 seven more times, always working each puff into the ch-1 space directly above the previous round's puff. The tube will grow upward in a braided ribbon pattern. (8 puffs per round; 9 rounds of puffs total)
Round 11 (top edge): Ch 1, work 1 sc in each puff and 1 sc in each ch-1 sp around. Do not join. (16 sc)
Fasten off, leaving a 10 in / 25 cm tail. Thread the tail on a tapestry needle and whipstitch the top sc round to the Round 1 sc round, closing the tube into a flat, seamless loop. Weave in ends.
Small Pink Bow (make 1, soft pink)
Bow center: Ch 4, join with a sl st to form a ring.
Round 1: Ch 3 (counts as first dc), work 5 dc into the ring, ch 2, sl st into the ring. (This makes one bow loop.)
Round 2: Ch 2, work 5 dc into the same ring, ch 2, sl st into the ring. (Second bow loop.)
Fasten off, leaving an 8 in / 20 cm tail. Wrap the tail tightly around the center of the bow 4–5 times to cinch it into a figure-eight shape, then knot at the back and trim.
Assembly and Finishing
Seaming the band: Thread the 10-inch tail onto your tapestry needle. Hold the two open edges of the tube together, lining up the stitches of Round 1 with the stitches of Round 11. Working from the inside so the seam stays hidden, bring the needle up through the first stitch of both layers, then over the edge and back up through the next pair of stitches. Continue all the way around with small, even whipstitches. Pull gently but firmly so the seam lies flat, then knot the tail on the inside and trim.
Attaching the bow: Pin the bow to the side of the band, about 1 inch (2.5 cm) from the seam, with the cinched center sitting on the band's outer face. Using matching pink thread or the bow's tail, sew the bow securely through all layers of the band with 6–8 small stitches. Go through the cinched center so the bow does not flop.
Weaving in ends: Thread each remaining tail onto the tapestry needle and run it through the back of several stitches (about 1 inch of fabric), then change direction and run it back through a few more stitches. This locks it in place. Trim close to the fabric.
Blocking: Lightly mist the finished headband with cool water and gently stretch it between your hands to even out the puff-braid lace. Lay it flat on a towel and shape the bow loops with your fingers. Let it dry completely (about 2 hours). Do not hang it while wet, or it will stretch out of shape.
Pro Tips and Variations
- Change the colors: Make the band in soft pink and the bow in cherry red for a reversed look, or try mint green with a white bow. Any DK-weight color works.
- Adjust the size: To make the band smaller, start with 14 chains instead of 16 (this gives about 17.5 in / 44 cm). To make it larger, start with 18 chains (about 22.5 in / 57 cm). Keep the puff rounds the same — only the starting ring changes.
- Substitute the yarn: A smooth cotton or cotton-acrylic blend gives the crispest stitch definition. Avoid fuzzy or novelty yarns for your first attempt, as they make it hard to see your stitches.
- Make a wider band: Work Rounds 4–14 instead of Rounds 4–10 for a band about 1.5 inches (4 cm) wide. Add one extra sc round at the top to match.