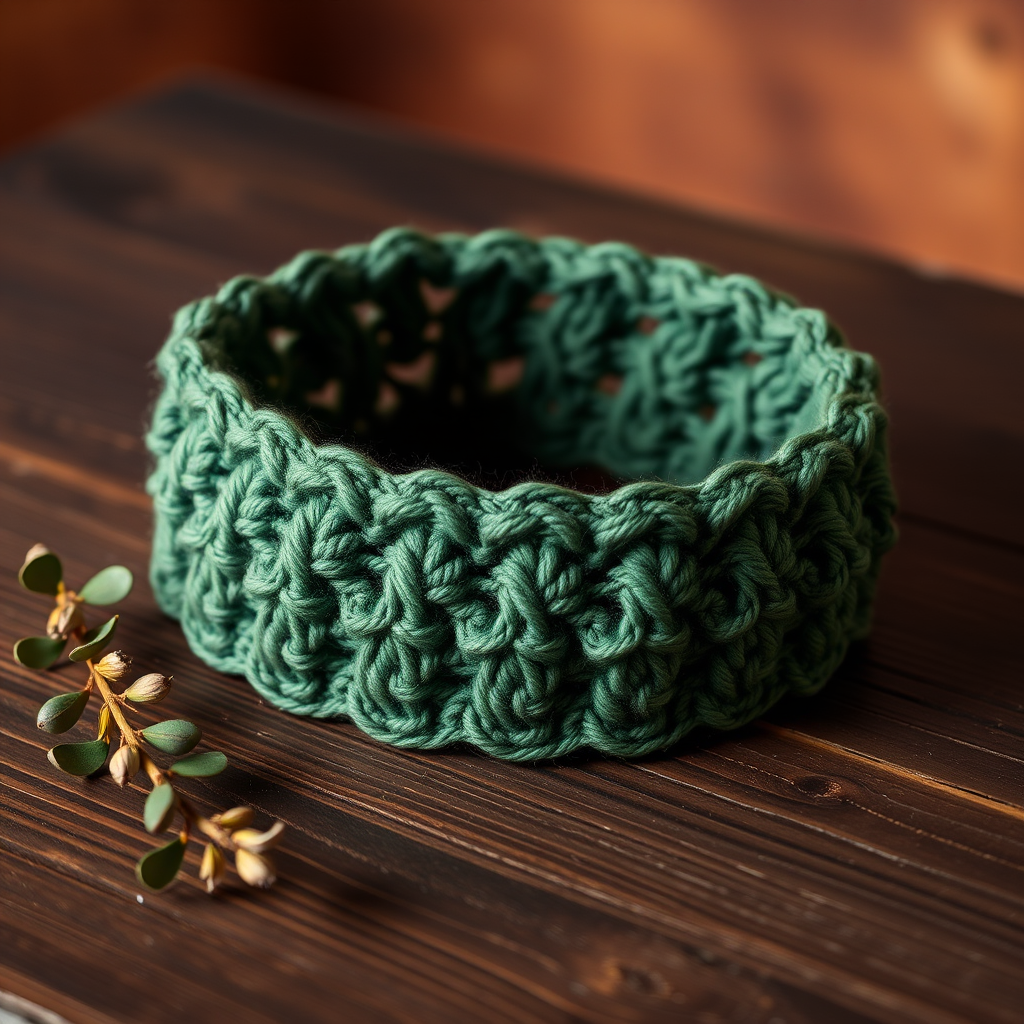
Celtic Cross Cable Headband Free Pattern – A Cozy Knit Ear Warmer
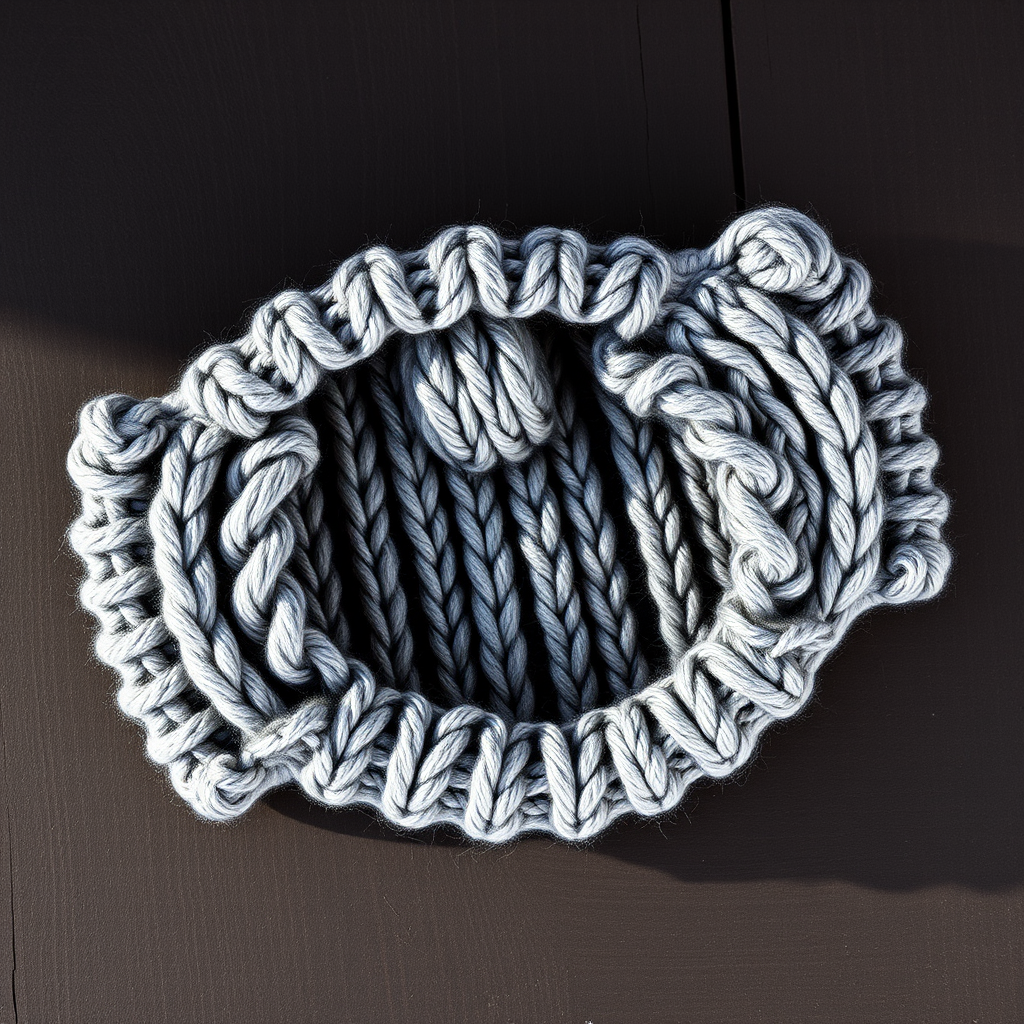
The Celtic Cross Cable Headband: A Timeless Knit for Cozy Days
There's something deeply satisfying about knitting a project that looks intricate but is entirely achievable. The Celtic Cross Cable Headband is exactly that—a richly textured ear warmer that brings the timeless elegance of Celtic knots to your winter wardrobe. Knitted in a soft, heathered wool blend, this headband offers both warmth and a touch of heritage charm, making it a perfect gift or a treat for yourself.
This free pattern is designed with the beginner-to-intermediate knitter in mind. The cable work looks complex, but once you master the two simple cable techniques (C4F and C4B), you'll find the rhythm incredibly meditative. The result is a beautifully structured piece with ribbed edges and a stunning central motif that stays put on your ears, no matter how blustery the day gets.
Why You'll Love This Pattern
- Quick to Knit: Using worsted-weight yarn and US 7 needles, this project works up in just a few evenings.
- No Shaping Headaches: The main body is a simple rectangle—no increasing or decreasing until the optional tapered ends.
- Heritage Style: The Celtic cross cable adds a classic, handcrafted feel that never goes out of fashion.
- Perfect Fit: With a 19-inch circumference, it stretches comfortably to fit most adult heads.
Materials Needed
Before you cast on, gather these simple supplies. The beauty of this pattern is that it requires minimal equipment—just your needles, a cable needle, and one skein of lovely yarn.
- Yarn: Worsted weight yarn (e.g., Cascade 220 Heathers in 'Heather Grey' or 'Moss') – 1 skein (approx. 100g/220yds). Any worsted weight will work, but a wool blend gives the best cable definition.
- Needles: US 7 (4.5mm) knitting needles (straight or circular for flat knitting). You'll also need a cable needle (or a double-pointed needle of the same size).
- Gauge: 20 stitches and 26 rows = 4 inches in stockinette stitch (after blocking). Getting gauge is important for the perfect fit, so take a moment to swatch!
- Extras: A tapestry needle for weaving in ends and seaming, plus a stitch marker (optional) to track your rows.
Step-by-Step Instructions
Let's dive into the pattern. Follow these instructions carefully, and you'll have a gorgeous headband in no time. The pattern is broken down into the main body, optional shaping, and finishing.
Abbreviations & Special Stitches
- CO: Cast on
- K: Knit
- P: Purl
- C4F: Slip 2 stitches to cable needle, hold in front, knit next 2 stitches, then knit 2 from cable needle.
- C4B: Slip 2 stitches to cable needle, hold in back, knit next 2 stitches, then knit 2 from cable needle.
- K2tog: Knit 2 stitches together (decrease).
- SSK: Slip, slip, knit (decrease).
- BO: Bind off.
Finished Size
Approx. 19 inches circumference (stretches to fit most adult heads) x 3.5 inches wide.
The Main Body
CO 26 stitches.
Now, follow the row-by-row instructions below. The pattern is a 10-row repeat, and you'll work it until the piece measures about 18 inches from the cast-on edge.
- Row 1 (RS): K2, P2, K6, P2, K2, P2, K6, P2, K2
- Row 2 (WS): P2, K2, P6, K2, P2, K2, P6, K2, P2
- Row 3: K2, P2, C4F, K2, P2, K2, P2, C4B, K2, P2, K2
- Row 4: Repeat Row 2
- Row 5: Repeat Row 1
- Row 6: Repeat Row 2
- Row 7: K2, P2, K2, C4B, P2, K2, P2, C4F, K2, P2, K2
- Row 8: Repeat Row 2
- Row 9: Repeat Row 1
- Row 10: Repeat Row 2
Repeat Rows 3–10 until the headband measures approximately 18 inches from the cast-on edge, ending with a Row 10 (WS) repeat. This ensures you finish on a wrong-side row, ready for the shaping.
Shaping the Tapered Ends (Optional but Recommended)
This step creates a gentle curve for a sleeker fit around your head. It uses a technique called "short rows" with wrapped stitches. Don't be intimidated—just follow along slowly.
- First Short Row (RS): Work in pattern across the first 20 stitches. Wrap the next stitch (slip stitch purlwise, bring yarn to front, slip stitch back to left needle, turn work). Leave the remaining stitches unworked.
- Return Row: Work back across those 20 stitches in pattern.
- Second Short Row (RS): Work across the first 14 stitches. Wrap the next stitch, turn, and work back across those 14 stitches.
- Third Short Row (RS): Work across the first 8 stitches. Wrap the next stitch, turn, and work back across those 8 stitches.
- Final Row (RS): Work across all 26 stitches. When you reach each wrapped stitch, pick up the wrap and knit it together with its corresponding stitch to hide it. This completes the shaping.
Finishing & Seaming
- Bind Off: BO all stitches loosely in pattern. A loose bind-off is crucial for a stretchy edge that fits comfortably.
- Block: Block the headband flat. This is a magical step—it opens up the cables and makes the stitches look crisp and professional. Pin it to the correct dimensions and let it dry completely.
- Seam: Once dry, fold the headband in half with the right sides together. Sew the cast-on and bind-off edges together using a mattress stitch or whip stitch, forming a loop. Weave in all ends securely.
Optional Embellishment
For a touch of extra flair, sew a decorative button or a small knitted flower at the seam. This is a lovely way to personalize your headband or hide any imperfections in your seaming.
And there you have it—a beautiful, handcrafted Celtic Cross Cable Headband ready to keep you warm. This pattern is a fantastic way to practice cables and create a wardrobe staple that you'll reach for all winter long. Happy knitting!