The Gilded Fern Headband: A Free Knitting Pattern for a Textured, Leafy Winter Accessory
Wrap Yourself in the Quiet Luxury of the Forest
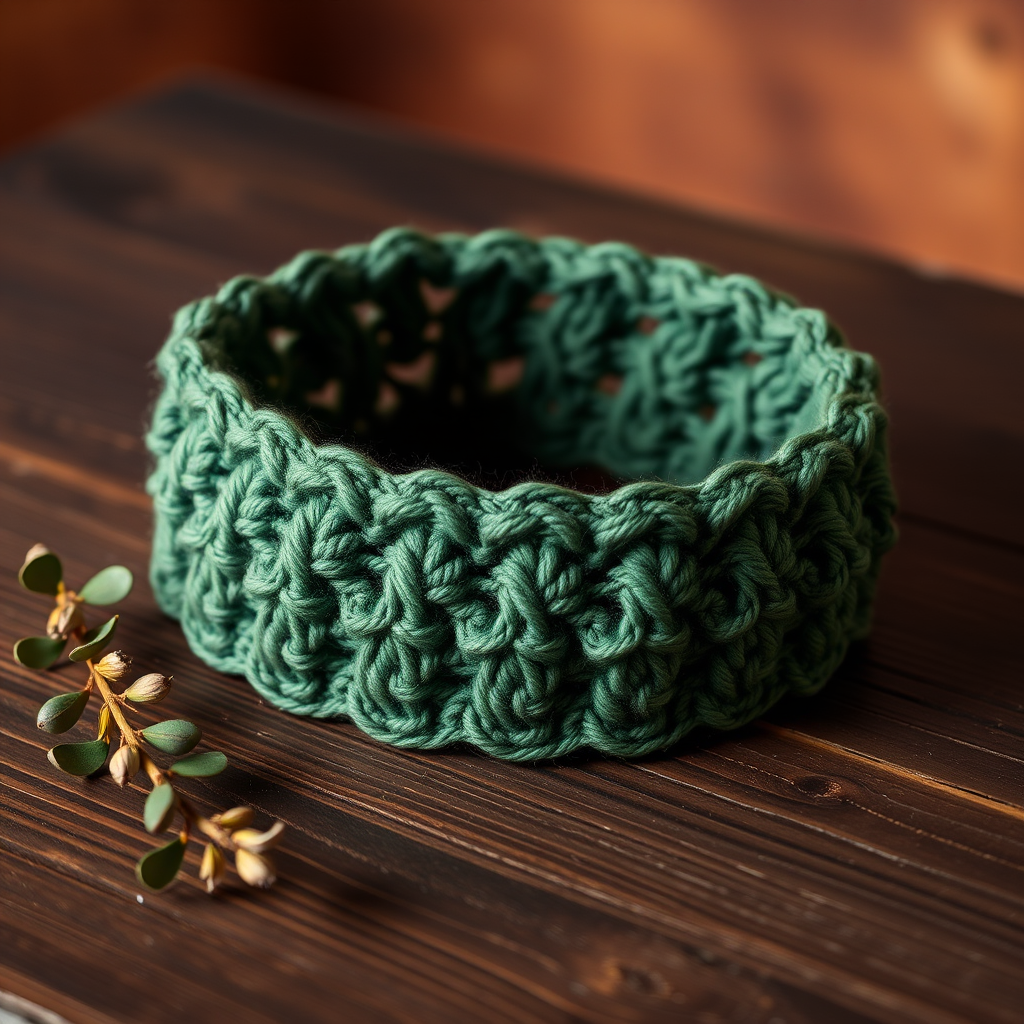
There's something magical about a handmade accessory that feels both elegant and cozy. The Gilded Fern Headband is exactly that—a richly textured winter accessory that evokes frost-kissed leaves and quiet woodland walks. Knit in a warm, tonal yarn, this headband features a delicate fern stitch pattern that creates a series of small, leaf-like shapes with delicate openwork. Whether you're making it for yourself or as a thoughtful handmade gift, this free knitting pattern is sophisticated enough to impress, yet simple enough for a confident beginner to tackle. The finished piece measures approximately 20 inches in circumference and 4 inches wide, making it a perfect, snug fit for most adult heads.
Materials Needed
Before you begin, gather the following supplies. The beauty of this pattern lies in its simplicity—you only need a few basic tools and one skein of beautiful yarn.
Yarn
- Weight: Worsted weight yarn (also known as aran or 10-ply)
- Amount: Approximately 100 yards
- Suggested Yarn: Malabrigo Rios in 'Diana' or a similar tonal green/brown. Any worsted weight yarn with good stitch definition will work beautifully. Look for a yarn that has subtle tonal variations to enhance the fern lace pattern.
Needles & Notions
- Knitting Needles: US 7 (4.5 mm) straight or circular needles (circular needles are helpful for holding many stitches, but straight needles work fine)
- Tapestry Needle: For weaving in ends and seaming
- Stitch Markers (optional): To help track pattern repeats
Gauge
20 stitches and 28 rows = 4 inches in stockinette stitch. Achieving the correct gauge is important for the headband to fit properly. If your gauge is off, adjust your needle size accordingly. A tighter gauge will make a smaller, stiffer headband; a looser gauge will make a larger, drapier one.
Step-by-Step Instructions
Follow these detailed instructions carefully. The pattern uses a 6-row repeat that creates the fern lace motif. Take your time with the first repeat, and you'll find the rhythm quickly.
Abbreviations
- CO: Cast on
- K: Knit
- P: Purl
- K2tog: Knit two stitches together (a right-leaning decrease)
- YO: Yarn over (creates an eyelet hole)
- Sl1: Slip one stitch purlwise (as if to purl, with yarn in back)
- Psso: Pass slipped stitch over (after knitting the next stitch, lift the slipped stitch over the knitted stitch and off the needle)
- St(s): Stitch(es)
- Rep: Repeat
Pattern Stitch: Fern Lace (Multiple of 6 + 2 stitches)
This pattern is worked over a multiple of 6 stitches, plus 2 extra stitches for the edges. The 6-row repeat creates the fern-like leaves. Read the pattern carefully—each row builds on the previous one.
- Row 1 (Right Side): K2, *YO, K2, Sl1, K2tog, Psso, K2, YO, K1; rep from * to last 0 sts, end K0. (Note: The "end K0" means you will end the row exactly at the last repeat; there are no leftover stitches.)
- Row 2 (Wrong Side): Purl all stitches.
- Row 3 (Right Side): K2, *K1, YO, K1, Sl1, K2tog, Psso, K1, YO, K2; rep from * to last 0 sts, end K0.
- Row 4 (Wrong Side): Purl all stitches.
- Row 5 (Right Side): K2, *K2, YO, Sl1, K2tog, Psso, YO, K3; rep from * to last 0 sts, end K0.
- Row 6 (Wrong Side): Purl all stitches.
Headband Construction
Follow these steps to create your Gilded Fern Headband. The entire piece is worked flat as a rectangle, then seamed at the ends.
- Cast On: CO 22 stitches loosely. A long-tail cast-on works well, but any stretchy cast-on is fine. Ensure your stitches are not too tight, as the bind-off will also need to be loose.
- Work the Pattern: Begin working Rows 1-6 of the Fern Lace pattern. Continue repeating these 6 rows until the piece measures approximately 20 inches from the cast-on edge, measured flat without stretching. Important: End after completing a Wrong Side row (Row 2, 4, or 6). The pattern repeat is 6 rows, so you can adjust the length by adding or removing full 6-row repeats. For a smaller head, use fewer repeats; for a larger head, add more.
- Bind Off: Bind off all stitches loosely in pattern. This means: knit the knit stitches and purl the purl stitches as they appear. For example, on a Right Side row, you would knit the knits and purl the purls. On a Wrong Side row, you would purl the purls and knit the knits. A stretchy bind-off like the "Jeny's Surprisingly Stretchy Bind-Off" is ideal, but a standard bind-off worked loosely will also work. Do not pull the yarn tight.
- Seam the Ends: Fold the headband so the short ends meet. Seam them together using one of these methods:
- Mattress Stitch: This creates an invisible, flat seam. Thread your tapestry needle with a long tail of yarn (about 18 inches). With right sides facing up, line up the edges. Insert the needle under the horizontal bar between the first and second stitches on one side, then under the corresponding bar on the other side. Continue alternating sides, pulling gently to close the seam.
- Three-Needle Bind-Off: If you prefer a decorative seam, hold the two ends together with right sides facing out. Using a third needle, knit together one stitch from the front needle and one from the back needle. Then, bind off as you go. This creates a neat ridge on the inside.
- Weave in Ends: Using your tapestry needle, weave in all loose ends on the wrong side of the headband. Trim any excess yarn close to the fabric.
- Block Gently: Blocking is essential to open up the lace pattern and even out the stitches. Soak the headband in lukewarm water for 15-20 minutes. Gently squeeze out excess water (do not wring). Lay flat on a towel, shape to the correct dimensions (20 inches long, 4 inches wide), and pin if necessary. Allow to dry completely. The lace pattern will become more defined and the fabric will soften.
Your Gilded Fern Headband is now complete! Wear it with a cozy sweater and a warm cup of tea, or gift it to someone special. The subtle leaf pattern and rich tonal yarn make it a timeless accessory that will be cherished for years to come.