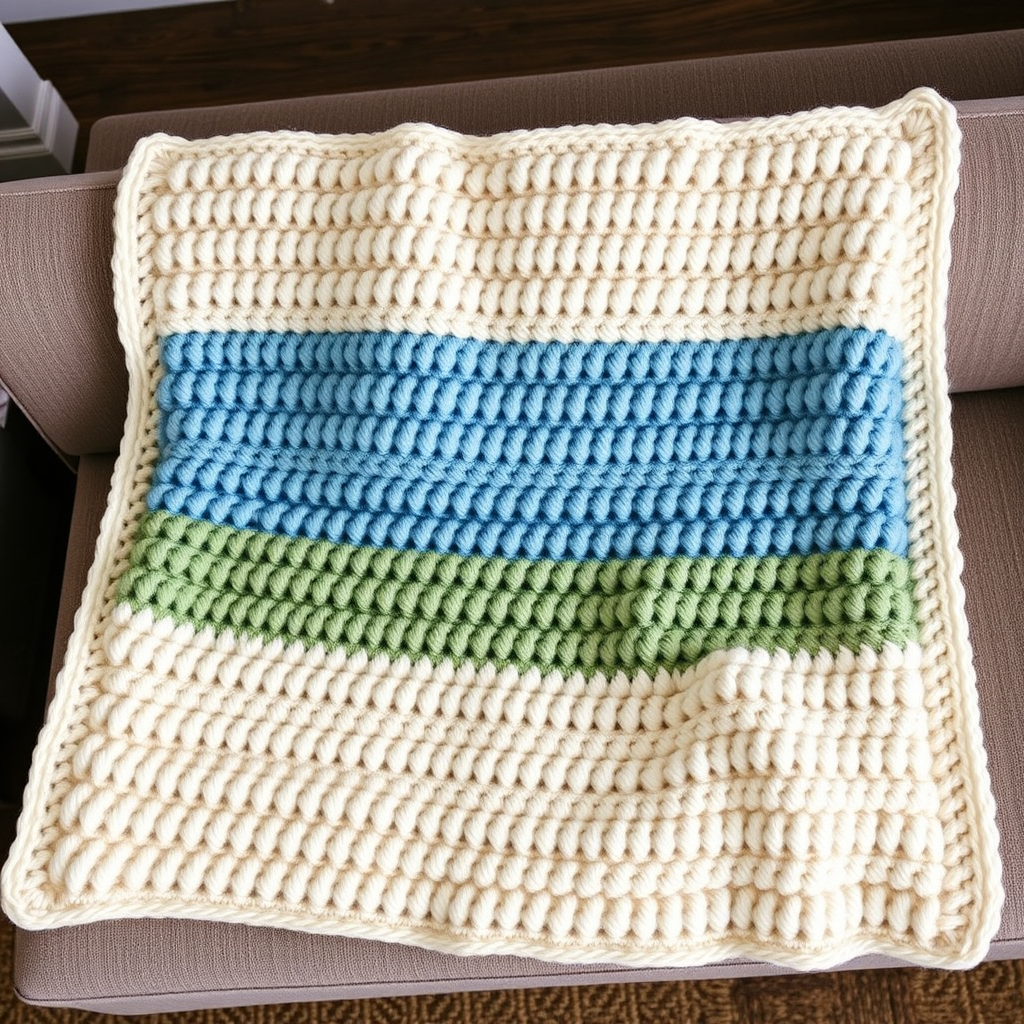
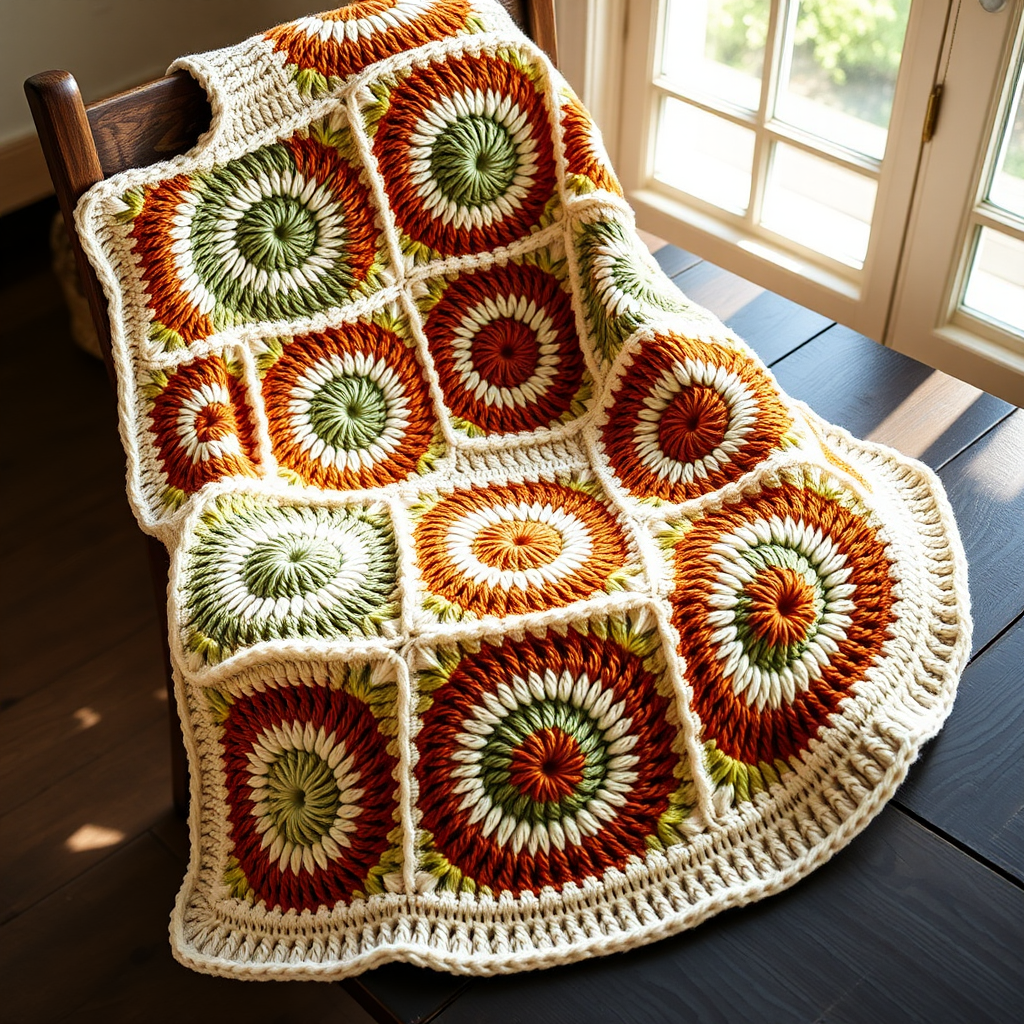
Dune Drift Zigzag Puff Stitch Throw Free Crochet Pattern
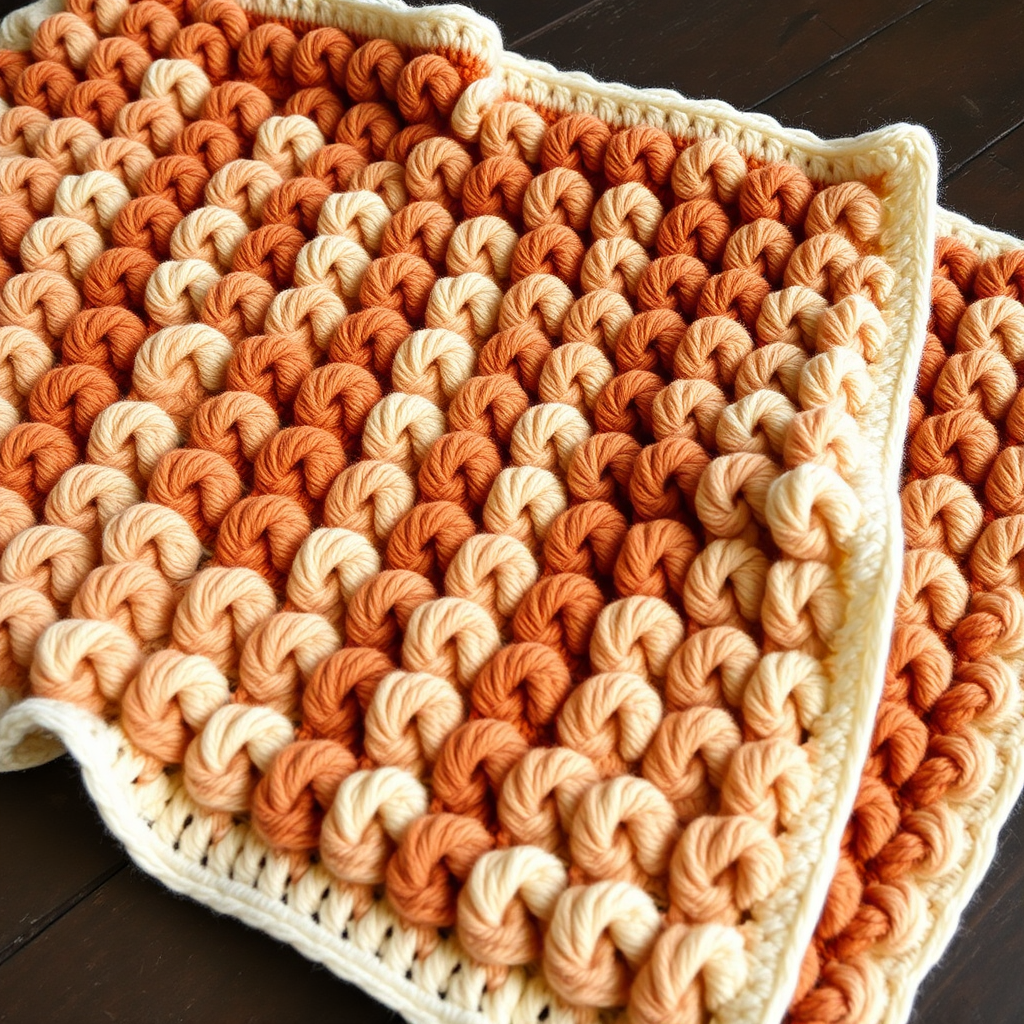
Dune Drift Zigzag Puff Stitch Throw: A Free Crochet Pattern for Cozy Desert Vibes
Wrap yourself in the undulating warmth of desert sands with this textured zigzag throw. The puff stitch ripple creates a plush, sculptural fabric that feels as cozy as it looks. This free crochet pattern is perfect for intermediate beginners looking to expand their stitch repertoire while creating a stunning statement piece for their home. The rhythmic repetition of puff stitches and zigzag valleys produces a deeply dimensional fabric that catches the light beautifully, evoking the layered dunes of a desert landscape at sunset.
This throw is more than just a blanket—it's a tactile experience. The raised puff stitches form soft, rounded bumps that invite touch, while the valleys between the zigzags create gentle shadows that add visual depth. The warm palette of sand, terracotta, and cream blends harmoniously, making this piece a versatile addition to any boho, modern, or rustic interior. Whether draped over a sofa, folded at the foot of a bed, or wrapped around your shoulders on a cool evening, this throw delivers both comfort and style.
Materials Needed
Before you begin, gather the following materials to ensure a smooth crochet session:
- Yarn: Worsted weight yarn in 3 colors:
- Color A (sand) – approximately 400g
- Color B (terracotta) – approximately 400g
- Color C (cream) – approximately 400g
- Crochet Hook: 5.5mm (I-9) crochet hook
- Other Tools: Yarn needle for weaving in ends, scissors
- Optional: Stitch markers to help track your rows
Gauge: 4 puff stitches x 3 rows = 4 inches in pattern. Be sure to check your gauge before starting to ensure your throw comes out the correct size. If your gauge is off, adjust your hook size accordingly.
Step-by-Step Instructions
Getting Started: The Foundation Chain
To begin your Dune Drift Throw, you'll create a foundation chain that is a multiple of 12 plus 3. For a standard throw size, chain 135 stitches. This will give you a beautiful, generously sized blanket that's perfect for curling up on the couch.
Foundation Chain: Chain 135 loosely. If you tend to crochet tightly, consider using a larger hook for the foundation chain only, then switch to your 5.5mm hook for the rest of the pattern. This will prevent the bottom edge from being too tight and pulling the blanket out of shape.
Row 1: Establishing the Zigzag Base
This first row sets up the zigzag structure that will define your entire throw. Take your time and count your stitches carefully.
- Work 1 double crochet (dc) in the 4th chain from your hook. The first 3 chains count as your first double crochet.
- Work 1 dc in each of the next 4 chains (you now have 6 dc total including the initial chain-3).
- Work 3 dc in the next chain. This creates the "peak" of your zigzag.
- Work 1 dc in each of the next 5 chains.
- Skip 2 chains. This creates the "valley" of your zigzag.
- Repeat from * across the row: *1 dc in each of the next 5 chains, 3 dc in the next chain, 1 dc in each of the next 5 chains, skip 2 chains*
- Continue this pattern until you reach the end of the row. Turn your work.
Pro Tip: Count your stitches at the end of this row. You should have a series of peaks (3 dc together) and valleys (skipped chains) that create a beautiful zigzag edge.
Row 2: Building the Zigzag Structure
Now that your foundation is established, Row 2 will build upon it to create the classic ripple effect.
- Chain 3 (this counts as your first double crochet).
- Work 1 dc in each of the next 4 stitches.
- Work 3 dc in the next stitch (this should be the center stitch of your peak from the previous row).
- Work 1 dc in each of the next 5 stitches.
- Skip 2 stitches (these are the stitches above the skipped chains from Row 1).
- Repeat from * across: *1 dc in each of the next 5 stitches, 3 dc in the next stitch, 1 dc in each of the next 5 stitches, skip 2 stitches*
- End the row with 1 dc in the last stitch (this is the top of the chain-3 from the previous row). Turn your work.
Note: The skipped stitches in each row will naturally create the valleys of your zigzag, while the 3-dc clusters form the peaks. This creates the undulating ripple effect that makes this pattern so visually striking.
Row 3: Introducing the Puff Stitch
This is where the magic happens! The puff stitch adds the plush, dimensional texture that makes this throw so special. Take your time with this row—the puff stitch is easier than it looks.
- Chain 3 (counts as first dc).
- Work a puff stitch in the next stitch:
- Yarn over (yo), insert your hook into the next stitch.
- Pull up a loop (you should have 3 loops on your hook).
- Yarn over, insert your hook into the same stitch.
- Pull up a loop (you should have 5 loops on your hook).
- Yarn over, insert your hook into the same stitch again.
- Pull up a loop (you should have 7 loops on your hook).
- Yarn over and pull through all 7 loops on your hook.
- Chain 1 to secure the puff stitch.
- Skip 1 stitch.
- Repeat from * across the row: *puff stitch in the next stitch, chain 1, skip 1 stitch*
- End the row with 1 dc in the last stitch. Turn your work.
Important: The puff stitch creates a beautiful, raised bump. The chain 1 between puffs keeps the fabric from puckering and maintains the correct stitch count. If your puff stitches feel too tight, try loosening your tension slightly or using a larger hook for this row only.
Row 4: Returning to the Zigzag Base
After the puff stitch row, you'll return to the dc zigzag pattern to create the next section of your ripple.
- Chain 3 (counts as first dc).
- Work 1 dc in each of the next 4 stitches.
- Work 3 dc in the next stitch.
- Work 1 dc in each of the next 5 stitches.
- Skip 2 stitches.
- Repeat from * across: *1 dc in each of the next 5 stitches, 3 dc in the next stitch, 1 dc in each of the next 5 stitches, skip 2 stitches*
- End the row with 1 dc in the last stitch. Turn your work.
Repeating the Pattern and Changing Colors
Now that you've established the pattern, you'll repeat Rows 3 and 4 to create the full throw. Here's how to manage your color changes for the beautiful desert gradient effect:
- Color Sequence: Work 2 rows with Color A (sand), then 2 rows with Color B (terracotta), then 2 rows with Color C (cream). Repeat this sequence throughout the entire throw.
- Changing Colors: When you're ready to change colors, work the last stitch of your current row until you have 2 loops left on your hook. Then, yarn over with the new color and pull through to complete the stitch. This creates a seamless color change.
- Carrying Yarn: You can either cut the yarn and weave in ends at each color change, or carry the unused yarn up the side of your work. If you choose to carry yarn, be sure to keep it loose enough that it doesn't pucker the edge of your blanket.
- Continue: Repeat Rows 3 and 4, following the color sequence, until your throw measures approximately 60 inches in length. This will give you a generously sized throw that's perfect for draping over furniture or wrapping up in.
Counting Your Rows: To keep track of your progress, count each pair of rows (Row 3 + Row 4) as one complete pattern repeat. Each color change should happen after 2 rows, so you'll have one complete pattern repeat in each color before switching.
Finishing: The Perfect Border
Once your throw reaches the desired length, it's time to add the finishing touch—a clean, simple border that frames your beautiful work.
- Fasten Off: After completing your final row, cut your yarn, leaving a 6-inch tail. Pull the tail through the last loop on your hook to secure it.
- Weave in Ends: Using your yarn needle, weave in all loose ends from your color changes. Be sure to weave them in securely so they don't work loose with use.
- Attach Border Yarn: With Color C (cream), attach your yarn to any corner of the throw using a slip stitch.
- Single Crochet Border: Work 1 round of single crochet (sc) around the entire edge of the throw. At each corner, work 3 sc in the corner stitch to ensure the corners lie flat and don't curl.
- Finishing the Border: When you reach the starting point, slip stitch into the first sc to join. Fasten off and weave in the ends.
Border Tip: The single crochet border not only gives your throw a polished finish but also helps stabilize the edges and prevent stretching. If you prefer a wider border, you can work 2 or 3 rounds of single crochet, or even add a scalloped edge for extra flair.
Final Touches and Care Instructions
Your Dune Drift Zigzag Puff Stitch Throw is now complete! Here are a few final tips to ensure your creation stays beautiful for years to come:
- Blocking: While not strictly necessary, blocking your throw will help even out the stitches and enhance the zigzag shape. Lay the throw flat, gently mist with water, and shape it to the desired dimensions. Allow it to dry completely before using.
- Care: This throw is best hand-washed in cool water with a gentle detergent. Lay flat to dry, reshaping as needed. Avoid wringing or twisting, which can distort the puff stitches.
- Storage: When not in use, store your throw folded in a cool, dry place. Avoid hanging, as the weight of the yarn can stretch the fabric over time.
Congratulations on completing your Dune Drift Zigzag Puff Stitch Throw! This textured, sculptural piece will bring warmth and desert-inspired beauty to any room. The combination of the plush puff stitches and the rhythmic zigzag pattern creates a truly unique fabric that's as delightful to touch as it is to behold. Whether you keep it for yourself or gift it to someone special, this throw is sure to become a cherished handmade treasure.
Happy crocheting, and may your days be filled with cozy, creative moments!