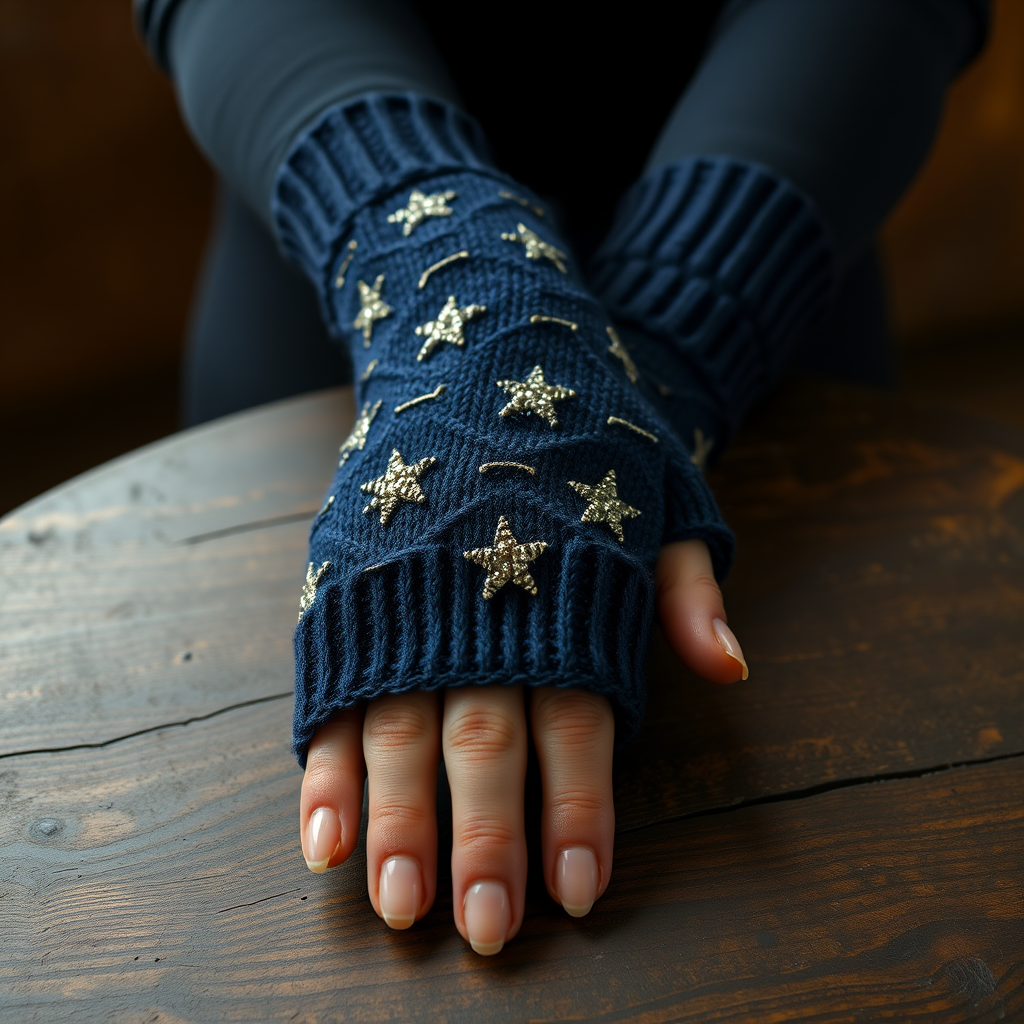
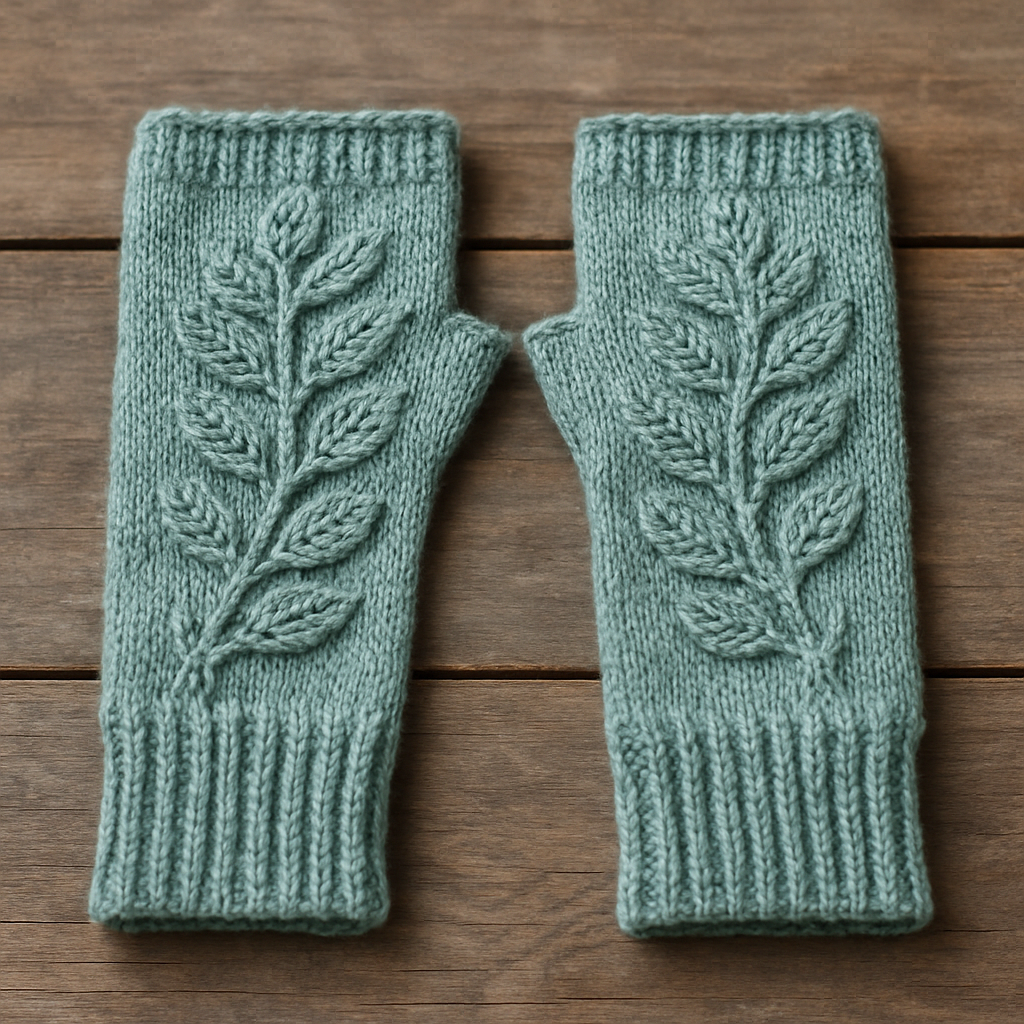
Enchanted Forest Cable Knit Gloves Free Pattern

Enchanted Forest Cable Knit Gloves Free Pattern
Introduction
Wrap your hands in the warmth of the forest with these enchanting cable knit gloves. Featuring intricate cable patterns and a snug fit, these gloves are perfect for chilly days. Whether you're heading out for a woodland adventure or simply enjoying a cozy evening at home, these gloves will keep your hands toasty and stylish.
Materials Needed
- Yarn: Worsted weight wool
- Knitting Needles: US 7 (4.5mm) knitting needles
- Gauge: 20 stitches and 28 rows = 4 inches in stockinette stitch
Step-by-Step Instructions
1. Cast On
Begin by casting on 40 stitches using your US 7 (4.5mm) knitting needles. Make sure your cast-on is not too tight, as this will affect the fit of the gloves.
2. Ribbing
Work in a 2x2 rib pattern for 2 inches. This means you will knit 2 stitches, then purl 2 stitches, and repeat this pattern across the row. On the next row, continue the same pattern. This ribbing will create a snug cuff for your gloves.
3. Begin Cable Pattern
Now, you will start the cable pattern. Follow these instructions carefully:
- Row 1 (Right Side): K2, P2, C4F, P2, K2
- Row 2 (Wrong Side): P2, K2, P4, K2, P2
Repeat these two rows until your work measures 4 inches from the cast-on edge. This will create the beautiful cable design that resembles twisting vines.
4. Shape Thumb Gusset
To create the thumb gusset, you will need to increase stitches. Follow these steps:
- Increase 1 stitch at each end of every 4th row until you have a total of 50 stitches on your needle.
- Once you have 50 stitches, place 10 stitches on a holder for the thumb. This will allow you to knit the thumb separately later.
5. Continue in Pattern
Continue knitting in the established cable pattern for an additional 2 inches after placing the thumb stitches on hold. This will ensure that the body of the glove is long enough to cover your wrist comfortably.
6. Bind Off
Once you have completed the body of the glove, it’s time to bind off. Use a standard bind-off method to secure your stitches. This will finish the main part of the glove.
7. Knit the Thumb
For the thumb, pick up the 10 stitches that you placed on the holder. Begin knitting in stockinette stitch (knit every row) for 1 inch.
8. Bind Off Thumb
Once you have knitted the thumb to the desired length, bind off these stitches as well. Make sure the thumb fits comfortably and is not too tight.
9. Finishing Touches
Weave in any loose ends using a yarn needle. This will give your gloves a polished look. You can also lightly block your gloves to help them maintain their shape and enhance the cable design.
Conclusion
Congratulations! You have successfully knitted your very own Enchanted Forest Cable Knit Gloves. These cozy gloves are perfect for keeping your hands warm while adding a touch of rustic charm to your winter wardrobe. Enjoy your new handmade accessory!