Home Decor Crochet Patterns
Enchanted Forest Granny Square Wreath Free Pattern
Anonymous
•
July 17, 2026

Enchanted Forest Granny Square Wreath Free Pattern
Introduction
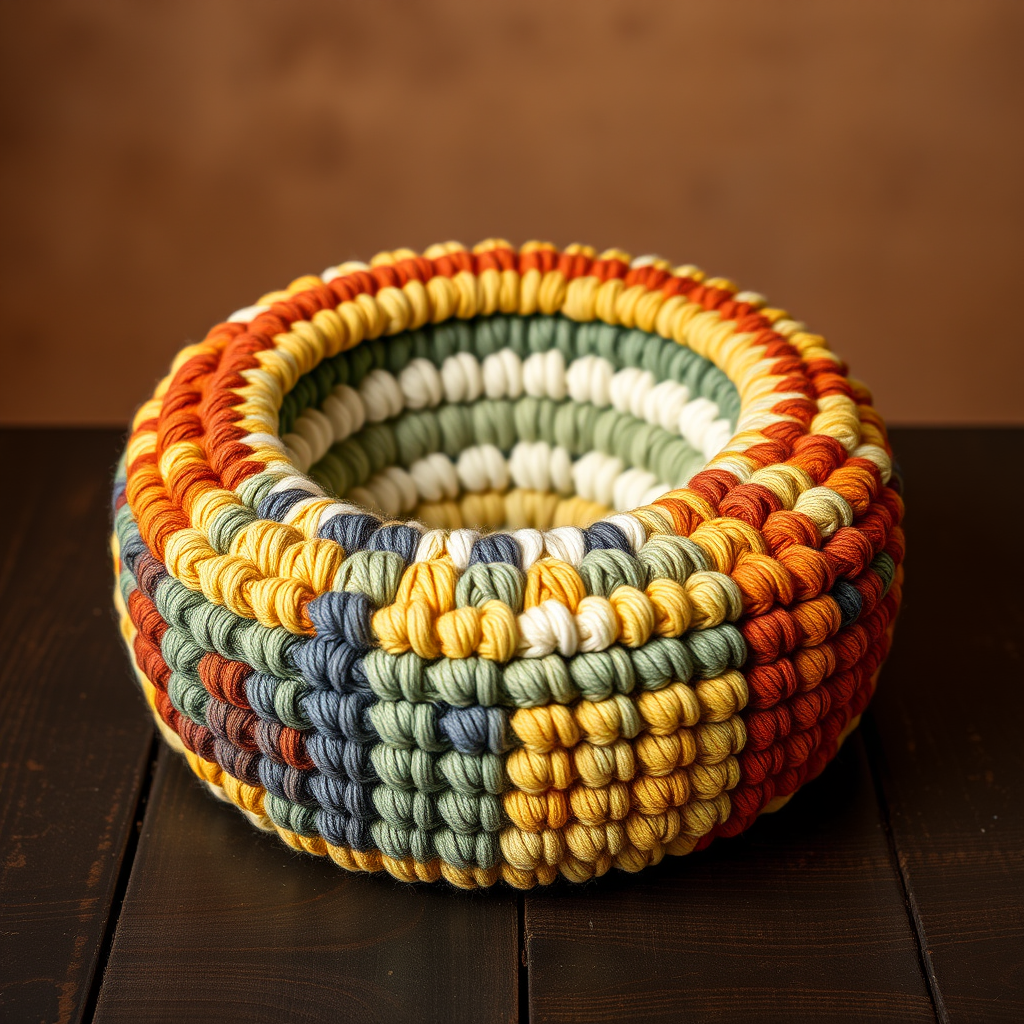
Transform your space with this enchanting Granny Square Wreath, featuring intricate leaf motifs and a vibrant color palette. This crochet project is perfect for adding a touch of nature-inspired charm to your home decor. Whether you hang it on your front door or display it indoors, this wreath will bring a warm and inviting atmosphere to your home.
Materials Needed
- Yarn: Worsted weight yarn in forest green, moss, and bark brown
- Hook: 5.0 mm crochet hook
- Gauge: 4 granny squares = 8 inches
- Yarn needle: for weaving in ends and attaching leaves
Step-by-Step Instructions
Creating the Granny Squares
- Start with a Magic Ring: Hold the yarn in a loop and insert your hook into the ring.
- Round 1: Chain 3 (this counts as your first double crochet), then make 2 double crochets (dc) into the ring. Chain 2, then repeat the following sequence 2 more times: *3 dc in the ring, chain 2; repeat from * 2 more times. Join with a slip stitch (sl st) to the top of the initial chain 3. You should have 12 dc and 4 chain-2 spaces.
- Round 2: Slip stitch to the next chain-2 space. Chain 3 (counts as dc), then make 2 dc in the same space. Chain 2, then make 3 dc in the same space. Now repeat this sequence in each of the next chain-2 spaces: *3 dc in the next chain-2 space, chain 2, 3 dc in the same space; repeat from * around. Join with a sl st to the top of the initial chain 3. You should have 24 dc and 4 chain-2 spaces.
- Round 3: Slip stitch to the next chain-2 space. Chain 3 (counts as dc), then make 2 dc in the same space. Chain 2, then make 3 dc in the same space. Now repeat this sequence: *3 dc in the next space between the 3-dc groups, 3 dc in the next chain-2 space, chain 2, 3 dc in the same space; repeat from * around. Join with a sl st to the top of the initial chain 3. You should have 36 dc and 4 chain-2 spaces.
- Continue Adding Rounds: Keep adding rounds until your square reaches the desired size. Aim for a square that measures approximately 8 inches across.
- Create 12 Squares: Using the colors forest green, moss, and bark brown, alternate the colors as you create a total of 12 squares.
Joining the Squares
- Join Squares: Arrange your squares in a circular pattern. Use a slip stitch or whip stitch to join the squares together, ensuring they are tightly connected to form a wreath shape.
Adding Leaf Motifs
- Create Leaf Motifs: Chain 10. Slip stitch in the 2nd chain from the hook, single crochet (sc) in the next chain, half double crochet (hdc) in the next 2 chains, double crochet (dc) in the next 2 chains, treble crochet (tr) in the next chain, dc in the next chain, and then make 3 sc in the last chain. Now, working on the opposite side of the chain, make dc in the next chain, tr in the next chain, dc in the next 2 chains, hdc in the next 2 chains, sc in the next chain, and finish with a slip stitch in the last chain. Fasten off.
- Attach Leaves: Use your yarn needle to attach the leaf motifs around the wreath. Space them evenly for a balanced look.
Final Touches
Once all leaves are attached, weave in any loose ends with your yarn needle. Your Enchanted Forest Granny Square Wreath is now complete! Hang it proudly and enjoy the beauty of your handmade creation.