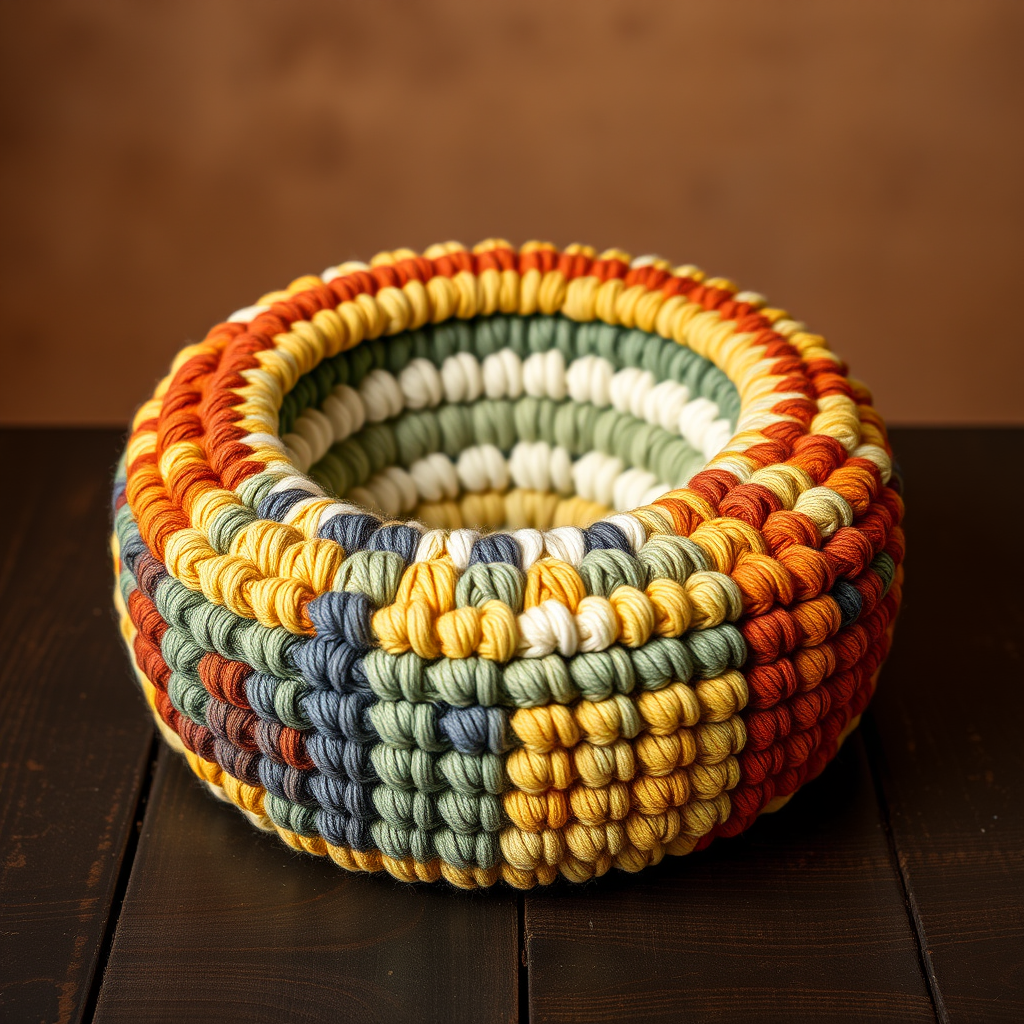
Home Decor Crochet Patterns
Floating Oasis Hydroponic Plant Hanger Free Pattern
Anonymous
•
July 07, 2026

Introduction
Welcome to the world of crochet home decor! Today, we’re excited to introduce the Floating Oasis Hydroponic Plant Hanger. This beautiful pattern allows you to create a serene indoor garden, showcasing your favorite hydroponic plants in a unique and suspended style. The combination of intricate crochet techniques and a modern aesthetic makes this plant hanger a perfect addition to any room, adding a touch of nature and elegance to your space.
Materials Needed
- Yarn: Cotton DK weight yarn (recommended color: soothing sage green)
- Crochet Hook: 4.0 mm crochet hook
- Scissors: For cutting yarn
- Tapestry Needle: For weaving in ends
Step-by-Step Instructions
Follow these detailed instructions to create your Floating Oasis Hydroponic Plant Hanger:
Starting the Base
- Round 1: Begin with a magic ring. Chain 1 (ch 1), and work 6 single crochets (sc) into the ring. Join with a slip stitch (sl st) to the first sc. (Total: 6 stitches)
- Round 2: Ch 1, then work 2 sc in each stitch around. Join with a sl st. (Total: 12 stitches)
- Round 3: Ch 1, *sc in the next stitch, 2 sc in the next stitch*; repeat around. Join with a sl st. (Total: 18 stitches)
- Round 4: Ch 1, *sc in the next 2 stitches, 2 sc in the next stitch*; repeat around. Join with a sl st. (Total: 24 stitches)
- Round 5: Ch 1, sc in each stitch around. Join with a sl st. (Total: 24 stitches)
- Rounds 6-10: Repeat Round 5 for 5 additional rounds.
Creating the Openwork Sections
- Round 11: Ch 1, *sc in the next 3 stitches, ch 3, skip the next stitch*; repeat around. Join with a sl st. (Total: 24 stitches, 6 ch-3 spaces)
- Round 12: Ch 1, *sc in the next 3 stitches, 3 sc in the ch-3 space*; repeat around. Join with a sl st. (Total: 30 stitches)
- Round 13: Ch 1, sc in each stitch around. Join with a sl st. (Total: 30 stitches)
- Rounds 14-18: Repeat Round 13 for 5 additional rounds.
Expanding the Hanger
- Round 19: Ch 1, *sc in the next 4 stitches, ch 4, skip the next stitch*; repeat around. Join with a sl st. (Total: 30 stitches, 6 ch-4 spaces)
- Round 20: Ch 1, *sc in the next 4 stitches, 4 sc in the ch-4 space*; repeat around. Join with a sl st. (Total: 36 stitches)
- Round 21: Ch 1, sc in each stitch around. Join with a sl st. (Total: 36 stitches)
- Rounds 22-26: Repeat Round 21 for 5 additional rounds.
Finalizing the Hanger
- Round 27: Ch 1, *sc in the next 5 stitches, ch 5, skip the next stitch*; repeat around. Join with a sl st. (Total: 36 stitches, 6 ch-5 spaces)
- Round 28: Ch 1, *sc in the next 5 stitches, 5 sc in the ch-5 space*; repeat around. Join with a sl st. (Total: 42 stitches)
- Round 29: Ch 1, sc in each stitch around. Join with a sl st. (Total: 42 stitches)
- Rounds 30-34: Repeat Round 29 for 5 additional rounds.
Finishing Touches
- Finish off your work and weave in all loose ends using a tapestry needle.
- Create three long chains for hanging. Attach these chains evenly spaced around the top edge of the hanger.
- Gather the chains at the top and form a loop for hanging your plant holder.
Congratulations! You have now completed your Floating Oasis Hydroponic Plant Hanger. Hang it in your favorite spot and enjoy the beauty of your hydroponic plants in a stylish, handmade creation.
Also Check Out: We think you'd love this beautiful pattern on our sister site: Cozy Mauve Textured Crochet Scarf Pattern