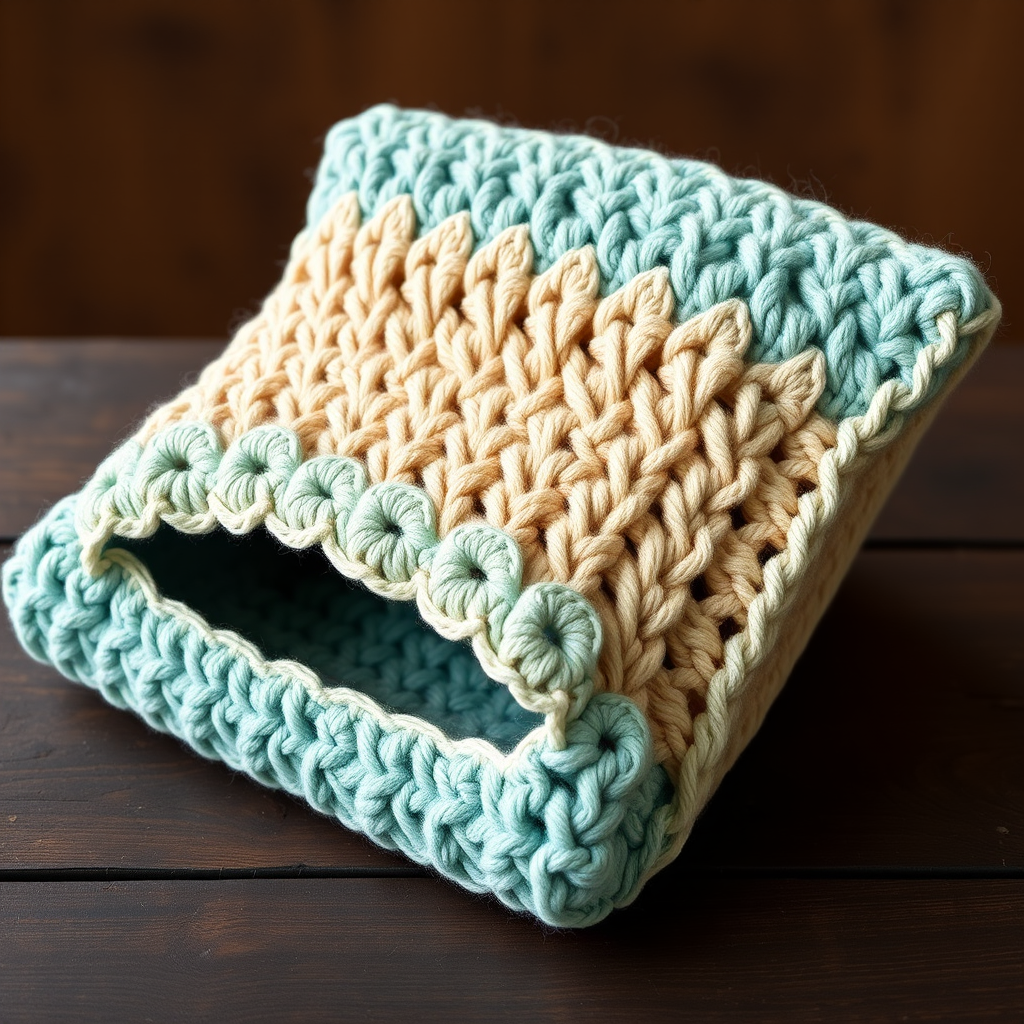
Free Pattern: The Hearthstone Corner-To-Corner Pillow

Row 5: Ch 3, work 3 dc into the first ch-3 space. Work [ch 3, 3 dc] into each ch-3 space across. At the end, work [ch 3, 3 dc] into the final ch-3 space once more to add one box. Turn. (5 boxes)
Row 6: Change to Color B. Ch 3, work 3 dc into the first ch-3 space. Work [ch 3, 3 dc] into each ch-3 space across. At the end, work [ch 3, 3 dc] into the final ch-3 space once more to add one box. Turn. (6 boxes)
Row 7: Ch 3, work 3 dc into the first ch-3 space. Work [ch 3, 3 dc] into each ch-3 space across. At the end, work [ch 3, 3 dc] into the final ch-3 space once more to add one box. Turn. (7 boxes)
Row 8: Ch 3, work 3 dc into the first ch-3 space. Work [ch 3, 3 dc] into each ch-3 space across. At the end, work [ch 3, 3 dc] into the final ch-3 space once more to add one box. Turn. (8 boxes)
Row 9: Ch 3, work 3 dc into the first ch-3 space. Work [ch 3, 3 dc] into each ch-3 space across. At the end, work [ch 3, 3 dc] into the final ch-3 space once more to add one box. Turn. (9 boxes)
Row 10: Change to Color C. Ch 3, work 3 dc into the first ch-3 space. Work [ch 3, 3 dc] into each ch-3 space across. At the end, work [ch 3, 3 dc] into the final ch-3 space once more to add one box. Turn. (10 boxes)
Row 11: Ch 3, work 3 dc into the first ch-3 space. Work [ch 3, 3 dc] into each ch-3 space across. At the end, work [ch 3, 3 dc] into the final ch-3 space once more to add one box. Turn. (11 boxes)
Row 12: Ch 3, work 3 dc into the first ch-3 space. Work [ch 3, 3 dc] into each ch-3 space across. At the end, work [ch 3, 3 dc] into the final ch-3 space once more to add one box. Turn. (12 boxes)
Row 13: Change to Color A. Ch 3, work 3 dc into the first ch-3 space. Work [ch 3, 3 dc] into each ch-3 space across. At the end, work [ch 3, 3 dc] into the final ch-3 space once more to add one box. Turn. (13 boxes)
Row 14: Ch 3, work 3 dc into the first ch-3 space. Work [ch 3, 3 dc] into each ch-3 space across. At the end, work [ch 3, 3 dc] into the final ch-3 space once more to add one box. Turn. (14 boxes)
Note for a 16-inch pillow: Continue the same increase row (add one box at the end of every row) until you have 16 boxes across. For any other size, keep increasing until the diagonal measurement of the square equals the size of your pillow form.
Straight Section (Optional)
Note: If you want a larger square, work even rows (no increases and no decreases) until the side edges reach your desired width, then begin the decrease section. For the 14-inch sample, skip this section entirely and go straight to Row 15.
Decrease Section (Second Half of the Square)
Row 15: Sl st in each of the first 3 dc and in the ch-3 space. Ch 3, work 3 dc into the next ch-3 space. Continue working [ch 3, 3 dc] in each ch-3 space across, but do not add a box at the end of the row. Turn. (13 boxes)
Row 16: Sl st in each of the first 3 dc and in the ch-3 space. Ch 3, work 3 dc into the next ch-3 space. Continue working [ch 3, 3 dc] in each ch-3 space across, but do not add a box at the end of the row. Turn. (12 boxes)
Row 17: Sl st in each of the first 3 dc and in the ch-3 space. Ch 3, work 3 dc into the next ch-3 space. Continue working [ch 3, 3 dc] in each ch-3 space across, but do not add a box at the end of the row. Turn. (11 boxes)
Row 18: Change to Color C. Sl st in each of the first 3 dc and in the ch-3 space. Ch 3, work 3 dc into the next ch-3 space. Continue working [ch 3, 3 dc] in each ch-3 space across, but do not add a box at the end of the row. Turn. (10 boxes)
Row 19: Sl st in each of the first 3 dc and in the ch-3 space. Ch 3, work 3 dc into the next ch-3 space. Continue working [ch 3, 3 dc] in each ch-3 space across, but do not add a box at the end of the row. Turn. (9 boxes)
Row 20: Sl st in each of the first 3 dc and in the ch-3 space. Ch 3, work 3 dc into the next ch-3 space. Continue working [ch 3, 3 dc] in each ch-3 space across, but do not add a box at the end of the row. Turn. (8 boxes)
Row 21: Sl st in each of the first 3 dc and in the ch-3 space. Ch 3, work 3 dc into the next ch-3 space. Continue working [ch 3, 3 dc] in each ch-3 space across, but do not add a box at the end of the row. Turn. (7 boxes)
Row 22: Change to Color B. Sl st in each of the first 3 dc and in the ch-3 space. Ch 3, work 3 dc into the next ch-3 space. Continue working [ch 3, 3 dc] in each ch-3 space across, but do not add a box at the end of the row. Turn. (6 boxes)
Row 23: Sl st in each of the first 3 dc and in the ch-3 space. Ch 3, work 3 dc into the next ch-3 space. Continue working [ch 3, 3 dc] in each ch-3 space across, but do not add a box at the end of the row. Turn. (5 boxes)
Row 24: Sl st in each of the first 3 dc and in the ch-3 space. Ch 3, work 3 dc into the next ch-3 space. Continue working [ch 3, 3 dc] in each ch-3 space across, but do not add a box at the end of the row. Turn. (4 boxes)
Row 25: Change to Color A. Sl st in each of the first 3 dc and in the ch-3 space. Ch 3, work 3 dc into the next ch-3 space. Continue working [ch 3, 3 dc] in each ch-3 space across, but do not add a box at the end of the row. Turn. (3 boxes)
Row 26: Sl st in each of the first 3 dc and in the ch-3 space. Ch 3, work 3 dc into the next ch-3 space. Continue working [ch 3, 3 dc]