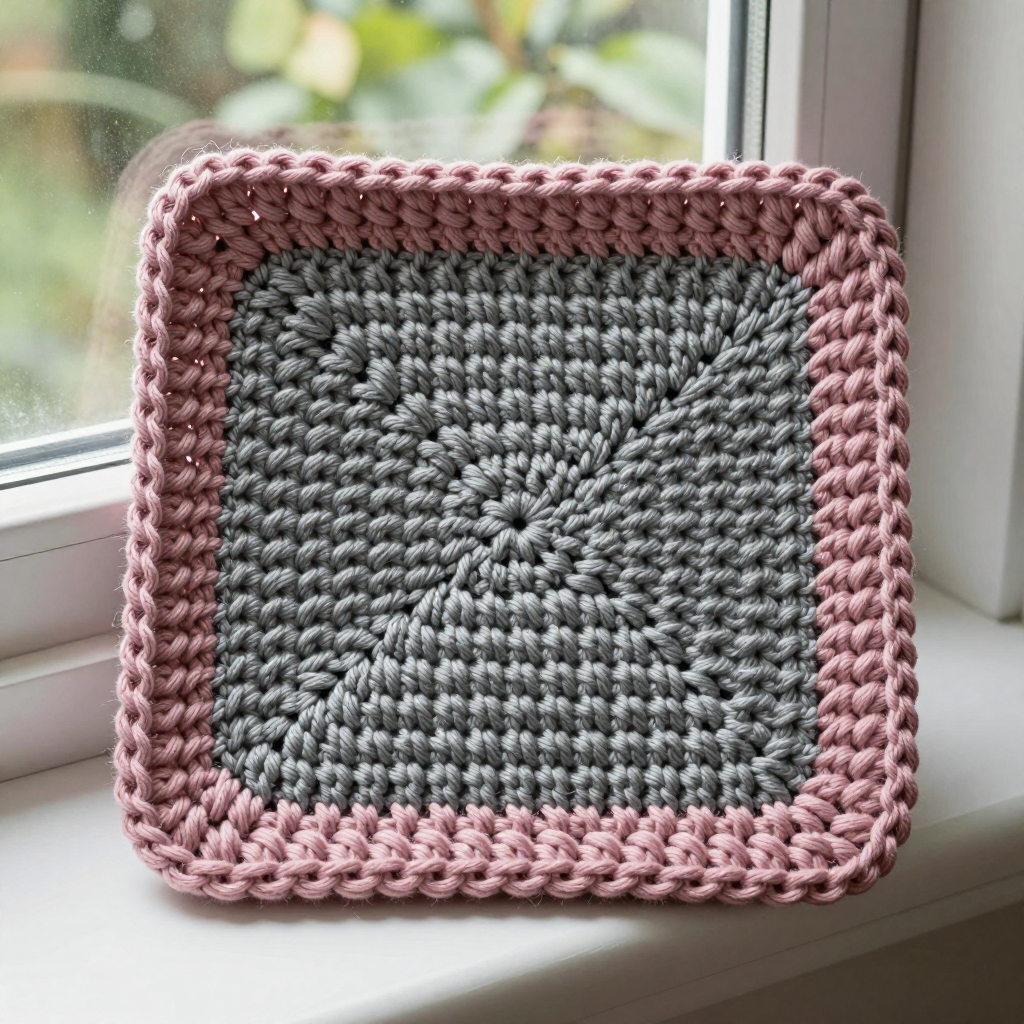
Glacier Mint Circle Motif Coasters Free Crochet Pattern

Glacier Mint Circle Motif Coasters: A Free Crochet Pattern for Total Beginners
If you have never held a crochet hook before, this is the perfect first project for you. These cheerful circle coasters are worked in simple, soothing rounds of double crochet, building up concentric rings of soft rainbow pastels that look like a little sunset for your coffee table. Each coaster is small enough to finish in a single sitting, which means you get the joy of a completed project fast, and the repetition helps your hands learn the motions quickly. The finished coaster is a flat, sturdy disc about 4.5 inches across, with a crisp cream border that frames the pastel rings beautifully. Best of all, you only need a few yards of each color, so this is a wonderful way to use up scraps and practice your new skill.
Materials Needed
- Yarn: Worsted weight (Category 4) cotton or cotton-blend yarn, approximately 15–20 yards per coaster. The sample uses seven colors: Glacier Mint (pale mint green), Lemon Sorbet (pale yellow), Peach Fizz (soft peach), Bubblegum (pale pink), Lavender Mist (pale lilac), Sky Blue (pale blue), and Cream (off-white) for the edging.
- Crochet hook: US J/10 (6.0 mm).
- Stitch markers: At least one, to mark the first stitch of each round.
- Tapestry needle: A blunt-tipped needle with a large eye for weaving in ends.
- Scissors: Sharp small scissors for cutting yarn.
- Finished size: Each coaster measures approximately 4.5 inches (11.5 cm) in diameter and about 1/8 inch thick.
Abbreviations and Beginner Glossary
- ch – chain: Wrap the yarn over your hook and pull it through the loop on your hook. This creates one chain stitch.
- sl st – slip stitch: Insert your hook into the stitch, wrap yarn over, and pull it through both the stitch and the loop on your hook at the same time. It creates an almost invisible join.
- sc – single crochet: Insert hook into stitch, pull up a loop (2 loops on hook), yarn over, pull through both loops. One loop remains.
- hdc – half double crochet: Yarn over, insert hook into stitch, pull up a loop (3 loops on hook), yarn over, pull through all 3 loops at once.
- dc – double crochet: Yarn over, insert hook into stitch, pull up a loop (3 loops on hook), yarn over and pull through 2 loops, yarn over and pull through the last 2 loops.
- st(s) – stitch(es): A single completed loop or the space where you work your next stitch.
- sp – space: The gap between stitches, usually created by a chain.
- rep – repeat: Do the instruction again the number of times stated.
- magic ring – An adjustable loop you make with your yarn that you crochet into; pulling the tail tight closes the center hole completely.
- join – To connect the last stitch of a round to the first stitch with a slip stitch, closing the circle.
- fasten off – Cut the yarn a few inches from your work, then pull the tail through the last loop to secure it.
Gauge
Gauge: The first 3 rounds of the coaster should measure 2 inches (5 cm) in diameter. The finished coaster measures approximately 4.5 inches (11.5 cm) in diameter.
Gauge matters because it tells you whether your stitches are the right size. If your first 3 rounds come out much smaller than 2 inches, your stitches are tight and your coaster will be small; try a larger hook. If they come out much larger, your stitches are loose; try a smaller hook. To check, simply work Rounds 1–3 of the pattern as written, lay the piece flat, and measure straight across the center with a ruler. If it measures about 2 inches, you are ready to continue. This little test piece is also your practice round, so nothing is wasted.
Beginner Tips Before You Start
- Use a stitch marker. Place a marker in the first stitch of each round so you always know where to join and never lose your place.
- Do not pull your yarn too tight. Tension is the number one beginner struggle. Hold the yarn gently; your stitches should slide easily on the hook.
- Count out loud. Counting your stitches at the end of every round catches mistakes early, before they grow.
- Change colors at the join. When you finish the slip stitch that closes a round, pull the new color through to complete it, then cut the old color leaving a 4-inch tail.
- Keep the right side facing you. Do not turn your work between rounds; you always work in the same direction, which keeps the texture smooth.
- Relax and go slow. Speed comes with practice. A tidy coaster made slowly looks far better than a rushed one.
Step-by-Step Instructions
Notes: Each coaster is worked in the round from a magic ring, joining each round with a sl st to the first stitch. Do not turn between rounds; work with the right side facing throughout. Change colors at the join of each round by finishing the sl st with the new color. Make 6 coasters, one in each pastel shade sequence, or vary the ring order for a rainbow stack.
Coaster (make 6)
Round 1 (Color A — Glacier Mint): Make a magic ring. Ch 2 (counts as first dc). Work 11 dc into the ring. Join with sl st to top of beginning ch-2. (12 dc)
Round 2 (Color B — Lemon Sorbet): Ch 2 (counts as first dc). Work 1 dc in same st as join. Work 2 dc in each st around. Join with sl st to top of beginning ch-2. (24 dc)
Round 3 (Color C — Peach Fizz): Ch 2 (counts as first dc). Work 1 dc in same st as join. *Work 1 dc in next st, 2 dc in next st; rep from * around. Join with sl st to top of beginning ch-2. (36 dc)
Round 4 (Color D — Bubblegum): Ch 2 (counts as first dc). Work 1 dc in same st as join. *Work 1 dc in each of next 2 sts, 2 dc in next st; rep from * around. Join with sl st to top of beginning ch-2. (48 dc)
Round 5 (Color E — Lavender Mist): Ch 1. Work 1 sc in same st as join. Work 1 sc in each st around. Join with sl st to first sc. (48 sc)
Round 6 (Color F — Sky Blue): Ch 1. Work 1 sc in same st as join. Work 1 sc in each st around. Join with sl st to first sc. (48 sc)
Round 7 (Cream edging): Ch 1. Work 1 sc in same st as join. Work 1 sc in each st around. Join with sl st to first sc. (48 sc) Fasten off.
Assembly and Finishing
There is no seaming in this project, but finishing is what makes your coasters look professional. First, weave in all ends: thread each yarn tail onto your tapestry needle, then run the needle back and forth through the wrong side of the stitches for about an inch, changing direction once so the tail cannot work loose. Trim the yarn close to the fabric. Next, block each coaster: mist it lightly with water until damp but not soaking, then pin it flat on a towel or blocking mat, smoothing the circle into a perfect round shape. Let it dry completely, which usually takes a few hours or overnight. Blocking relaxes the cotton and flattens any curl, giving you a crisp, even disc. Finally, stack your coasters in rainbow order for display or tie them with a ribbon for a handmade gift.
Pro Tips and Variations
- Change the colors: Use any worsted cotton shades you love. Try a single-color coaster with a contrasting border, or a monochrome set in shades of one hue for a calm, modern look.
- Make a smaller coaster: Omit Round 4 and work Rounds 5–7 as written. You will have 36 stitches per round and a coaster about 3.5 inches (9 cm) in diameter.
- Make a thicker coaster: Work Rounds 5–6 in hdc instead of sc for a denser, more absorbent fabric that is great under hot mugs.
- Substitute yarn: Cotton or cotton-blend yarn is best because it is absorbent and washable. If you use acrylic, your coaster will still work beautifully but may be slightly less absorbent; always match the worsted weight (Category 4) so your gauge stays correct.