Knitting Cozy Cabled Socks Free Pattern
Introduction
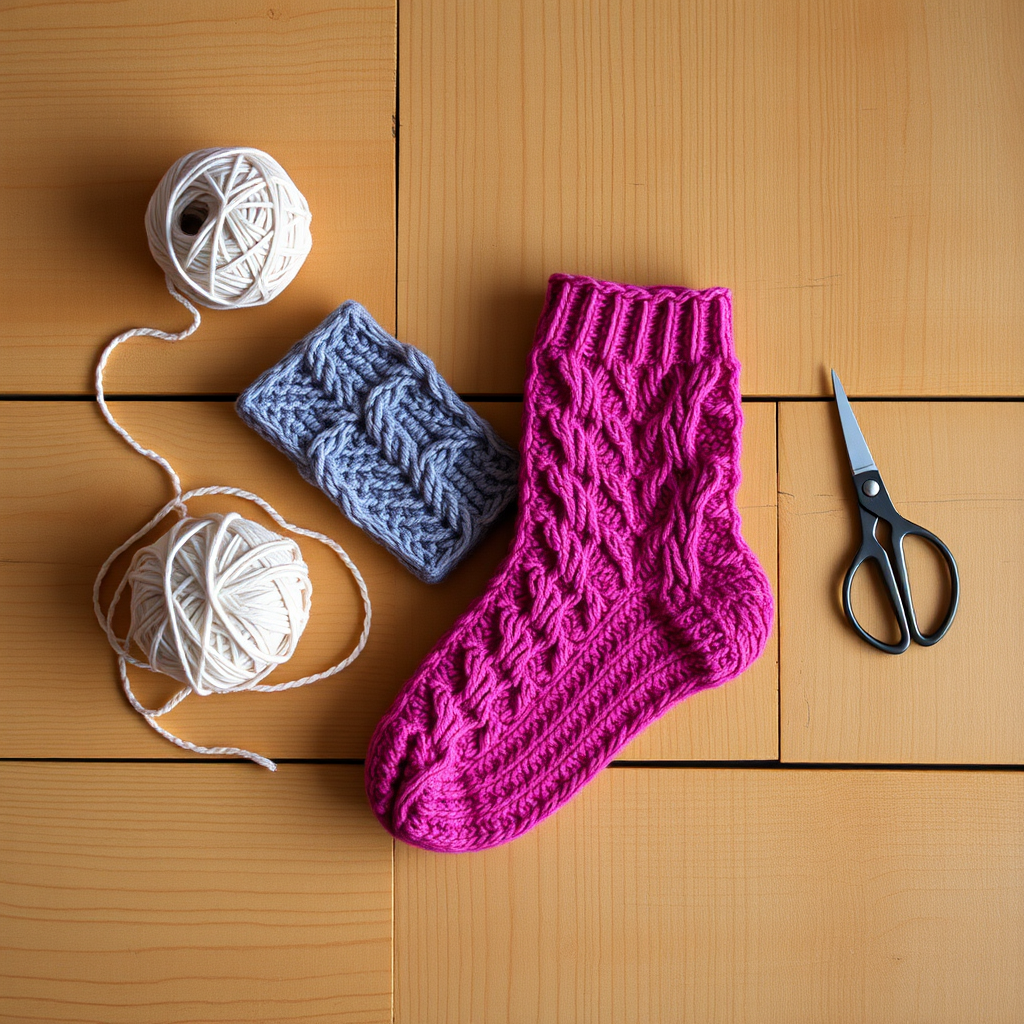
Welcome to your next knitting adventure! In this blog post, we will guide you through creating a pair of vibrant, cozy cabled socks that are perfect for keeping your feet warm. This pattern features a beautiful cable design and a ribbed cuff for added stretch and comfort. Whether you're a seasoned knitter or a beginner, this pattern is designed to be easy to follow, ensuring you can recreate these lovely socks at home with confidence.
Materials Needed
- Yarn: Worsted weight yarn, 100% acrylic
- Needles: US Size 8 (5mm) knitting needles
- Gauge: 16 stitches x 22 rows = 4 inches in stockinette stitch
- Scissors: For cutting yarn
- Tapestry Needle: For weaving in ends
Step-by-Step Instructions
1. Casting On
Start by casting on 48 stitches using your US Size 8 (5mm) knitting needles. Make sure your stitches are not too tight; you want them to be comfortable for the ribbing.
2. Ribbing
Work in a k2, p2 ribbing for 2 inches. This means you will knit 2 stitches, then purl 2 stitches, and repeat this pattern across the row. On the next row, continue the same ribbing pattern. This will create a stretchy cuff for your sock.
3. Cable Pattern
Once you have completed the ribbing, you will begin the cable pattern. Follow these rows:
- Row 1 (Right Side): K2, *C4B (Cable 4 Back), K4; repeat from * to last 2 stitches, K2.
- Row 2: Purl all stitches.
Repeat these two rows until the sock measures 6 inches from the cast-on edge. The cable pattern will create a lovely texture on your sock.
4. Heel Flap
To create the heel flap, work flat in the cable pattern for the first 24 stitches, then turn your work. Continue in stockinette stitch (knit every row) for 12 rows. This will form the back of your sock where the heel will sit.
5. Turning the Heel
Now it's time to turn the heel. Follow these steps:
- Row 1: K18, ssk (slip, slip, knit), K1, turn.
- Row 2: P5, p2tog (purl 2 together), P1, turn.
- Row 3: K to gap, K2tog (knit 2 together), K1, turn.
Repeat these rows until all stitches are worked. You should have a nice rounded heel at this point.
6. Picking Up Stitches
Next, pick up 12 stitches along the side of the heel flap. This will allow you to continue knitting in the round.
7. Working the Foot
Continue working in the round, maintaining the cable pattern for the foot until it measures 8 inches from the heel. Make sure to keep your tension consistent for a neat finish.
8. Decreasing for the Toe
To shape the toe, you will decrease as follows:
- K2tog at the beginning and end of each needle until you have 8 stitches remaining.
9. Grafting the Toe
Finally, use the Kitchener stitch to graft the toe stitches together. This will create a seamless finish. Weave in any ends using a tapestry needle to ensure your socks are tidy.
10. Finishing Touches
Give your cozy cabled socks a gentle wash and block them to help the cables pop. Once dry, they are ready to wear!
Enjoy your new cozy cabled socks, and don’t forget to share your creations with us!


