Little Miss Flower Crochet Baby Booties Free Pattern – A Blooming Garden for Tiny Toes

Little Miss Flower Crochet Baby Booties Free Pattern – A Blooming Garden for Tiny Toes
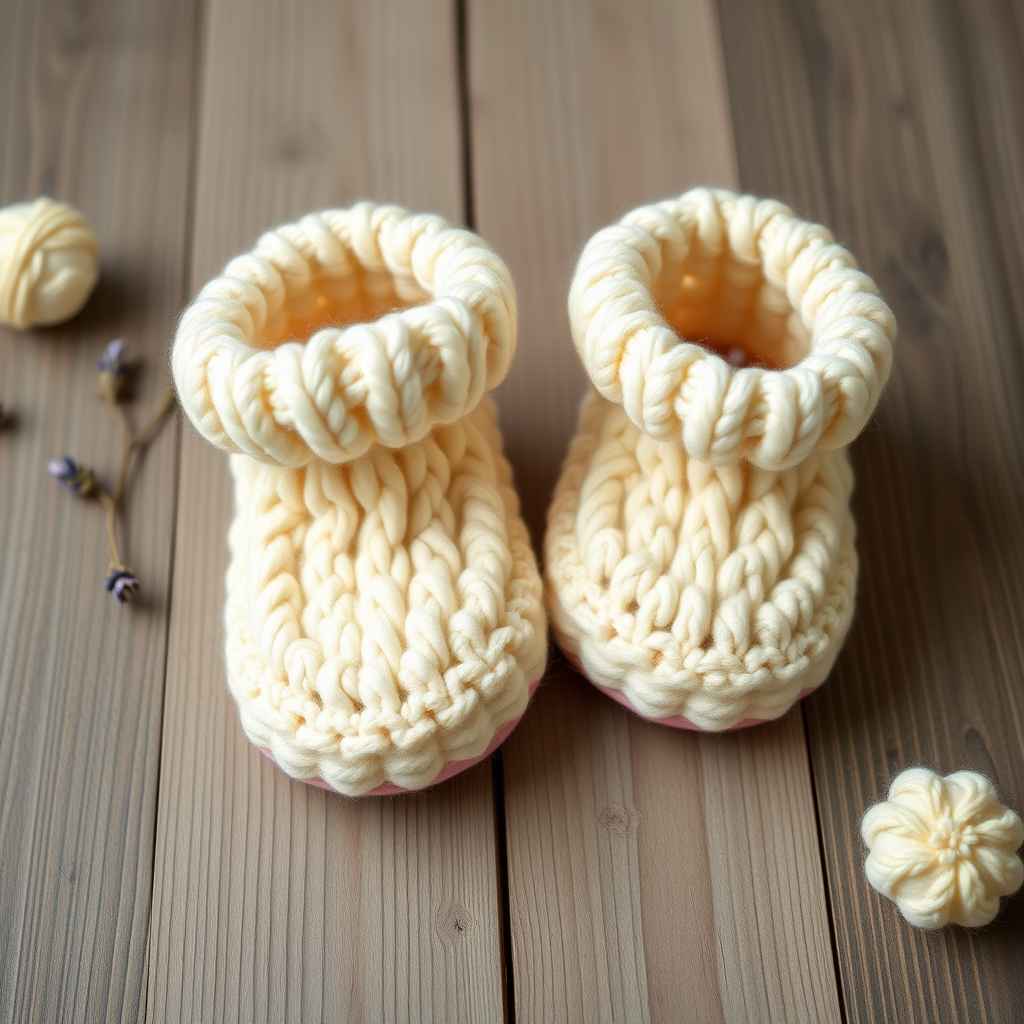
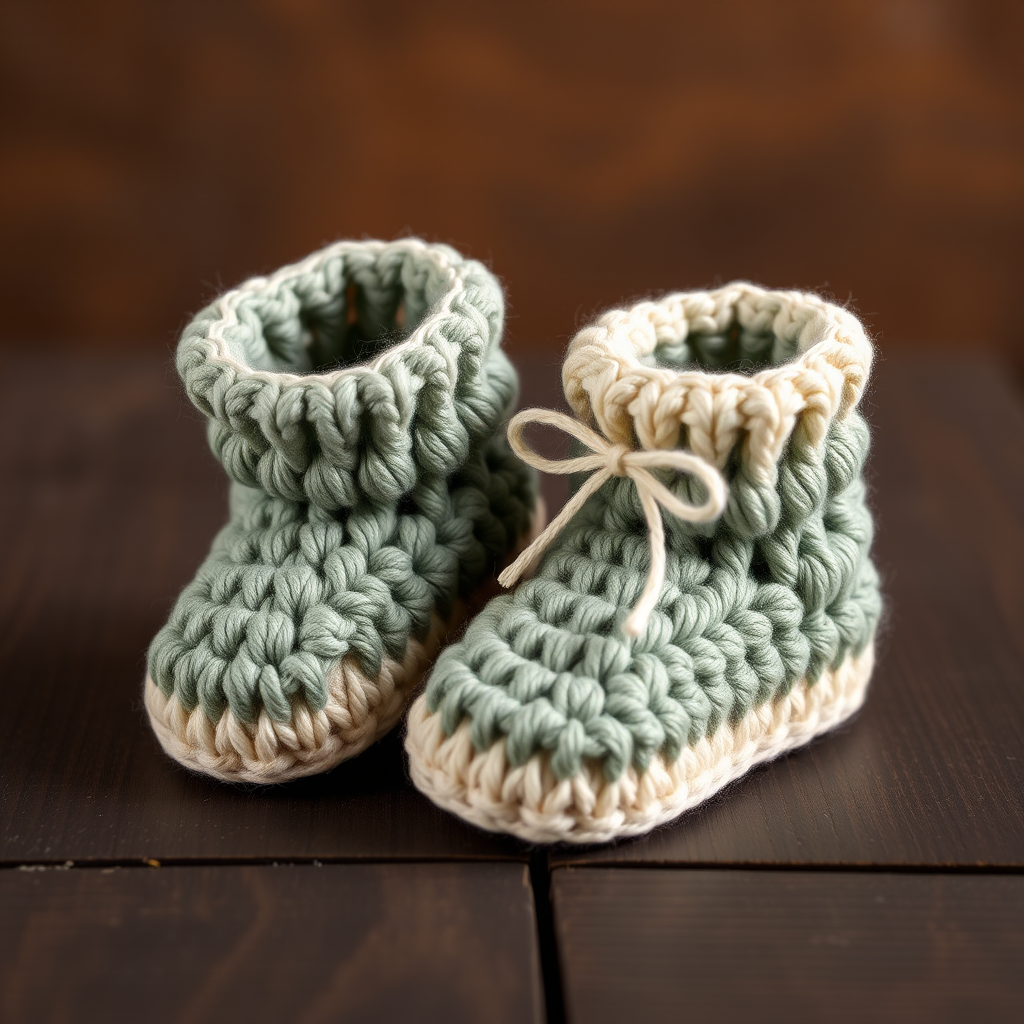
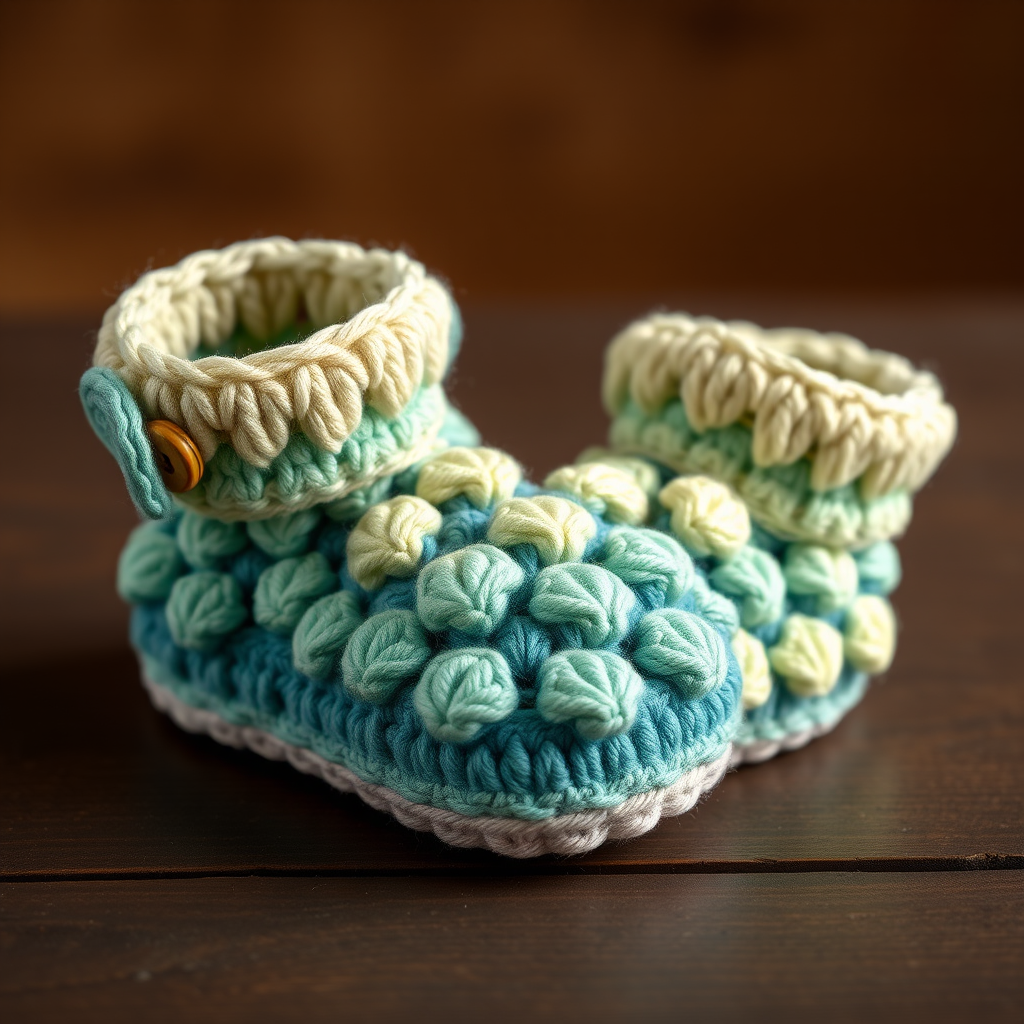
Wrap your little one's feet in a garden of delight with these adorable flower-topped booties. The soft, textured petals and sweet button detail make them a cherished handmade gift for baby showers, spring arrivals, or simply because you love crafting something beautiful. This free crochet pattern is perfect for beginners and experienced makers alike, guiding you through every step to create a pair of booties that look like they've been plucked straight from a storybook garden.
Using worsted-weight cotton yarn in soft pink, cream, and leaf green, these booties are not only charming but also durable and breathable for tiny toes. The dimensional flower appliqués, created with clusters of double crochet stitches, add a delightful texture that makes these booties stand out. Whether you're making them for your own bundle of joy or as a heartfelt gift, this pattern is designed to be simple, clear, and rewarding to complete.
Materials Needed
Before you begin, gather the following supplies to ensure a smooth and enjoyable crochet session:
- Yarn: Worsted weight cotton yarn in soft pink (MC – Main Color), cream (CC1 – Contrast Color 1), and leaf green (CC2 – Contrast Color 2). Cotton yarn is ideal for baby items as it's soft, washable, and gentle on sensitive skin.
- Crochet Hook: US G/6 (4.0 mm) crochet hook. This size works perfectly with worsted weight yarn to create a dense, sturdy fabric that holds its shape.
- Gauge: 4 sc x 4 rows = 1 inch (2.5 cm) in single crochet. Achieving the correct gauge ensures your booties match the intended size. If your gauge is off, adjust your hook size accordingly.
- Extras: Yarn needle for weaving in ends and sewing appliqués, scissors, and optionally, two small buttons for the flower centers (if desired).
Step-by-Step Instructions
This pattern includes sizes for Newborn (0-3 months) with a sole length of 3.5 inches, and 3-6 months with a sole length of 4 inches. Instructions for the larger size are shown in parentheses. If your gauge differs, you can adjust the hook size to achieve the correct measurements.
Abbreviations
Familiarize yourself with these standard crochet abbreviations before starting:
- ch = chain
- sc = single crochet
- hdc = half double crochet
- dc = double crochet
- sl st = slip stitch
- st(s) = stitch(es)
- rnd = round
- inc = increase (2 sc in same st)
- dec = decrease (sc 2 together)
- MC = main color (soft pink)
- CC1 = contrast color 1 (cream)
- CC2 = contrast color 2 (leaf green)
SOLE (Make 2 with MC)
The sole forms the foundation of the bootie. Work in continuous rounds, joining with a slip stitch at the end of each round as indicated.
Foundation Chain: Ch 8 (10 for larger size).
Round 1: 2 sc in 2nd ch from hook, sc in next 5 (7) ch, 2 sc in last ch. Now, working on the opposite side of the chain: sc in next 5 (7) ch, 2 sc in last ch. Join with sl st to first sc. (14 sts for newborn, 18 for larger)
Round 2: Ch 1, inc in first st, sc in next 5 (7) sts, inc in next st, sc in next 5 (7) sts, inc in last st. Join with sl st to first sc. (17 sts for newborn, 21 for larger)
Round 3: Ch 1, inc in first st, sc in next 7 (9) sts, inc in next st, sc in next 7 (9) sts, inc in last st. Join with sl st to first sc. (20 sts for newborn, 24 for larger)
Round 4: Ch 1, sc in each st around. Join with sl st to first sc. Fasten off and weave in ends. (20/24 sts)
Tip: The sole should be slightly oval-shaped. If it looks too narrow or wide, check your gauge and adjust your hook size.
SIDES (with MC)
Now we'll build the body of the bootie upward from the sole. Attach MC yarn to any stitch on the sole.
Round 1: Ch 1, sc in back loop only of each st around. Join with sl st to first sc. (20/24 sts) – This creates a neat edge that defines the sole from the sides.
Rounds 2-4: Ch 1, sc in each st around. Join with sl st to first sc at the end of each round. (20/24 sts)
Round 5: Ch 1, sc in first 6 (7) sts, dec (sc 2 together), sc in next 4 (5) sts, dec, sc in last 6 (7) sts. Join with sl st to first sc. (18/22 sts)
Round 6: Ch 1, sc in first 5 (6) sts, dec, sc in next 4 (5) sts, dec, sc in last 5 (6) sts. Join with sl st to first sc. (16/20 sts)
Round 7: Ch 1, sc in first 4 (5) sts, dec, sc in next 4 (5) sts, dec, sc in last 4 (5) sts. Join with sl st to first sc. (14/18 sts)
Fasten off and weave in all ends securely. The decreases at the toe area create a gentle shaping that hugs the baby's foot.
Tip: When working the decreases, make sure they are positioned at the toe end of the bootie. You can mark the center front with a stitch marker to keep your decreases aligned.
FLOWER APPLIQUÉ (Make 2 with CC1)
These charming flowers are the star of the design. The clusters of double crochet create dimensional, rounded petals.
Magic Ring: Make a magic ring (adjustable loop).
Round 1: Ch 1, 6 sc in ring. Join with sl st to first sc. (6 sts)
Round 2: Ch 1, (sc in next st, 2 dc in next st) repeat 3 times. Join with sl st to first sc. (9 sts)
Round 3: Ch 1, (sc in next st, 3 dc in next st, sc in next st) repeat 3 times. Join with sl st to first sc. (15 sts)
Round 4: Ch 1, (sc in next st, 4 dc in next st, sc in next st) repeat 3 times. Join with sl st to first sc. (21 sts)
Fasten off, leaving a long tail (about 12 inches) for sewing the flower onto the bootie.
Tip: The flower will naturally curl slightly, giving it a lovely, organic shape. Gently flatten it with your fingers before sewing.
LEAF (Make 2 with CC2)
The leaf adds a lovely finishing touch, peeking out from beneath the flower.
Foundation Chain: Ch 5.
Row 1: Sc in 2nd ch from hook, hdc in next ch, dc in next ch, hdc in last ch. Fasten off, leaving a tail for sewing.
Tip: The leaf is worked in a single row, creating a simple, elegant shape. You can gently curve it with your fingers before attaching.
ASSEMBLY
Now it's time to bring all the pieces together to create your beautiful booties.
- Position the Flower: Place the flower appliqué on the front of each bootie, centered on the toe area. The toe is the rounded end where the decreases were made. Use the long tail from the flower to sew it securely in place with a yarn needle. Make small, neat stitches around the edge of the flower, catching the bootie fabric underneath.
- Attach the Leaf: Position the leaf under the flower, slightly to one side, so it peeks out from beneath the petals. Sew it in place using its tail, making sure it's secure.
- Optional Button: For extra charm, sew a small button in the center of each flower. Choose a button that complements the colors – a pearl or pastel shade works beautifully. Sew it securely, ensuring it's firmly attached for safety.
- Weave in Ends: Use your yarn needle to weave in any remaining loose ends on the inside of the booties. This ensures a clean, professional finish.
- Block if Desired: If you'd like to shape the booties further, you can lightly block them. Mist with water and gently shape with your hands, then allow to dry completely.
And there you have it – a pair of adorable Little Miss Flower booties ready to grace tiny toes! These make wonderful gifts for baby showers, newborn photos, or simply as a heartfelt handmade treasure. The soft cotton yarn and charming floral details are sure to be cherished for years to come.
Happy Crocheting! Remember, every stitch is a little hug for the baby who will wear them.