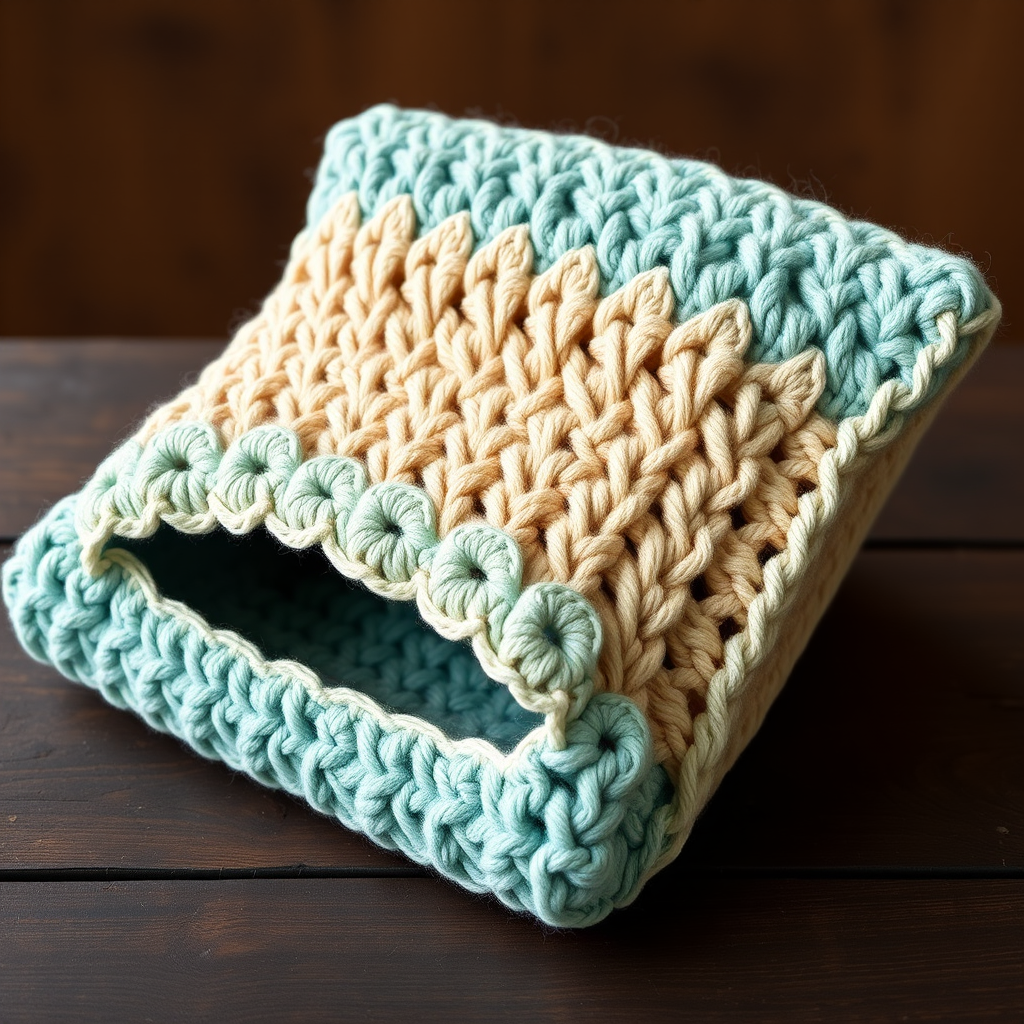
Mauve Watermelon Seed Dot Square Pillow Free Pattern

Mauve Watermelon Seed Dot Square Pillow: A Free Beginner Crochet Pattern
If you have ever looked at a soft, plush velvet pillow in a store and thought, "I wish I could make that," this is the project for you. The Mauve Watermelon Seed Dot Square Pillow is a wonderfully forgiving first project because it is built almost entirely from one simple stitch repeated over and over, which means you get lots of relaxing practice before anything tricky happens. It is perfect for complete beginners who have just learned to hold a hook, and it is equally lovely for experienced makers who want a quick, satisfying weekend make. When finished, you will have a plump 18 x 18 inch square pillow in a dusty, romantic mauve, framed by a rich plum border and dotted with nine little plum "watermelon seed" ovals scattered across the front. The velvet yarn makes it feel like a cloud, and the clean, modern look means it fits right into any living room or bedroom.
Materials Needed
- Yarn (main color): Bernat Velvet, 100% polyester, bulky weight (yarn weight category 5). 1 skein in Mauve, approximately 280 yards.
- Yarn (contrast color): Bernat Velvet in Plum, approximately 90 yards (for the border and the seed appliqués).
- Crochet hook: 5.5 mm (US size I-9), or whatever size you need to match the gauge below.
- Stitch markers: at least 4 (helpful for corners and counting).
- Tapestry needle: a large-eye, blunt-tip needle for seaming and weaving in ends.
- Scissors.
- Pillow insert: one 16 x 16 inch (40.5 cm) insert for a snug fit, or an 18 x 18 inch insert for a looser, squishier fit.
- Finished size: the crocheted panels measure approximately 16 x 16 inches (40.5 x 40.5 cm) before the border. The plum border adds about 1 inch on every side, giving a finished pillow of approximately 18 x 18 inches.
Abbreviations and Beginner Glossary
Do not worry if these look like a secret code. Here is every single term used in this pattern, explained in plain English as if you have never held a hook before.
- ch – chain. Make a loop of yarn on your hook, then pull the working yarn through that loop. Each one you make is a "chain." Chains form your starting foundation.
- sc – single crochet. Insert your hook into the next stitch, wrap the yarn over the hook, pull it up through the stitch (you now have 2 loops on your hook), wrap the yarn over again, and pull it through both loops. That is one single crochet.
- sl st – slip stitch. Insert your hook into the stitch, wrap the yarn over, and pull it straight through both the stitch and the loop on your hook in one motion. It makes a nearly invisible joining stitch.
- st / sts – stitch / stitches. One completed stitch, or several of them.
- sc2tog – single crochet 2 together. This is a decrease, meaning it turns two stitches into one. Insert your hook into the first stitch, pull up a loop, insert your hook into the next stitch, pull up a loop (3 loops on hook), wrap yarn over, pull through all 3 loops. You have just made one stitch where there used to be two.
- 2 sc in next sc – an increase. Work two single crochets into the same stitch, which adds one extra stitch to your count.
- magic ring – an adjustable loop of yarn that you crochet into, then pull tight so there is no hole in the middle. If this feels hard, you can chain 2 and work your first round into the first chain instead.
- turn – flip your work over so you can crochet back across the row you just finished.
- fasten off – cut the yarn a few inches from your work, then pull the tail all the way through the last loop to lock it.
- whipstitch – a simple sewing stitch: bring the needle up through both layers, over the edge, and back down, repeating in small even stitches.
Gauge
Gauge: 12 single crochet stitches x 14 rows = 4 inches (10 cm) in single crochet with the 5.5 mm (I-9) hook.
Gauge simply means how big your stitches turn out. It matters because it is the only way to guarantee your finished pillow actually measures 16 x 16 inches and fits your insert. If your stitches are too big, the pillow will be baggy; if too small, the insert will not fit. To check, crochet a small practice square about 5 x 5 inches using single crochet, then lay a ruler across the middle and count how many stitches fit in 4 inches and how many rows fit in 4 inches. If you get more than 12 stitches, your stitches are too small, so try a larger hook. If you get fewer than 12, your stitches are too big, so try a smaller hook. Velvet yarn is slippery and stretchy, so it is worth making this swatch.
Beginner Tips Before You Start
- Count your stitches every single row. You should always have 48 stitches at the end of every row. If you lose or gain one, fix it right away rather than discovering it 20 rows later.
- Use stitch markers. Place one in the very first stitch and the very last stitch of each row so you never accidentally skip the edge stitch, which is the most common beginner mistake.
- Do not pull the yarn too tight. Velvet yarn has a fuzzy "nap" (a direction to the fibers). Keep your tension relaxed and even so the plush texture stays soft and the fabric does not pucker.
- Keep the nap running the same direction. Work both panels with the yarn feeding from the same end so the sheen of the velvet looks even across the finished pillow.
- Work in good light. Velvet stitches can be hard to see, so bright light and a plain background will save you a lot of squinting.
- Chain loosely. Your starting chain of 49 should be relaxed, not tight, or the bottom edge of your pillow will pull in.
Step-by-Step Instructions
Front Panel (Mauve)
Row 1: Ch 49. Sc in the 2nd ch from your hook and in each ch across. (48 sc)
Row 2: Ch 1, turn. Sc in each st across. (48 sc)
Rows 3–56: Repeat Row 2. (48 sc per row; 56 rows total)
Fasten off and weave in your ends. The panel should measure approximately 16 x 16 inches. This math works out perfectly: 48 stitches divided by 12 stitches per 4 inches equals 16 inches wide, and 56 rows divided by 14 rows per 4 inches equals 16 inches tall.
Back Panel (Mauve)
Work exactly as the Front Panel.
Row 1: Ch 49. Sc in the 2nd ch from hook and in each ch across. (48 sc)
Row 2: Ch 1, turn. Sc in each st across. (48 sc)
Rows 3–56: Repeat Row 2. (48 sc per row; 56 rows total)
Fasten off and weave in your ends.
Border (Plum) – Work on Both Panels
With the right side of the Front Panel facing you, join Plum yarn with a sl st in any corner.
Round 1: Ch 1. Work sc evenly around the entire perimeter, placing 3 sc in each corner, working about 1 sc per row along the side edges and 1 sc per stitch along the top and bottom edges. Join with a sl st to the first sc.
Round 2: Ch 1. Sc in each sc around, working 3 sc in each corner. Join with a sl st to the first sc. Fasten off and weave in your ends.
Repeat both border rounds on the Back Panel in exactly the same way.
Seed Appliqués (Plum) – Make 9
Each seed is a small oval worked in the round.
Round 1: Make a magic ring. Ch 1, work 6 sc into the ring. Join with a sl st to the first sc. (6 sc)
Round 2: Ch 1. 2 sc in each sc around. Join with a sl st. (12 sc)
Round 3: Ch 1. [Sc in the next sc, 2 sc in the next sc] around. Join with a sl st. (18 sc)
Round 4: Ch 1. Sc in each sc around. Join with a sl st. (18 sc)
Round 5: Ch 1. [Sc2tog] around. Join with a sl st. (9 sc)
Round 6: Ch 1. Sc2tog around until 1 st remains. Fasten off, leaving a 6-inch tail. (1 st)
Using the tail, thread through the remaining stitches and pull closed. Weave in the end. Gently flatten each seed into an oval shape, approximately 1.5 x 1 inch.
Assembly and Finishing
Step 1 – Place the seeds. Lay the Front Panel right side up on a flat surface. Arrange the 9 seed appliqués in a scattered pattern across the face, spacing them evenly (roughly 3 rows of 3, slightly offset from one another). Pin each one in place.
Step 2 – Sew the seeds. Using matching Plum yarn and your tapestry needle, whipstitch each seed securely to the Front Panel. Work small, even stitches all the way around the edge of each seed so it lies flat and does not curl.
Step 3 – Stack the panels. Place the Front and Back Panels wrong sides together (the "wrong side" is the back of your work, the side with the little bumps), aligning the edges and matching the borders.
Step 4 – Seam three sides. Using Plum yarn and your tapestry needle, whipstitch or mattress stitch around three sides, working through both layers just inside the border edge. Mattress stitch means passing the needle straight across the gap between the two edges, catching one loop from each side, which hides the seam neatly.
Step 5 – Insert the pillow. Push the pillow insert through the open side, working it into the corners so the pillow sits plump and square.
Step 6 – Close the last side. Stitch the remaining side closed in the same manner as the other three.
Step 7 – Weave in all ends. Thread every remaining tail onto your tapestry needle and weave it back and forth through the inside of the fabric for about 2 inches, then trim close.
Blocking: Lightly steam the finished pillow (do not press the iron onto the velvet) to smooth the edges and relax the stitches. Velvet should never be ironed directly, as heat can crush the nap.
Pro Tips and Variations
- Change the colors. Try a blush pink body with a deep rose border, or a sage green body with a cream border for a fresh, garden-inspired look. Keep the border one shade darker than the body so the seed appliqués really pop.
- Adjust the size. To make a larger pillow, add stitches in multiples of 12 (each 12 stitches adds 4 inches of width) and add rows in multiples of 14 (each 14 rows adds 4 inches of height). Remember to buy extra yarn and a larger insert.
- Substitute the yarn. Any bulky (category 5) chenille or velvet yarn will work beautifully. Just be sure to crochet a gauge swatch first, because different brands of plush yarn can vary a lot in thickness.
- Make it a removable cover. Instead of seaming all four sides, leave one full side open and add three simple buttons and button loops along the border so you can slip the cover off for washing.