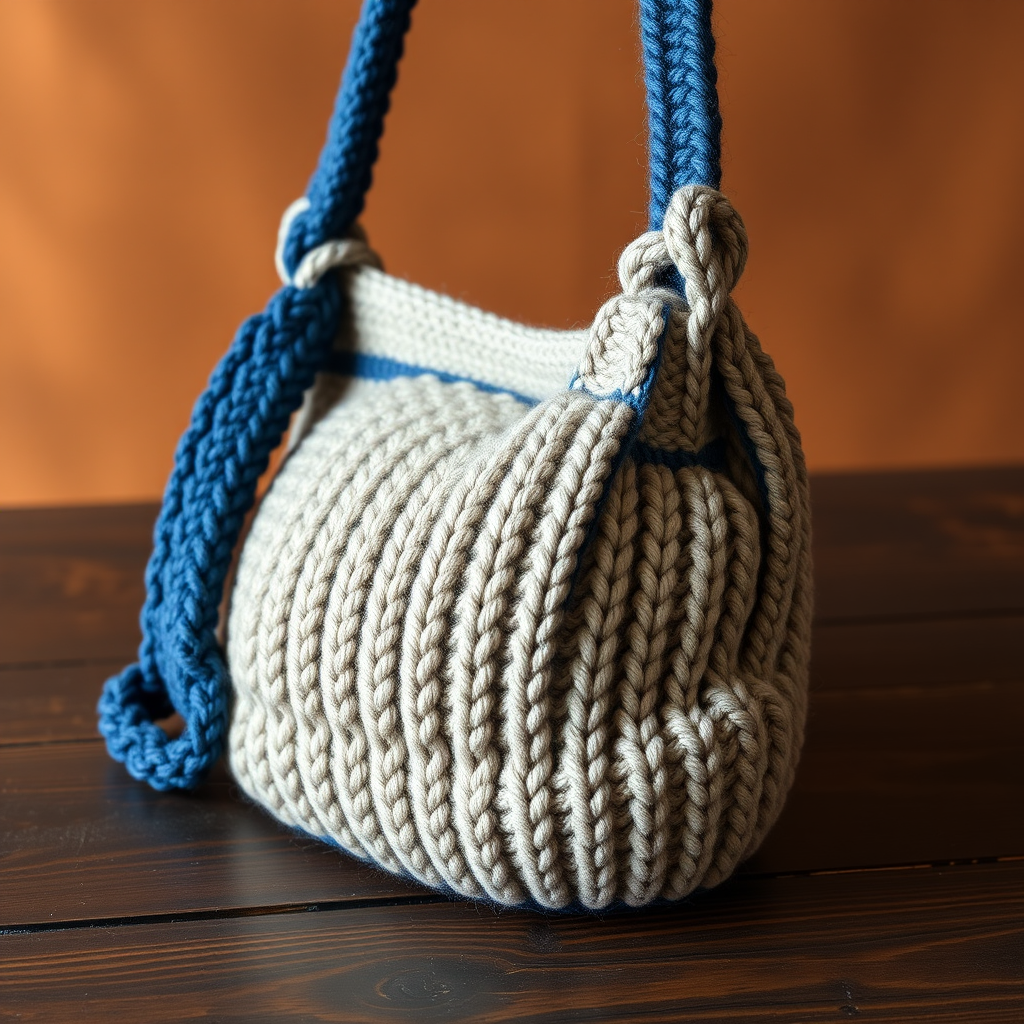
Meadow Mosaic Tote Free Pattern – Knit a Textured Wildflower Garden Bag

Carry a Sunlit Meadow: The Meadow Mosaic Tote Knitting Pattern
Imagine carrying a piece of a sunlit meadow with you wherever you go. The Meadow Mosaic Tote is a richly textured, color-blocked bag knitted in soft, chunky wool. The mosaic stitch pattern creates a stunning play of light and shadow, with slipped stitches forming delicate diamonds and zigzags that dance across the fabric. This pattern is perfect for intermediate knitters looking to expand their skills, but with clear instructions, even a confident beginner can create this beautiful, rustic accessory. Let's dive into this delightful project that brings the beauty of a wildflower garden into your everyday life.
Materials Needed
Before you begin, gather the following materials to ensure a smooth knitting experience:
- Yarn: Worsted weight wool (e.g., Cascade 220) in 4 colors:
- Color A (Cream) – approx. 100g
- Color B (Sage Green) – approx. 50g
- Color C (Dusty Rose) – approx. 50g
- Color D (Golden Yellow) – approx. 50g
- Needles: US 7 (4.5 mm) circular knitting needle, 24-inch length (or straight needles if preferred)
- Notions: Tapestry needle for weaving in ends, stitch markers (optional), scissors
- Gauge: 20 stitches and 28 rows = 4 inches in stockinette stitch (blocked). Always check your gauge to ensure the correct finished size.
Step-by-Step Instructions
Bag Body (Worked Flat, Back and Forth)
The bag is worked as a single flat rectangle, then folded and seamed. This makes the construction simple and foolproof.
Foundation:
With Color A (Cream), cast on 80 stitches.
Garter Stitch Border (Rows 1-6):
Rows 1-6: Knit all stitches. This creates a sturdy, non-curling border for the top and bottom of your bag.
Mosaic Pattern Section:
Now we begin the beautiful mosaic pattern. Remember, in mosaic knitting, you only work with one color per row, slipping stitches from the previous color to create the pattern. Always slip stitches purlwise with the yarn in front (wyif) on both right and wrong side rows.
Row 7 (Right Side): Switch to Color B (Sage Green).
*K1, sl1 wyif, K3, sl1 wyif*; repeat from * to * across the row, ending with K1. (You will have 16 pattern repeats plus the final K1.)
Row 8 (Wrong Side): With Color B (Sage Green).
*P1, sl1 wyif, P3, sl1 wyif*; repeat from * to * across the row, ending with P1.
Rows 9-10: Switch to Color A (Cream). Knit all stitches for both rows. This creates a clean break between color blocks.
Rows 11-12: Switch to Color C (Dusty Rose).
Repeat Rows 7 and 8, but using Color C instead of Color B.
Rows 13-14: Switch to Color A (Cream). Knit all stitches for both rows.
Rows 15-16: Switch to Color D (Golden Yellow).
Repeat Rows 7 and 8, but using Color D instead of Color B.
Rows 17-18: Switch to Color A (Cream). Knit all stitches for both rows.
Repeat the Pattern:
Repeat Rows 7-18 two more times. You will now have a total of 3 complete mosaic pattern repeats (each repeat is 12 rows).
Final Garter Stitch Border:
Next 6 rows: With Color A (Cream), knit all stitches. This mirrors the bottom border.
Bind Off:
Bind off all stitches loosely (use a larger needle or a loose bind-off method to prevent a tight edge). Weave in all loose ends with your tapestry needle.
Bag Assembly
Now it's time to transform your flat rectangle into a beautiful tote.
Fold and Seam:
Fold the knitted rectangle in half with right sides together. The garter stitch borders should be at the top (the opening) and bottom (the fold). Using a mattress stitch or whip stitch, sew the side seams together, leaving the top open. Weave in these ends securely.
Handles (Make 2)
These sturdy garter stitch handles are comfortable to carry and easy to knit.
Handle Construction:
With Color A (Cream), cast on 8 stitches.
Knit in garter stitch (knit every row) until the handle measures 18 inches, or your desired length. Bind off loosely. Weave in ends.
Attach Handles:
Turn the bag right side out. Position each handle on the inside of the bag, placing them about 4 inches apart on each side. Sew each handle securely to the inside top edge of the bag. Reinforce with a few extra stitches for durability.
Finishing Touches
Your Meadow Mosaic Tote is almost complete!
Blocking:
Block the bag gently to shape. This will even out the stitches and enhance the mosaic pattern. Mist the bag with water and lay it flat to dry, shaping it as desired.
Optional Lining:
For extra durability and to prevent items from slipping through the stitches, you can add a fabric lining. Cut a piece of fabric slightly larger than the bag, sew the sides, and hand-stitch it inside the bag.
Your handcrafted Meadow Mosaic Tote is now ready to carry your essentials with rustic charm. The combination of cream, sage green, dusty rose, and golden yellow creates a palette reminiscent of a wildflower meadow, making this bag a true conversation piece. Enjoy your beautiful, handmade creation!