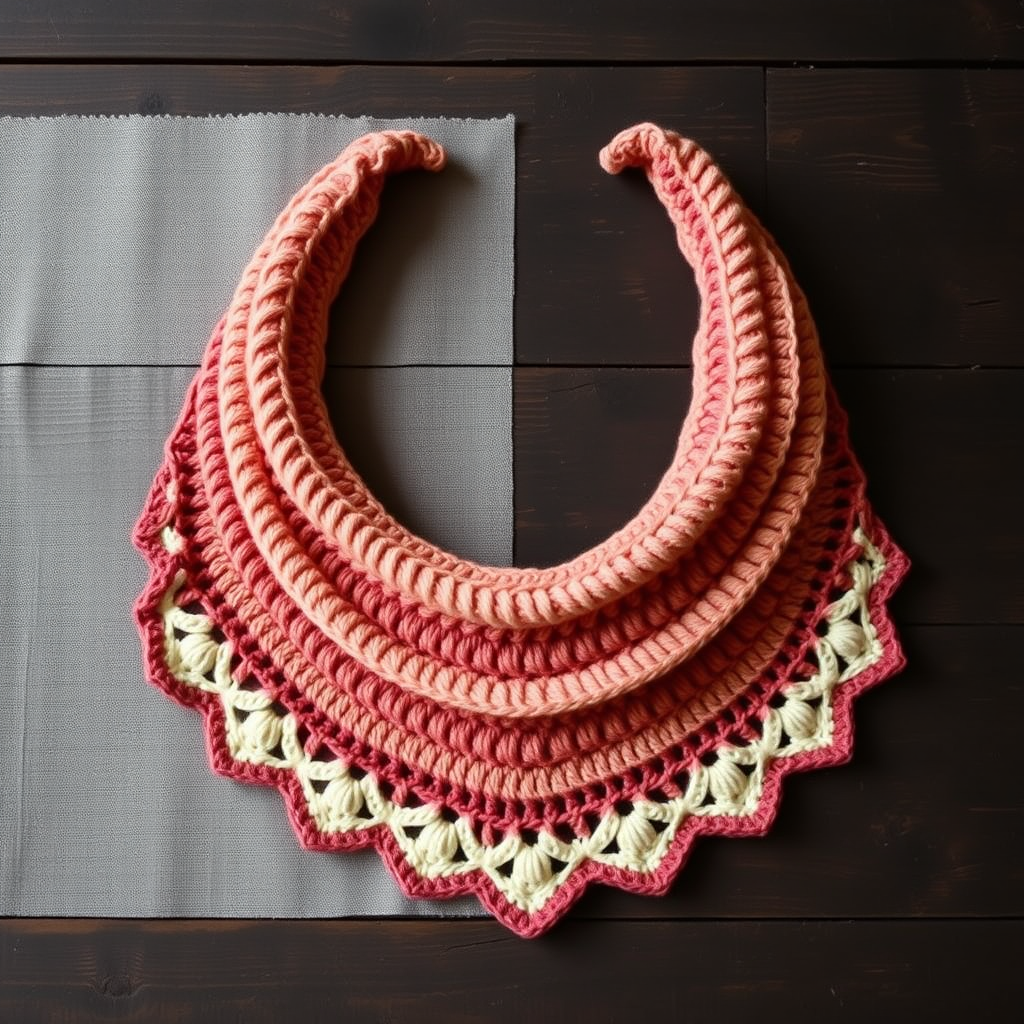
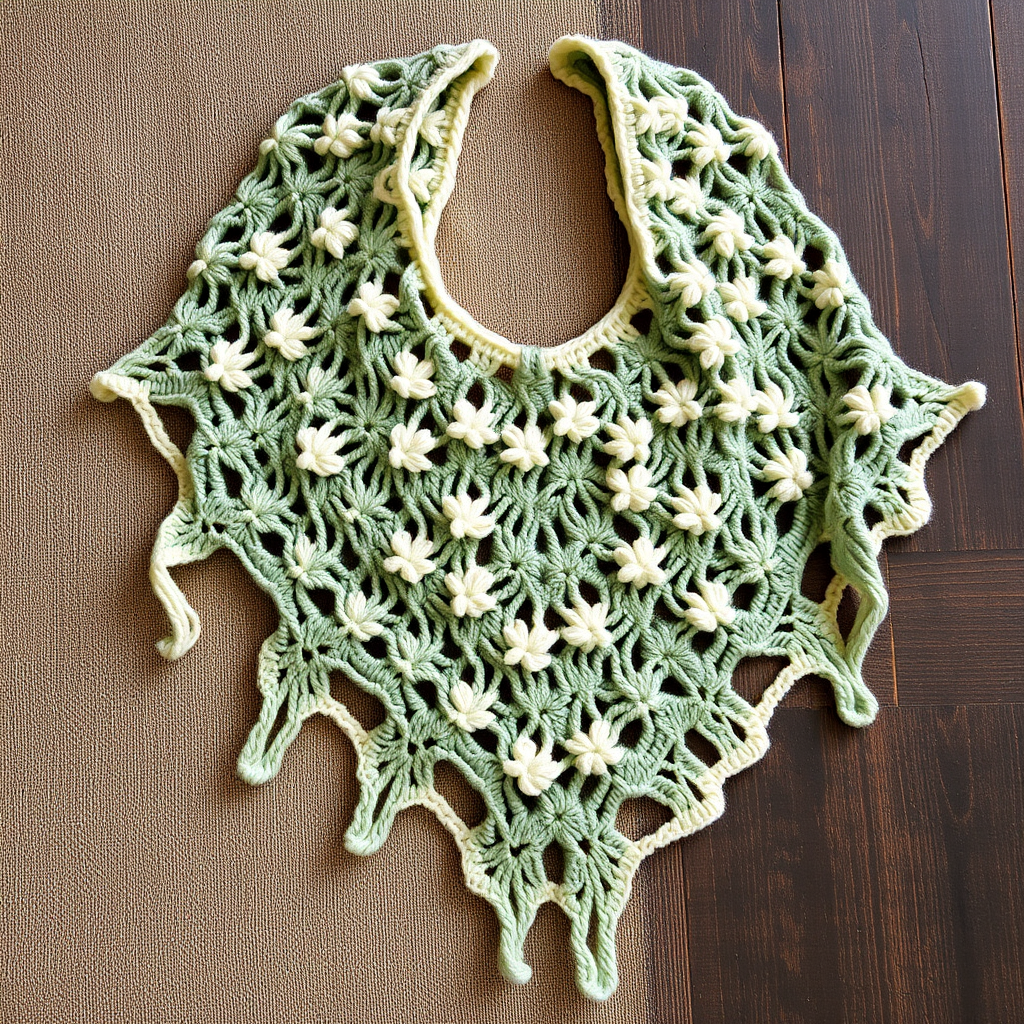
Mountain Sunset Granny Square Crochet Shawl Free Pattern

Mountain Sunset Granny Square Crochet Shawl
Introduction
If you have ever looked at a crocheted shawl and thought "I could never make that," this is the pattern that will prove you wrong. The Mountain Sunset Granny Square Shawl is built from 36 simple, identical granny squares — the same classic motif that millions of beginners have learned as their very first project — joined together into a soft triangle that drapes over your shoulders like the last light over a mountain ridge. It is perfect for someone who has just learned chain, double crochet, and slip stitch, because you will practice those three stitches over and over until they feel like second nature. The finished shawl is warm but airy, with visible seams that give it a rustic cabin feel, and it shades from glowing ember orange at the top, through dusky plum, down to deep pine at the point. Wrap it around your shoulders on a cool evening and you will feel like you made something truly beautiful — because you did.
Materials Needed
- Yarn: Worsted weight (Category 4) acrylic or wool blend, approximately 900–1000 yards total:
- 350 yards ember orange (Color A)
- 300 yards dusky plum (Color B)
- 250 yards deep pine (Color C)
- Crochet hook: 5.0 mm (US H-8)
- Stitch markers: at least 8 (to mark corners and keep your square count straight)
- Tapestry needle: a blunt-tipped needle with a large eye for weaving in ends and seaming
- Scissors
- Finished size: approximately 56 inches wide across the top edge and 28 inches deep at the center point, after blocking. Each square measures about 4 x 4 inches (10 x 10 cm).
Abbreviations and Beginner Glossary
- ch – chain. Yarn over (wrap yarn around hook) and pull it through the loop on your hook. This makes one chain stitch.
- sl st – slip stitch. Insert hook into the stitch, yarn over, and pull the yarn through both the stitch and the loop on your hook at the same time. It makes a nearly invisible joining stitch.
- sc – single crochet. Insert hook into stitch, yarn over, pull up a loop (2 loops on hook), yarn over, pull through both loops. One loop remains.
- dc – double crochet. Yarn over, insert hook into stitch, yarn over, pull up a loop (3 loops on hook), yarn over, pull through 2 loops, yarn over, pull through remaining 2 loops.
- sp – space. The little gap created by a chain (for example, a "ch-2 sp" is the hole made by two chains).
- st(s) – stitch(es).
- rep – repeat. Do the instruction again.
- beg – beginning.
- magic ring – an adjustable loop of yarn you crochet into, then pull tight so there is no hole in the center. If you prefer, you can ch 4 and join with a sl st to form a ring instead.
- picot – a tiny decorative bump made by ch 3, then slip stitching into the first of those 3 chains.
- back loops only (BLO) – each stitch has two loops at the top, a front one and a back one. Working through the back loop only means you insert your hook under the loop farthest from you, which creates a neat ridge and a flatter seam.
- fasten off – cut the yarn a few inches from your work and pull the tail all the way through the last loop to lock it.
- right side (RS) – the "pretty" front face of your work that will show when worn.
Gauge
Gauge: one finished granny square = 4 x 4 inches (10 x 10 cm) after blocking.
Gauge simply means how big your stitches turn out. It matters here because the shawl's shape depends on every square being the same size — if your squares come out at 5 inches instead of 4, your finished shawl will be much larger and you may run out of yarn. To check your gauge, make one complete granny square exactly as written below, fasten off, and gently stretch it flat. Measure across the middle. If it is bigger than 4 inches, try a smaller hook (4.5 mm); if it is smaller, try a larger hook (5.5 mm). Because all 36 squares are identical, one test square tells you everything you need to know.
Beginner Tips Before You Start
- Make one square first and measure it. Do not make all 36 until you are happy with the size of your test square. This saves hours of work.
- Do not pull your yarn too tight. Tension is the number one beginner struggle. Hold the yarn gently; your stitches should slide easily on the hook. Tight stitches make small, stiff squares.
- Use stitch markers to count your squares. Place a marker on the first square of each color band so you always know how many you have made and which color comes next.
- Keep your color bands organized. Store finished squares in three separate bags (orange, plum, pine) so assembly is quick and stress-free.
- Count your clusters every round. Each side of the square should have the same number of 3-dc clusters. If one side looks longer, you have added an extra cluster — undo back to the corner and fix it.
- Weave in ends as you go. Each square has two yarn tails. Thread them onto your tapestry needle and weave them into the back of the square right away, rather than facing 72 tails at the end.
Step-by-Step Instructions
Part 1: The Granny Square (make 36)
Work each square entirely in one color. Make 12 squares in ember orange (A), 12 squares in dusky plum (B), and 12 squares in deep pine (C).
Round 1: With your chosen color, make a magic ring. Ch 3 (this counts as your first dc), then work 2 dc into the ring, ch 2, [3 dc into the ring, ch 2] three times. Join with a sl st to the top of the beginning ch-3. (12 dc, 4 ch-2 corner spaces)
Round 2: Ch 3, work 2 dc into the same space as the join, ch 2, then 3 dc into that same space (this makes your first corner). *Ch 1, then work (3 dc, ch 2, 3 dc) into the next ch-2 corner space; repeat from * around. Ch 1, join with a sl st to the top of the ch-3. (24 dc, 4 ch-2 corner spaces, 4 ch-1 side spaces)
Round 3: Ch 3, work 2 dc into the same space as the join, ch 2, then 3 dc into that same space. *Ch 1, work 3 dc into the next ch-1 space, ch 1, then work (3 dc, ch 2, 3 dc) into the next ch-2 corner space; repeat from * around. Ch 1, join with a sl st to the top of the ch-3. (36 dc, 4 ch-2 corner spaces, 8 ch-1 side spaces)
Fasten off and weave in both tails. Your square should measure about 4 x 4 inches. Repeat until you have all 36 squares.
Part 2: Color Plan and Triangular Layout
Arrange your finished squares on a flat surface in 8 rows, forming a right triangle that grows wider toward the bottom:
- Row 1 (top): 1 square (A)
- Row 2: 2 squares (A)
- Row 3: 3 squares (A)
- Row 4: 4 squares (B)
- Row 5: 5 squares (B)
- Row 6: 6 squares (C)
- Row 7: 7 squares (C)
- Row 8 (bottom): 8 squares (C)
Total = 36 squares. This uses all 12 orange squares (rows 1–3), all 12 plum squares (rows 4–5), and all 12 pine squares (rows 6–8). Take a photo of your layout before you start joining so you can refer back to it.
Part 3: Joining the Squares
You will join with a flat slip-stitch join worked through the back loops only, which creates a neat, visible seam. Hold two squares with right sides facing you, edges lined up.
Joining Step: Insert your hook through the back loop of the first stitch on Square 1 and the back loop of the matching stitch on Square 2, yarn over, and pull through both loops and the loop on your hook (one sl st made). Continue working one sl st through the back loops of each matching stitch pair along the entire edge, keeping your tension even. Fasten off and weave in the tail.
First, join squares into horizontal strips: Join the squares within Row 1 (1 square — nothing to join), Row 2 (join 2 squares), Row 3 (join 3 squares), and so on through Row 8 (join 8 squares). You will make 7 seams in total across the strips.
Then join the strips together: Place Row 1 above Row 2, Row 2 above Row 3, and so on. Join each strip to the strip below it with the same back-loop slip-stitch join, matching colors as shown in your layout. There are 7 strip-to-strip seams. Weave in all ends.
Part 4: Edging
Round 1 (single crochet border): With right side facing, join Color C (deep pine) with a sl st at any corner of the shawl. Ch 1, then work 1 sc evenly into every stitch and seam along the entire outer edge, working 3 sc into each outer corner so the corners lie flat. Join with a sl st to the first sc. (Stitch count will vary; keep the edge flat and even.)
Round 2 (picot edging): Ch 1. *Sc in each of the next 3 sts, then ch 3 and sl st into the first of those 3 chains (this makes one picot); repeat from * all the way around the entire perimeter, adjusting your stitch count slightly so that you finish with a picot sitting neatly at each corner. Join with a sl st to the first sc. Fasten off.
Assembly and Finishing
Seaming: If any seams look wavy, gently tug the squares apart and re-work that seam with looser tension. Seams should lie flat and not pucker. Check that all 7 horizontal strip seams and all 7 strip-to-strip seams are complete before moving on.
Weaving in ends: Thread each yarn tail onto your tapestry needle. Turn the shawl to the wrong side and weave the tail in and out through the backs of several stitches (about 2 inches), then change direction and weave back the other way to lock it. Trim close to the work. Never knot your tails — knots work loose and create bumps.
Blocking: Blocking means gently wetting and stretching your shawl to its final shape so the stitches relax and even out. Fill a sink with cool water, submerge the shawl for about 15 minutes, then gently squeeze (never wring) out the water. Roll it in a towel to remove excess moisture. Lay it flat on a towel or blocking mats, pin the top edge to 56 inches wide and the center point to 28 inches deep, and pat each square into a neat 4-inch shape. Leave it to dry completely, usually 24–48 hours. Your seams and picots will look crisp and professional.
Pro Tips and Variations
- Change the sunset: Swap the three colors for any palette you love — soft dawn pinks, ocean blues, or autumn golds. Keep the darkest color at the bottom point for a grounded, finished look.
- Adjust the size: For a smaller shawlette, stop after Row 6 (21 squares). For a larger wrap, add a Row 9 with 9 squares and a Row 10 with 10 squares, adding extra yarn (about 25 yards per square).
- Substitute yarn: A soft DK weight yarn will give you a lighter, drapier shawl — just check your gauge square and adjust your hook size so each square still measures 4 inches.
- Try a different join: If you prefer a lacy look, join squares with a single crochet seam instead of slip stitch, or leave tiny gaps between squares for an airy, open effect.