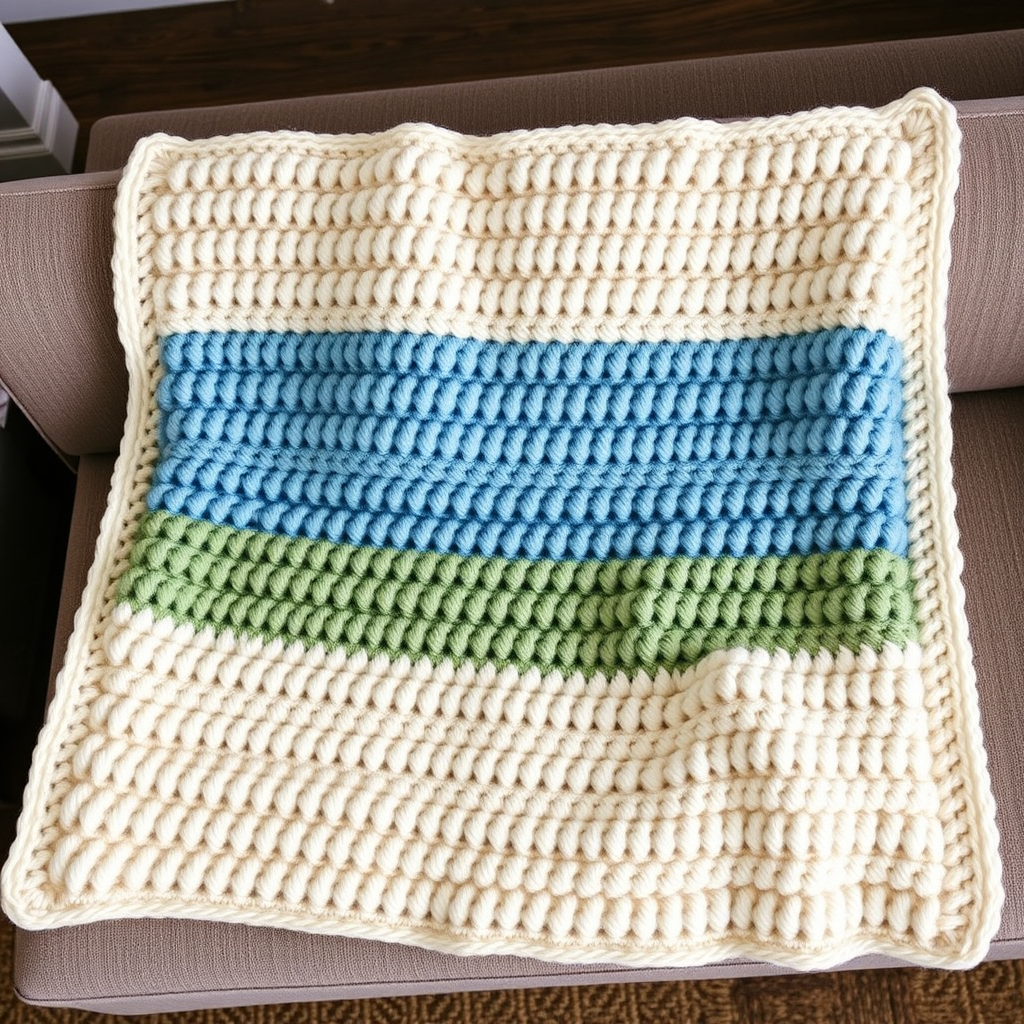
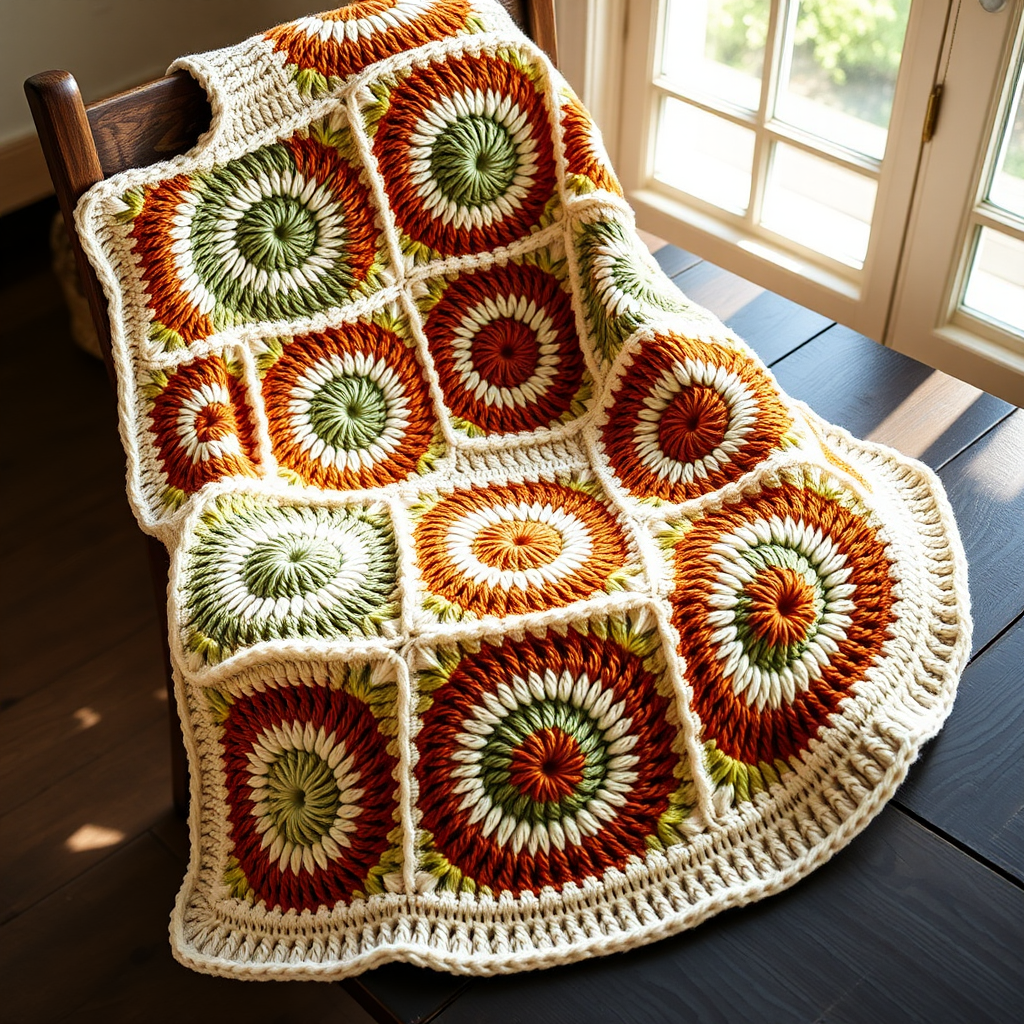
Sunset Serape Striped C2C Blanket Free Pattern – Cozy Southwestern Throw

Wrap Yourself in Desert Hues: The Sunset Serape Striped C2C Blanket
There is a certain magic in the way a handcrafted throw can transform a living space. It whispers of slow afternoons, of warmth, and of the beautiful imperfections that make handmade items so special. Today, I am thrilled to share a pattern that captures the breathtaking gradient of a desert sunset—the Sunset Serape Striped C2C Blanket. This corner-to-corner (C2C) crochet project is not only a visual stunner but also a surprisingly approachable build, making it the perfect weekend project for a beginner looking to level up their skills or a seasoned maker seeking a rhythmic, meditative stitch. With its bold, modern stripes and plush texture, this throw is destined to become the coziest, most admired piece in your home.
This pattern is a masterclass in the beloved C2C technique. Instead of working in rows from the bottom up, you'll be building your blanket diagonally, block by block, from one corner to the other. This creates a beautiful, woven-like texture that is both dense and drapey. The color sequence, moving through terracotta, dusty rose, golden ochre, cream, and deep teal, mimics the sun's journey across the sky, creating a piece that is both modern and timelessly southwestern. Let's gather our materials and begin this colorful journey.
Gathering Your Materials: The Artist's Palette
Before you begin, it's essential to have all your supplies ready. This ensures a smooth, uninterrupted crochet session. For this project, we will be using worsted weight yarn, which is perfect for creating a durable yet soft throw.
- Yarn: Worsted weight yarn in 5 colors. The approximate total yardage is 1800g. Here is the color breakdown:
- Color A (Terracotta): Approx. 400g
- Color B (Dusty Rose): Approx. 350g
- Color C (Golden Ochre): Approx. 350g
- Color D (Cream): Approx. 400g (This is also used for the border)
- Color E (Deep Teal): Approx. 300g
- Crochet Hook: 5.5mm (I-9) crochet hook. This size is ideal for achieving the correct gauge and a lovely drape.
- Other Tools: A yarn needle for weaving in ends, and a pair of scissors.
Gauge: 4 c2c blocks = 4 inches (10 cm) in the c2c pattern. While gauge isn't critical for a blanket, it's always good practice to check it to ensure your finished piece is the size you expect.
Mastering the C2C Block: The Building Block of Your Blanket
Before we dive into the pattern, let's understand the fundamental unit of this project: the C2C block. Each "block" is a mini square made of a chain and three double crochets. Once you get the hang of it, you'll be creating these in your sleep!
How to create a standard C2C block: Slip stitch into the designated chain-3 space, chain 3 (this counts as your first double crochet), then work 3 double crochets into that same chain-3 space. This group of ch-3 and 3 dc forms one block.
Step-by-Step Instructions: Building Your Sunset
This pattern is worked diagonally. We will first increase the number of blocks each row until we reach the widest point, and then we will decrease until we are back to a single block. Follow the color sequence carefully to achieve the beautiful striped effect.
Understanding the Color Sequence
Your color sequence is the heart of this design. It's a simple 9-row repeat that you will follow throughout the entire project.
- Row 1: Color A
- Rows 2-3: Color B
- Rows 4-5: Color C
- Rows 6-7: Color D
- Rows 8-9: Color E
Important Note for Decreasing: When you begin the decreasing section, you will reverse this color order for symmetry. You'll start with Color E, then D, then C, then B, and finally A.
Part 1: The Increasing Section (Building Up)
We will start at one corner and work our way to the center diagonal of the blanket.
Row 1 (Color A): Chain 6. Work 1 double crochet (dc) in the 4th chain from your hook. Work 1 dc in each of the next 2 chains. You have now created your first block. Turn your work.
Row 2 (Color B): Chain 6. Dc in the 4th chain from the hook and in the next 2 chains. This creates your first new block of the row. Now, look at the previous row's block. You'll see a chain-3 space at its top. Slip stitch (sl st) into that chain-3 space. Chain 3, then work 3 dc into that same chain-3 space. You have now created your second block. Turn. (Total: 2 blocks)
Row 3 (Color B): Chain 6, dc in the 4th ch from hook and in the next 2 ch (new block). *Sl st into the next chain-3 space, ch 3, 3 dc in the same space.* Repeat from * to * across the row. Turn. (Total: 3 blocks)
Rows 4-40 (Continuing to Increase): Continue this exact pattern. Every row will start with a chain 6 to create a new block, and then you will work a block into each chain-3 space from the previous row. You will add one block per row. Continue increasing until you have 40 blocks across the diagonal. Remember to change colors according to the sequence above. When you change colors, simply fasten off the old color and join the new color with a slip stitch in the corner where you will start the next row.
Part 2: The Decreasing Section (Building Down)
Once you have 40 blocks across, it's time to start decreasing to create the opposite corner of your rectangle. This is done by skipping the first block of each row.
Row 41 (Color E): To decrease, you will slip stitch across the top of the first block to get to the second block. Sl st in the next 3 dc of the first block. Now, you are at the chain-3 space of the second block. Work a block (sl st, ch 3, 3 dc) into that chain-3 space. Continue working a block into each of the remaining chain-3 spaces across the row. Do NOT create a new block at the end. Turn. (Total: 39 blocks)
Row 42 (Color E): Repeat the decrease method: Sl st across the first block, then work blocks in each of the remaining chain-3 spaces. (Total: 38 blocks)
Rows 43-80 (Continuing to Decrease): Continue decreasing in this manner, following the reversed color sequence. Each row will have one fewer block than the previous row. Keep going until you have just 1 block left. Fasten off and weave in this end.
Part 3: The Finishing Border
A beautiful border is the perfect finishing touch to frame your work and give it a polished, professional look.
Round 1: With the right side of your blanket facing you, join Color D (Cream) with a slip stitch in any corner. Work 1 round of single crochet (sc) evenly around the entire blanket. When you reach a corner, work 3 sc in the corner stitch to ensure the corner lays flat and turns nicely.
Round 2: For a beautifully finished, slightly textured edge, work 1 round of reverse single crochet (also known as the crab stitch). This is simply a single crochet worked in the opposite direction (from left to right if you are right-handed). Insert your hook into the next stitch to the right, yarn over, pull up a loop, yarn over, and pull through both loops on the hook. Continue this around the entire blanket.
Finishing: Fasten off and weave in all remaining ends with your yarn needle. Give your blanket a gentle block if desired to even out the stitches and enhance the drape.
And there you have it—a stunning, handcrafted Sunset Serape throw that is as warm and inviting as the colors it's made of. This project is a true joy to make, and the rhythmic nature of the C2C stitch makes it perfect for relaxing evenings. I can't wait to see your beautiful color combinations and the cozy corners where your new blanket finds its home. Happy crocheting!