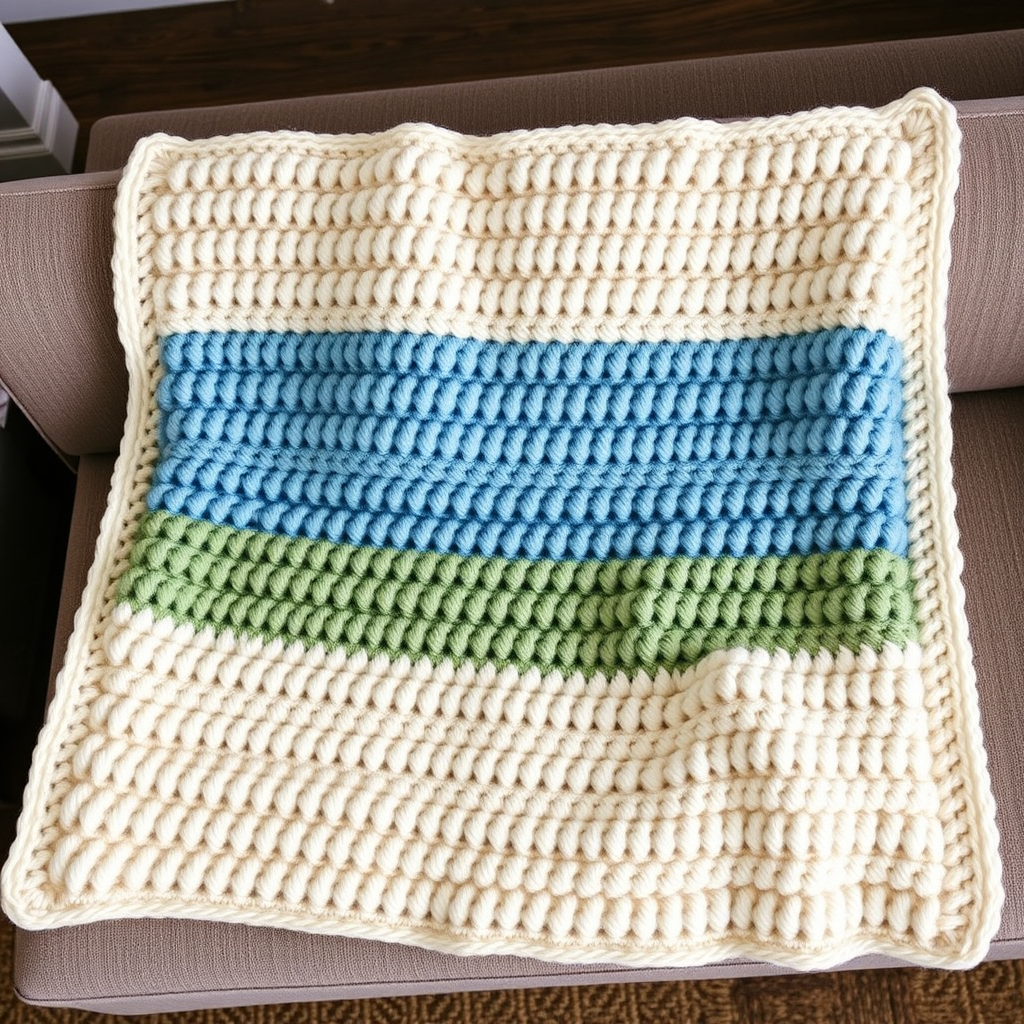
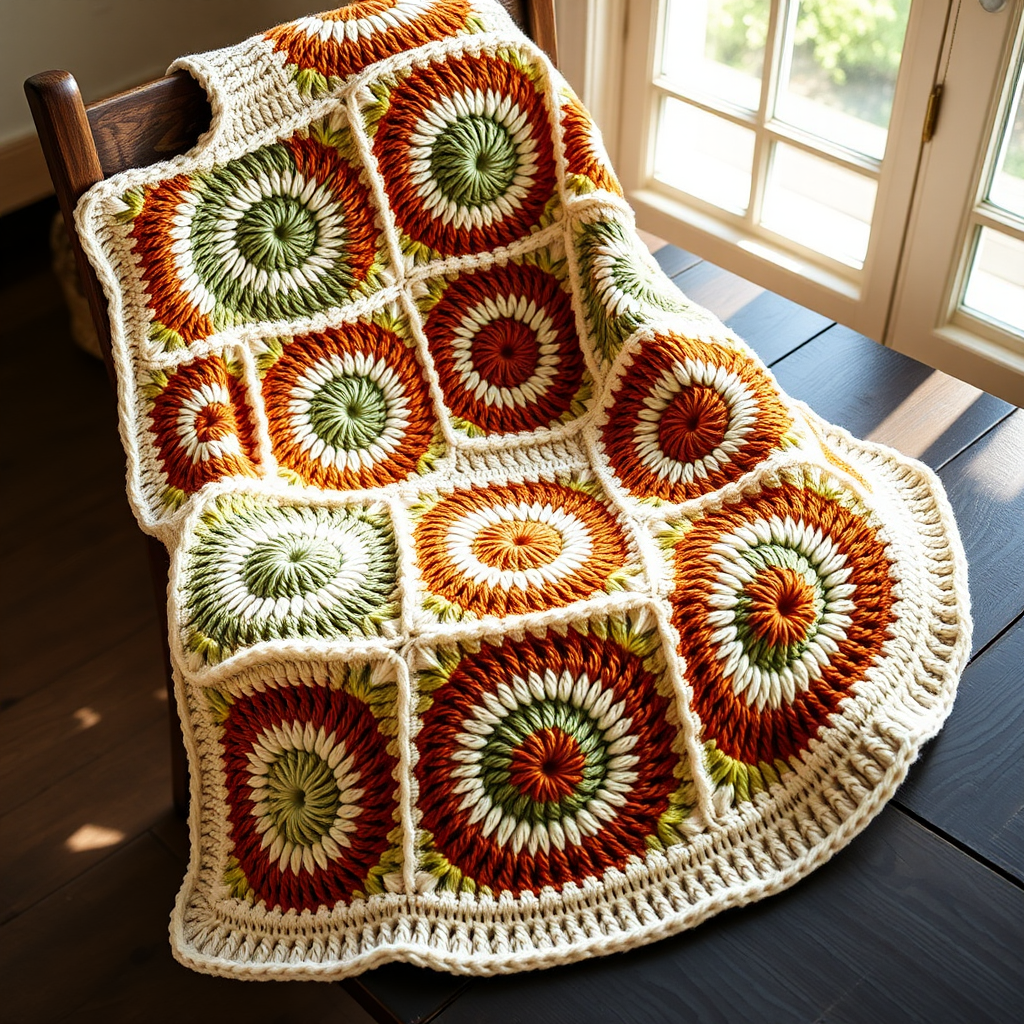
The Aurora Dune Throw Free Pattern – A Rippling Crochet Blanket with Sunset Gradient Waves

The Aurora Dune Throw: A Beginner-Friendly Crochet Ripple Blanket
Imagine wrapping yourself in the warm, shifting hues of a desert sunset—dusty rose melting into peach, then golden yellow, terracotta, and deep plum. That's the magic of the Aurora Dune Throw. This free crochet pattern uses a classic granny ripple stitch to create a soothing, textured fabric that's as beautiful to look at as it is cozy to snuggle under. The rhythmic wave pattern is surprisingly simple to master, making this an ideal project for confident beginners looking to create a stunning statement piece for their home.
In this comprehensive guide, I'll walk you through every step, from gathering your materials to weaving in those final ends. By the end, you'll have a gorgeous, 50" x 60" throw that looks like it came straight from a boutique—but with the pride of being handmade by you.
Materials Needed
Before you begin, gather these supplies. Having everything ready will make your crochet session smooth and enjoyable.
Yarn
- Weight: Worsted weight (Category 4)
- Colors & Approximate Yardage: You'll need 5 colors, totaling about 1800 yards. Here's a suggested palette:
- Color A (Dusty Rose): ~360 yards
- Color B (Peach): ~360 yards
- Color C (Golden Yellow): ~360 yards
- Color D (Terracotta): ~360 yards
- Color E (Deep Plum): ~360 yards
Hook & Notions
- Crochet Hook: 5.5 mm (I-9) hook
- Scissors: For cutting yarn
- Tapestry Needle: For weaving in ends
- Stitch Markers (optional): Helpful for keeping track of your rows
Gauge
To ensure your blanket turns out the right size, check your gauge: 4 pattern repeats (each repeat is 12 stitches) and 8 rows = 6 inches in the ripple pattern. Don't worry if you're slightly off—just adjust your hook size up or down to match.
Step-by-Step Instructions
This blanket is worked in rows with a simple 3-row repeat that creates the beautiful ripple effect. The color changes mimic a sunset gradient, but the stitch pattern itself is incredibly rhythmic and meditative once you get going.
Getting Started: The Foundation Chain
With Color A (Dusty Rose), make a slip knot and chain 144. This number is a multiple of 12 plus 2, which ensures your ripples will line up perfectly.
Row 1 (Right Side): Establishing the Ripple
- Work 2 dc in the 4th ch from your hook. The skipped chains count as your first double crochet, so you now have 3 dc in that first space. This creates the start of your first peak.
- Dc in the next 4 chains.
- Skip 2 chains. This creates the "valley" of your ripple.
- Dc in the next 4 chains.
- Work 3 dc in the next chain, then 3 dc in the following chain. This double-increase creates the "peak" of your wave.
- Repeat from * across: Continue the sequence of *dc in next 4 ch, skip 2 ch, dc in next 4 ch, 3 dc in next ch, 3 dc in next ch* until you reach the end of the row.
- Finish the row: End with 3 dc in the very last chain. Turn your work.
You should now have 12 peaks and 11 valleys across your row.
Row 2: Building the Pattern
- Chain 3 (this counts as your first dc).
- Work 2 dc in the same stitch (the base of the ch-3). This forms the first peak of this row.
- Dc in the next 4 stitches.
- Skip 2 stitches.
- Dc in the next 4 stitches.
- Work 3 dc in the next stitch, then 3 dc in the following stitch. (This is your peak.)
- Repeat from * across: Continue the sequence of *dc in next 4 sts, skip 2 sts, dc in next 4 sts, 3 dc in next st, 3 dc in next st* across the row.
- Finish the row: End with 3 dc in the top of the turning chain from the previous row. Turn.
Row 3: Adding the First Color Change
This row is identical to Row 2, but you'll be switching to Color B (Peach) at the beginning.
- To change colors: Work the last double crochet of Row 2 until you have just 2 loops left on your hook. Yarn over with Color B and pull through both loops to complete the stitch.
- Chain 3 with Color B (counts as your first dc).
- Work 2 dc in the same stitch to form the peak.
- Repeat the pattern: Continue exactly as you did in Row 2: *dc in next 4 sts, skip 2 sts, dc in next 4 sts, 3 dc in next st, 3 dc in next st* across the row.
- Finish the row: End with 3 dc in the top of the turning chain. Turn.
Repeating the Pattern & Color Sequence
Now, simply repeat Rows 2 and 3, following this color order to create your sunset gradient:
- Rows 1-2: Color A (Dusty Rose)
- Rows 3-4: Color B (Peach)
- Rows 5-6: Color C (Golden Yellow)
- Rows 7-8: Color D (Terracotta)
- Rows 9-10: Color E (Deep Plum)
- Rows 11-12: Color D (Terracotta)
- Rows 13-14: Color C (Golden Yellow)
- Rows 15-16: Color B (Peach)
- Rows 17-18: Color A (Dusty Rose)
Continue this gradient sequence—working 2 rows of each color, ascending to Deep Plum, then descending back to Dusty Rose—until your blanket reaches your desired length. For a standard throw, aim for approximately 60 inches. Remember to always change colors at the beginning of a row using the method described in Row 3.
Finishing Touches
- Fasten off: When your blanket reaches the desired length, cut your yarn, leaving a 6-inch tail. Pull the tail through the last loop on your hook to secure it.
- Weave in all ends: Using your tapestry needle, carefully weave in all the loose yarn tails from your color changes. Weave them through the back of the stitches in a zigzag pattern to secure them invisibly.
- Add a border (optional but recommended): To give your blanket a polished, finished look, work a round of single crochet around the entire edge. Join with a slip stitch, then work 1 sc in each stitch along the sides and bottom, and 3 sc in each corner to keep the corners flat and neat. Join with a slip stitch and fasten off.
And there you have it—your very own Aurora Dune Throw! The rhythmic ripple stitch and the stunning sunset gradient make this a truly special piece. Whether you drape it over a rocking chair, like in the inspiration photo, or fold it at the foot of your bed, it's sure to become a cherished heirloom. Happy crocheting!