The Cloud Drifter Blanket: A Free Crochet Pattern for a Beginner-Friendly, Squishy Textured Throw

Introducing the Cloud Drifter Blanket
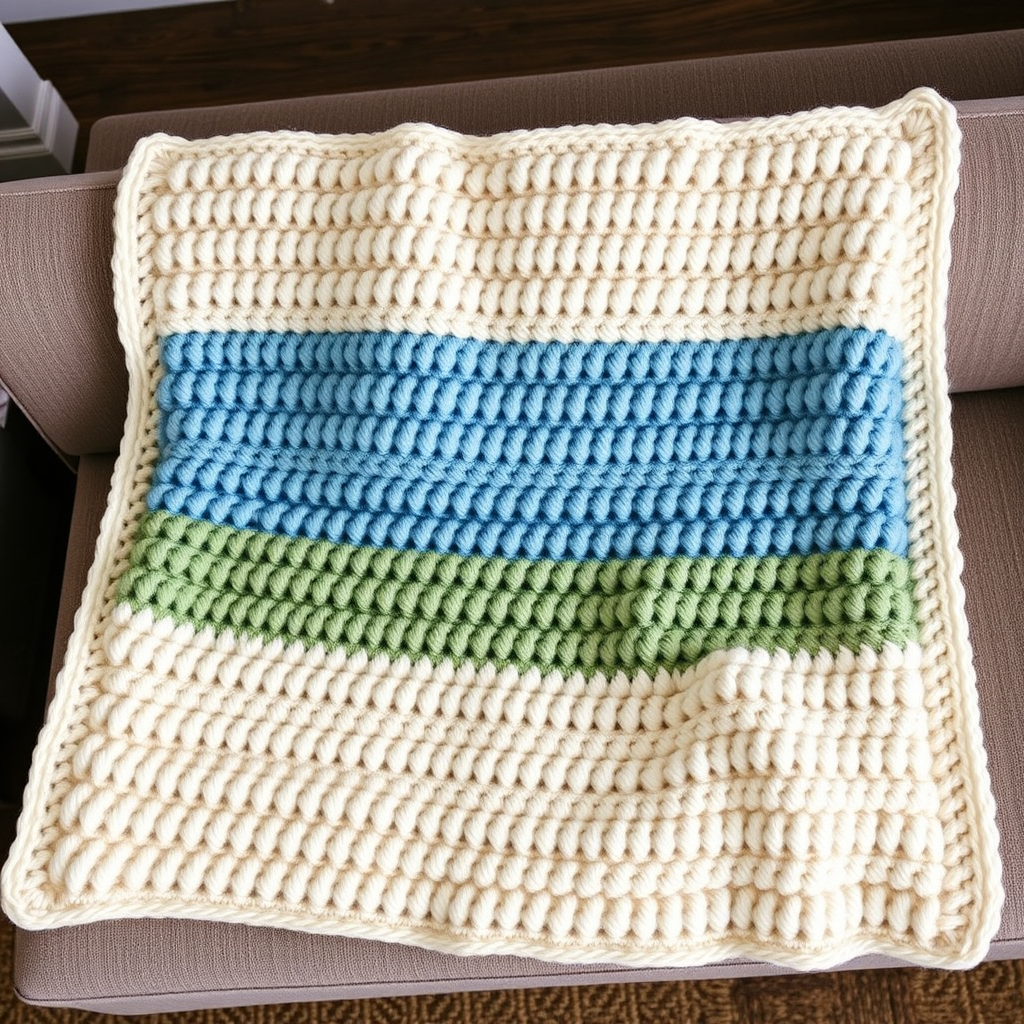
Wrap yourself in the ultimate cozy comfort with this beginner-friendly crochet blanket, featuring a unique, cloud-like texture created with a simple combination of basic stitches. This squishy, modern throw is the perfect project for learning new techniques while crafting a stunning, heirloom-quality piece for your home. The Cloud Drifter Blanket uses super bulky chenille yarn and a cleverly simple stitch pattern to create a dense, plush fabric that feels like a warm hug. Whether you're a complete beginner or an experienced crocheter looking for a relaxing project, this pattern will guide you to create a beautiful, textured throw that will be the centerpiece of your cozy living space.
Materials Needed
To create your own Cloud Drifter Blanket, gather the following materials. The right supplies are key to achieving that squishy, cloud-like texture.
- Yarn: Super Bulky (Weight 6) chenille or velvet yarn. Approximately 1200-1500 yards for a 50" x 60" throw. The sample shown uses a soft, heathered oatmeal color, but any color will work beautifully.
- Hook: Size N/P (10 mm) crochet hook, or size needed to achieve gauge.
- Other: Yarn needle for weaving in ends, scissors, and a spray bottle for blocking.
- Gauge: 8 stitches x 6 rows = 4" in pattern stitch (after blocking). Making a gauge swatch is important to ensure your blanket turns out the correct size.
Step-by-Step Instructions
Follow these detailed instructions carefully. The pattern is worked in rows and uses a simple two-row repeat. The chain 1 at the beginning of a row does NOT count as a stitch.
Pattern Stitch: The Cloud Stitch
This stitch is worked over an even number of stitches. It creates a reversible, squishy texture that is the hallmark of this blanket.
- Row 1 (Foundation Row): Single crochet (sc) in the 2nd chain from the hook. *Chain 1 (ch 1), skip the next chain, sc in the next chain; repeat from * across the row. Turn your work. At the end of this row, you will have a pattern of sc stitches and ch-1 spaces.
- Row 2 (Repeat Row): Ch 1 (this does not count as a stitch). Sc in the first sc. *Sc in the next ch-1 space, ch 1, skip the next sc; repeat from * across the row, ending with a sc in the last sc. Turn.
- Repeat: Repeat Row 2 for the entire blanket. This creates the consistent, cloud-like texture.
Blanket Instructions
Now, let's put it all together to make the full blanket.
- Foundation Chain: Chain 100 (or any even number for your desired width). For a 50" wide throw, 100 chains is a good starting point. If you want a different width, just make sure your chain is an even number.
- Row 1: Work Row 1 of the Cloud Stitch across your foundation chain. You will have 50 sc stitches and 49 ch-1 spaces.
- Rows 2-80: Repeat Row 2 of the Cloud Stitch until the blanket measures approximately 60" in length, or your desired length. It's a good idea to measure after every 10 rows to stay on track. End on a Row 2 repeat (meaning the last row you work should be a Row 2).
Finishing
Once you've reached your desired length, finish your blanket with these simple steps.
- Fasten Off: Cut your yarn, leaving a 6-inch tail. Pull the tail through the last loop on your hook to secure it.
- Weave in Ends: Using your yarn needle, carefully weave in all loose ends along the edges of the blanket. Make sure they are secure and hidden within the stitches.
- Blocking (Recommended): Gently block your blanket by laying it flat on a clean surface. Spritz it lightly with water until it's damp but not soaking wet. Pat it into shape, ensuring the edges are straight and the corners are square. Do not stretch the fabric. Allow it to dry completely before moving or using.
Optional Border
For a clean, polished edge, you can add a simple border.
- With the right side facing you, attach your yarn to any corner of the blanket.
- Work a round of single crochet (sc) around the entire blanket. When you reach a corner, work 3 sc in that corner stitch to help it turn nicely.
- Continue around the entire blanket, working 3 sc in each corner.
- When you return to your starting corner, join with a slip stitch to the first sc. Fasten off and weave in the end.
Your Cloud Drifter Blanket is now complete! Enjoy the squishy, cloud-like texture and the cozy warmth it brings to your home.