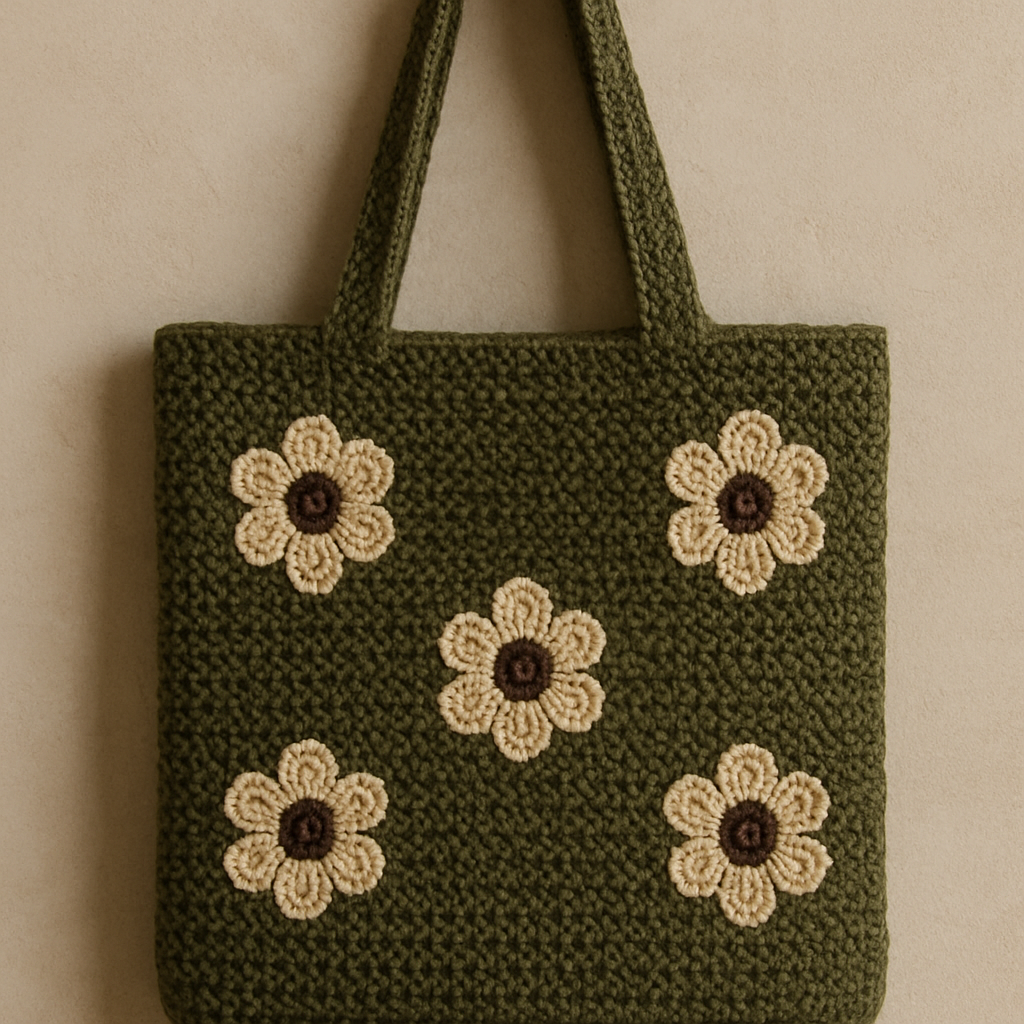
The Coastal Dune Tote: A Textured Crochet Beach Bag Free Pattern

Introduction: Your New Favorite Summer Accessory
Escape to the shore with this modern, textured crochet tote, featuring a unique combination of shell stitches and a sturdy, woven base. Perfect for carrying your summer essentials, this bag is designed to be both stylish and functional. The Coastal Dune Tote is a wonderful project for adventurous beginners and intermediate crocheters alike, offering a chance to practice working in the round, creating shell stitches, and assembling a professional-looking bag. With its coastal color palette of sand, seafoam, and coral, this tote will be your go-to accessory for beach days, farmers' markets, or everyday errands.
Materials Needed
Before you begin, gather the following supplies to ensure a smooth and enjoyable crocheting experience.
Yarn
Lion Brand 24/7 Cotton (or any worsted weight cotton yarn) in 3 colors:
- Color A (Sand): 2 skeins (approx. 340 yards total)
- Color B (Seafoam): 1 skein (approx. 170 yards)
- Color C (Coral): 1 skein (approx. 170 yards)
Hook & Notions
- Crochet Hook: Size H/8 (5.0 mm)
- Other: Yarn needle for weaving in ends and sewing handles, scissors, stitch markers (optional)
Gauge
14 single crochet (sc) x 16 rows = 4 inches (10 cm) in single crochet. Always check your gauge to ensure your bag turns out the correct size.
Step-by-Step Instructions
Follow these detailed instructions carefully to create your own Coastal Dune Tote. The bag is worked from the bottom up, starting with a solid rectangular base, then working the sides in the round, and finally adding the handles.
Notes & Abbreviations
Notes: The bag is worked in the round from the bottom up. The base is a solid rectangle, and the sides are worked in a textured stitch pattern. The handles are crocheted separately and sewn on.
Abbreviations:
- ch: chain
- sc: single crochet
- dc: double crochet
- sl st: slip stitch
- st(s): stitch(es)
- sk: skip
- rep: repeat
Special Stitch: Shell Stitch (worked over 3 sts): (2 dc, ch 1, 2 dc) in same st.
Part 1: The Base (Worked in Rows)
This creates a sturdy, flat rectangle that forms the bottom of your tote.
- With Color A (Sand), ch 26.
- Row 1: Sc in 2nd ch from hook and in each ch across. (25 sc)
- Row 2-20: Ch 1, turn. Sc in each st across. (25 sc)
- Fasten off. The base should be a rectangle approximately 7 inches wide by 14 inches long.
Part 2: The Sides (Worked in the Round)
Now we will build the walls of the bag by working around the entire perimeter of the base.
- Round 1: With Color A, join yarn with a sl st in any corner of the base. Ch 1, work 1 sc in the same corner. Work 1 sc in each st along the long side (25 sc), 3 sc in the next corner, 1 sc in each st along the short side (25 sc), 3 sc in the next corner, 1 sc in each st along the other long side (25 sc), 3 sc in the next corner, 1 sc in each st along the remaining short side (25 sc), 2 sc in the starting corner. Join with sl st to first sc. (108 sc total)
- Round 2-7: Ch 1, sc in each st around. Join with sl st. (108 sc) Repeat this for 6 rounds total.
- Fasten off Color A.
Part 3: The Textured Stripe Pattern
This is where the beautiful shell stitch pattern creates the coastal texture. Follow the color changes carefully.
Seafoam Stripe (Color B)
- Round 8: Join Color B (Seafoam) with a sl st. Ch 1, sc in same st. *Sk 2 sts, shell st in next st, sk 2 sts, sc in next st. Rep from * around. Join with sl st to first sc. (18 shells)
- Round 9: Ch 1, sc in same st. *Ch 1, sc in ch-1 space of next shell, ch 1, sc in next sc. Rep from * around. Join with sl st to first sc. (18 sc, 18 ch-1 spaces)
- Round 10: Ch 1, sc in same st. *Sk 1 ch-1 space, shell st in next sc, sk 1 ch-1 space, sc in next sc. Rep from * around. Join with sl st to first sc. (18 shells)
- Round 11: Rep Round 9.
- Fasten off Color B.
Coral Stripe (Color C)
- Round 12: Join Color C (Coral) with a sl st. Ch 1, sc in same st. *Sk 1 ch-1 space, shell st in next sc, sk 1 ch-1 space, sc in next sc. Rep from * around. Join with sl st to first sc. (18 shells)
- Round 13: Rep Round 9.
- Round 14: Rep Round 10.
- Round 15: Rep Round 9.
- Fasten off Color C.
Sand Stripe (Color A)
- Round 16: Join Color A (Sand) with a sl st. Ch 1, sc in same st. *Sk 1 ch-1 space, shell st in next sc, sk 1 ch-1 space, sc in next sc. Rep from * around. Join with sl st to first sc. (18 shells)
- Round 17: Rep Round 9.
- Round 18: Rep Round 10.
- Round 19: Rep Round 9.
- Round 20: Rep Round 10.
- Round 21: Rep Round 9.
- Fasten off Color A.
Part 4: Top Edging
This clean border finishes the top of the bag neatly.
- Round 22: Join Color B (Seafoam) with a sl st. Ch 1, sc in same st. *Sc in next ch-1 space, sc in next sc. Rep from * around. Join with sl st to first sc. (108 sc)
- Round 23: Ch 1, sc in each st around. Join with sl st. (108 sc)
- Round 24: Ch 1, sc in each st around. Join with sl st. (108 sc)
- Fasten off.
Part 5: Handles (Make 2)
These sturdy, rope-like handles are crocheted flat and then seamed into tubes.
- With Color A (Sand), ch 6.
- Row 1: Sc in 2nd ch from hook and in each ch across. (5 sc)
- Row 2-60: Ch 1, turn. Sc in each st across. (5 sc)
- Fasten off, leaving a long tail (approx. 20 inches) for sewing.
Part 6: Assembly
Follow these steps to attach the handles securely.
- Create the handle tubes: Fold each handle piece in half lengthwise (so the 5-st width becomes a 2.5-st width). Using the long tail, whip stitch the long edges together to create a tube. This gives the handles a nice, rounded, rope-like appearance.
- Position the handles: On the inside of the bag, measure about 3 inches from each side seam. Place the ends of one handle at these two points, making sure the handle is not twisted. Repeat for the second handle on the opposite side of the bag.
- Sew the handles: Using the long tails, sew the ends of each handle securely to the inside of the bag. Make several passes through the handle and the bag fabric to ensure it is very strong. Weave in all ends securely.
Congratulations! Your Coastal Dune Tote is complete. Weave in any remaining ends and give it a gentle block if desired. Enjoy your beautiful, handmade beach bag!