Chunky Knit Patterns
The Cosmic Ripple Blanket Free Pattern
Anonymous
•
July 03, 2026
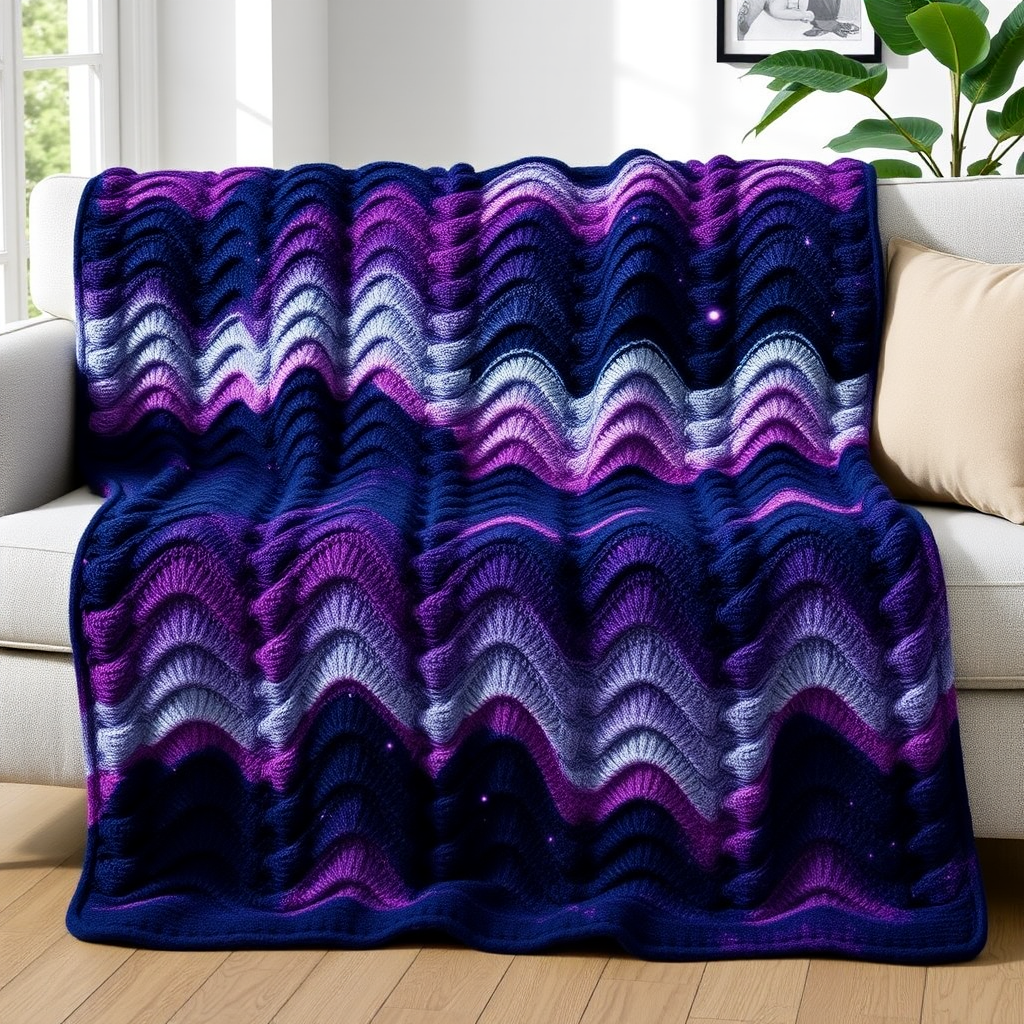
The Cosmic Ripple Blanket Free Pattern
Introduction
Dive into a world of texture and color with the Cosmic Ripple Blanket, a mesmerizing piece that combines bold, chunky textures with a dynamic ripple design. This blanket is perfect for adding a touch of avant-garde flair to your home decor. Whether you're snuggling up on the couch or adding a statement piece to your living room, this blanket is sure to impress. Let's get started on creating your very own Cosmic Ripple Blanket!
Materials Needed
- Yarn: Super bulky weight yarn in shades of deep navy, cosmic purple, and stardust silver.
- Needles: US size 15 (10 mm) knitting needles.
- Gauge: 8 stitches and 12 rows = 4 inches in stockinette stitch.
- Tapestry needle: For weaving in ends.
- Scissors: For cutting yarn.
Step-by-Step Instructions
- Cast On: Begin by using the long-tail cast-on method to cast on 90 stitches onto your knitting needle. Ensure that your stitches are not too tight, as this will affect the elasticity of your blanket.
- Row 1 (Right Side): Knit all 90 stitches. This establishes your first row and sets the foundation for the ripple pattern.
- Row 2 (Wrong Side): Purl all 90 stitches. This creates the stockinette stitch base for your blanket.
- Row 3: This is where the ripple pattern begins! Follow these steps:
- *Knit 2 stitches together (K2tog) to decrease,
- Knit 4 stitches (K4),
- Yarn over (yo) to increase,
- Knit 1 stitch (K1),
- Yarn over (yo) again,
- Knit 4 stitches (K4),
- Slip, slip, knit (ssk) to decrease; repeat from * until you reach the end of the row.
- Row 4: Purl all 90 stitches. This will create the second layer of your ripple pattern.
- Repeat Rows 3 and 4: Continue repeating Rows 3 and 4 until your blanket measures approximately 60 inches in length. Make sure to end with a Wrong Side (WS) row for a clean finish.
- Bind Off: Once you reach the desired length, bind off all stitches loosely. This will ensure that the edges of your blanket remain flexible and do not curl.
- Finishing Touches: Use a tapestry needle to weave in all loose ends of yarn. This step is crucial for a polished look.
- Blocking: To enhance the ripple effect, block your blanket to the measurements. This will help set the stitches and give your blanket a beautiful finish.
Congratulations! You have now completed your Cosmic Ripple Blanket. Enjoy the cozy warmth and stunning design that you've created with your own hands. Happy knitting!