Crochet Blanket Patterns
The Enchanted Forest Canopy Blanket Free Pattern
Anonymous
•
July 03, 2026

The Enchanted Forest Canopy Blanket Free Pattern
Immerse yourself in the serene beauty of nature with the Enchanted Forest Canopy Blanket. This crochet pattern captures the essence of a lush woodland with its intricate leaf motifs and earthy tones. Perfect for beginners, this cozy blanket will not only keep you warm but also add a touch of nature-inspired charm to your home.
Materials Needed
- Yarn: Worsted weight yarn in shades of forest green, moss, and bark brown
- Hook: 5.5 mm crochet hook
- Gauge: 12 double crochets (dc) and 6 rows = 4 inches
Step-by-Step Instructions
Creating the Blanket Base
- Start with a Magic Ring: Create a magic ring to begin your blanket. This will be the center of your crochet work.
- Round 1: Chain 3 (this counts as your first double crochet). Work 11 double crochets into the magic ring. Join with a slip stitch (sl st) to the top of the chain-3. You should have a total of 12 double crochets.
- Round 2: Chain 3, then double crochet in the same stitch. Work 2 double crochets in each stitch around. Join with a slip stitch. You should have 24 double crochets now.
- Round 3: Chain 3, double crochet in the same stitch, then double crochet in the next stitch. *Work 2 double crochets in the next stitch, then double crochet in the next stitch; repeat from * around. Join with a slip stitch. You should have 36 double crochets.
- Continue Increasing: Continue this pattern of increasing until you reach Round 10. Your blanket will start to take shape as you add more rounds.
Creating the Leaf Motifs
- Chain 10: Start by chaining 10 stitches.
- Form the Leaf: Slip stitch in the 2nd chain from the hook. Single crochet (sc) in the next chain, half double crochet (hdc) in the next 2 chains, double crochet (dc) in the next 2 chains, treble crochet (tr) in the next 2 chains, and finally slip stitch in the last chain. This forms one leaf motif.
- Attach Leaves: Use a tapestry needle and yarn to attach the leaf motifs randomly across the surface of the blanket. This will create a beautiful, natural look reminiscent of a forest canopy.
Adding the Border
- Prepare for the Border: With your moss green yarn, single crochet (sc) around the entire blanket. This will give it a finished look and help to stabilize the edges.
- Work the Corners: In each corner, work 3 single crochets to create a smooth curve.
- Finish Up: Once you have completed the border, fasten off your yarn and weave in any loose ends. Your blanket is now complete!
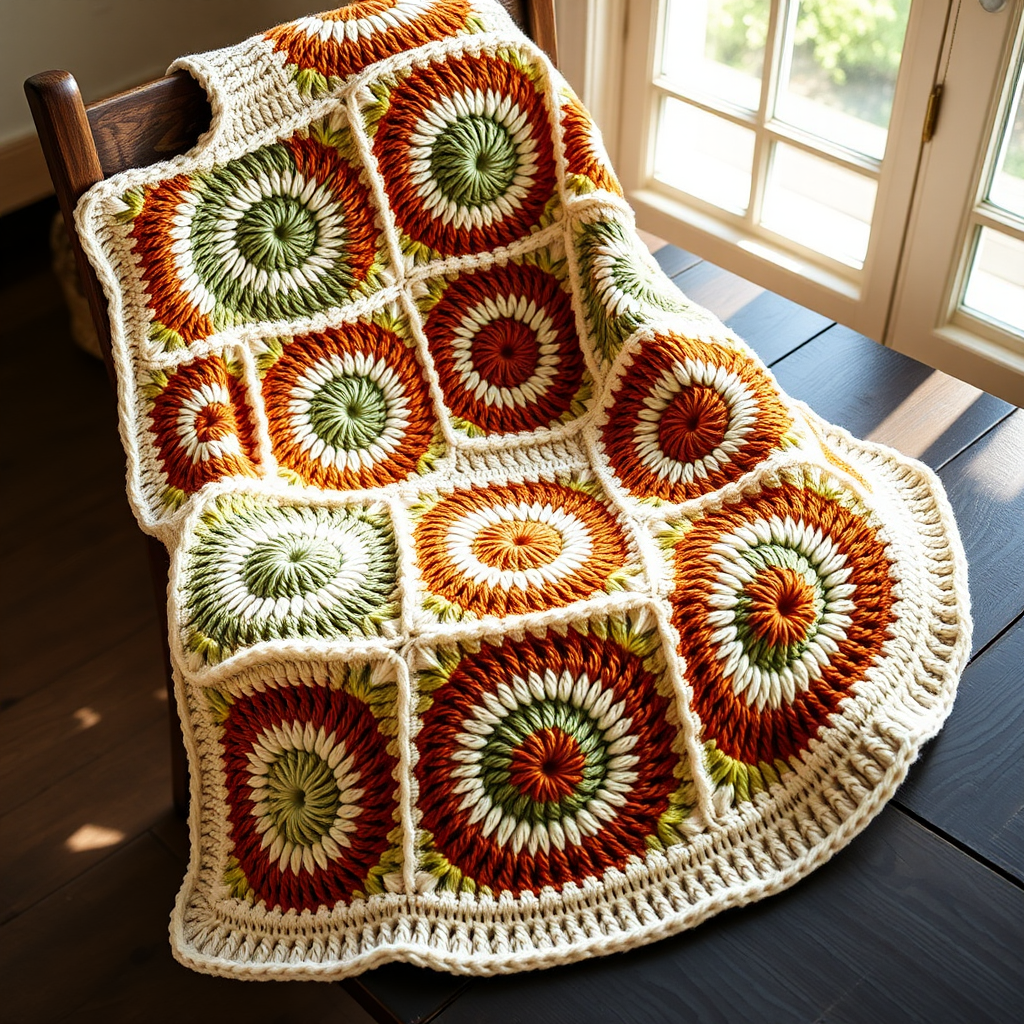
The finished blanket measures approximately 50x60 inches, featuring a rich tapestry of forest greens with intricate leaf motifs scattered across the surface. The texture is plush and inviting, making it a perfect addition to your cozy home. Enjoy your new Enchanted Forest Canopy Blanket!