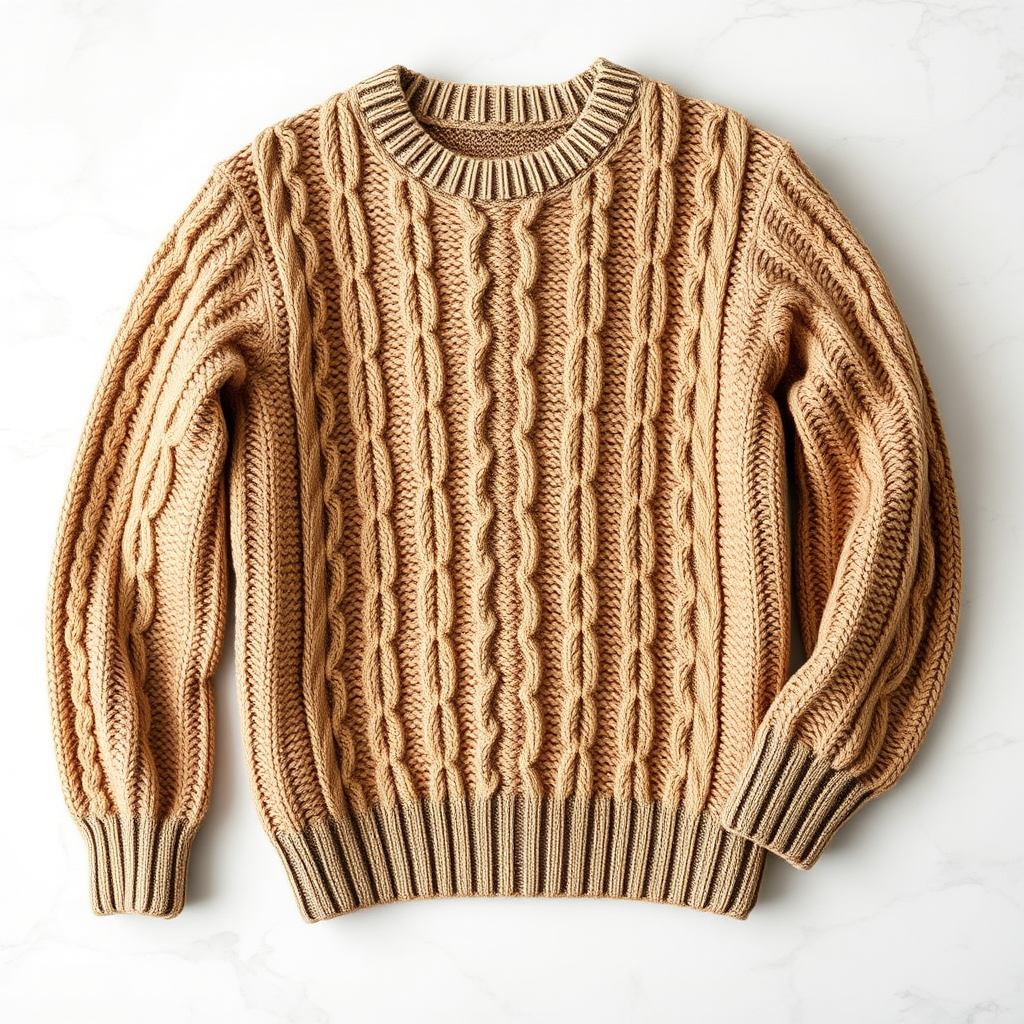
The Retro Daisy Granny Square Sweater Free Pattern

The Retro Daisy Granny Square Sweater Free Pattern
Introduction
Embrace the charm of the past with this delightful Retro Daisy Granny Square Sweater. Perfect for those who adore vintage aesthetics, this sweater combines classic motifs with modern flair. The vibrant patchwork of daisy granny squares, featuring soft pastel colors, creates a cozy yet stylish look reminiscent of 1970s fashion. Whether you're looking to add a handmade touch to your wardrobe or gift a unique piece to a loved one, this pattern is perfect for beginners and seasoned crocheters alike.
Materials Needed
- Yarn: Worsted weight cotton yarn in pastel yellow, white, and mint green
- Hook: 5.0 mm crochet hook
- Gauge: 4 granny squares = 10 cm
Step-by-Step Instructions
1. Crocheting the Daisy Granny Squares
Begin by crocheting individual daisy granny squares. You will need to make a total of 40 squares.
2. Create the Magic Ring
Start with a magic ring:
- Wrap the yarn around your fingers to form a loop.
- Insert your hook into the loop, yarn over, and pull up a loop.
- Chain 3 (this counts as your first double crochet).
3. Round 1
In the magic ring, crochet:
- 11 double crochets (dc).
- Join with a slip stitch (sl st) to the top of the initial chain-3.
4. Round 2
Change to mint green yarn:
- Join mint green yarn in any dc from Round 1.
- Chain 3 (counts as dc), then crochet 2 dc in the same stitch.
- Chain 1, then *3 dc in the next stitch, chain 1; repeat from * around.
- Join with a sl st to the top of the initial chain-3.
5. Round 3
Change to white yarn:
- Join white yarn in any chain-1 space from Round 2.
- Chain 3 (counts as dc), then crochet 2 dc in the same space.
- Chain 2, then crochet 3 dc in the same space (this creates a corner).
- Chain 1, then *3 dc in the next chain-1 space, chain 1; repeat from * around.
- For corners, crochet 3 dc, chain 2, 3 dc in the same space.
- Join with a sl st to the top of the initial chain-3.
6. Assemble the Sweater
Once you have completed 40 granny squares, it’s time to assemble them:
- Arrange the squares into the desired layout for the front, back, and sleeves.
- Using a whip stitch, sew the squares together. Start with the front and back panels, then attach the sleeves.
7. Finishing Touches
For the neckline:
- Attach yarn to the neckline area and single crochet (sc) evenly around.
- Join with a sl st to complete the neckline.
8. Cuffs and Hem
Repeat the same process for the cuffs and hem:
- Attach yarn to the cuffs and hem area, sc evenly around.
- Join with a sl st to complete.
9. Weave in Ends
Finally, weave in all loose ends using a yarn needle to ensure a clean finish.
Conclusion
Congratulations on creating your very own Retro Daisy Granny Square Sweater! This cozy and stylish piece is sure to become a favorite in your wardrobe. Enjoy wearing your handmade creation or gifting it to someone special!