Vintage Revival Sweater Patterns
The Retro Ripple Sweater Free Pattern
Anonymous
•
July 03, 2026

The Retro Ripple Sweater Free Pattern
Introduction
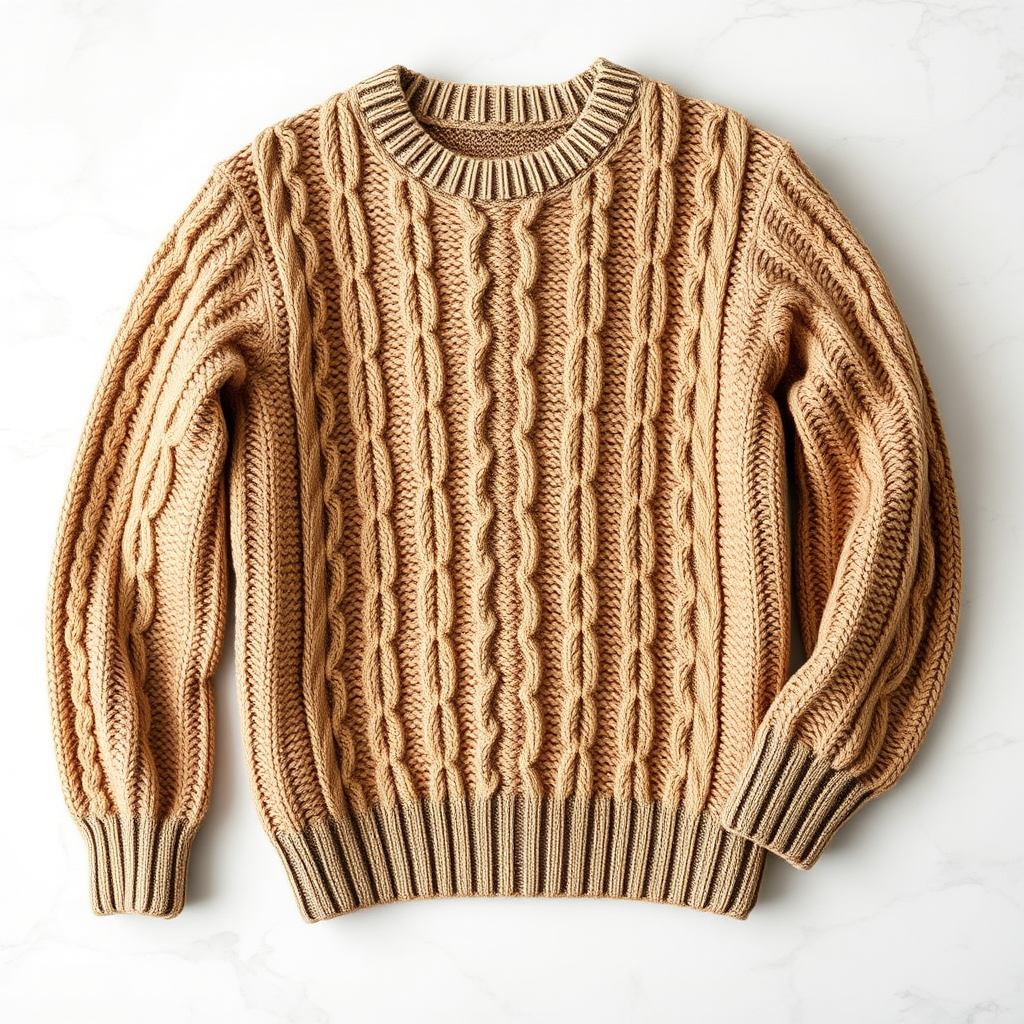
Embrace the nostalgia of the Y2K era with the Retro Ripple Sweater, a delightful blend of vintage charm and modern style. This pattern features a classic ripple stitch that creates a dynamic wave effect, perfect for adding a touch of retro flair to your wardrobe. Whether you're a seasoned knitter or a beginner, this pattern will guide you through creating a stunning piece that is both stylish and comfortable.
Materials Needed
- Yarn: DK weight, 100% cotton
- Needles: US 6 (4.0 mm) knitting needles
- Gauge: 22 stitches and 28 rows = 4 inches in ripple pattern
Step-by-Step Instructions
- Cast On: Begin by casting on 120 stitches using the long-tail cast-on method. Ensure that your stitches are not too tight to allow for flexibility in your work.
- Row 1 (Right Side):
- Knit 3 stitches (K3).
- Repeat the following pattern: *Knit 2 together (k2tog), knit 4 stitches (k4), yarn over (yo), knit 1 stitch (k1), yarn over (yo), knit 4 stitches (k4), slip slip knit (ssk); repeat from * until you reach the last 3 stitches.
- Finish with K3.
- Row 2 (Wrong Side): Purl all stitches across the row.
- Repeat Rows 1 and 2: Continue repeating Rows 1 and 2 until the piece measures 18 inches from the cast-on edge, making sure to end with a Wrong Side (WS) row.
- Shape the Shoulders:
- Bind off 6 stitches at the beginning of the next 2 rows.
- Then, bind off 5 stitches at the beginning of the following 4 rows.
- Bind off any remaining stitches to complete the body of the sweater.
- For the Sleeves:
- Pick up 60 stitches around the armhole using your knitting needles.
- Work in the ripple pattern for 16 inches, following the same stitch pattern as before.
- Once completed, bind off the stitches for the sleeve.
- Finishing:
- Sew the side seams of the sweater together, ensuring that the edges align neatly.
- Sew the underarm seams to attach the sleeves securely to the body.
- Weave in all loose ends using a tapestry needle to give your sweater a clean finish.
- Block the sweater gently to the measurements to enhance the ripple effect and ensure the fit is just right.
Now that you have completed your Retro Ripple Sweater, enjoy wearing this beautiful piece that combines vintage aesthetics with modern comfort. Happy knitting!