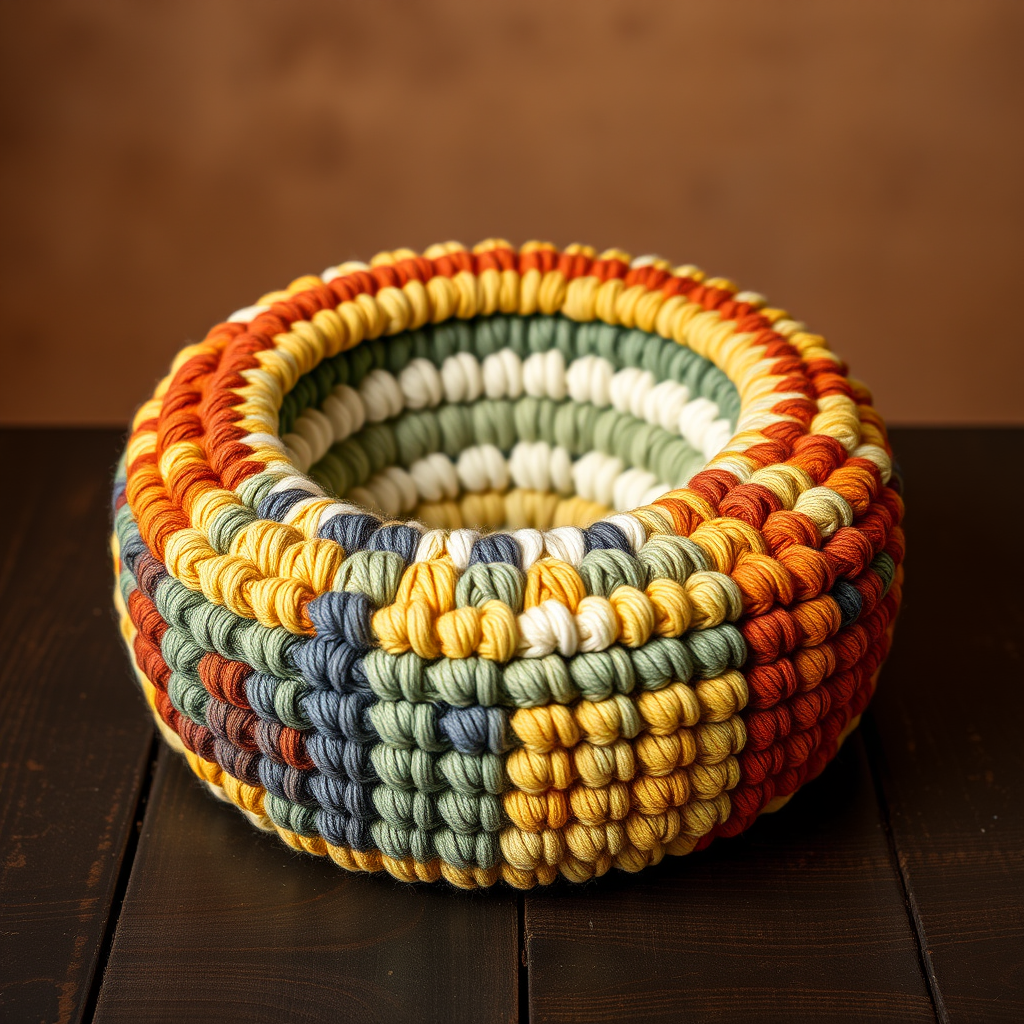
Home Decor Crochet Patterns
The Sunburst Granny Square Pillow Free Pattern
Anonymous
•
July 03, 2026

The Sunburst Granny Square Pillow Free Pattern
Introduction
Brighten up your living space with the Sunburst Granny Square Pillow, a vibrant and cozy addition to any room. This pattern combines classic granny square techniques with a modern twist, perfect for crafters looking to add a splash of color to their home decor. With its cheerful sunburst design and soft texture, this pillow is not only a beautiful accent piece but also a delightful project for both beginners and experienced crocheters alike.
Materials Needed
- Yarn: Worsted weight cotton yarn in various colors (suggested colors: bright yellow, orange, red, pink)
- Hook: 5.0 mm crochet hook
- Pillow Insert: 16x16 inches
- Tapestry Needle: for weaving in ends
Step-by-Step Instructions
1. Granny Square (Make 16)
Each granny square will be made using the following rounds:
- Round 1: Start with a magic ring. Chain 3 (this counts as your first double crochet), then work 2 double crochets (dc) into the ring. Chain 2, then repeat the sequence of *3 dc into the ring, chain 2* three more times. Join with a slip stitch (sl st) to the top of the initial chain 3. You should have 12 double crochets in total.
- Round 2: Slip stitch into the next 2 double crochets, then slip stitch into the chain-2 space. Chain 3, then work 2 dc, chain 2, and 3 dc in the same chain-2 space. Now, repeat the sequence of *3 dc, chain 2, 3 dc in the next chain-2 space* around. Join with a slip stitch to the top of the initial chain 3.
- Round 3: Slip stitch into the next 2 double crochets, then slip stitch into the chain-2 space. Chain 3, then work 2 dc, chain 2, and 3 dc in the same chain-2 space. Now, repeat the sequence of *3 dc in the next space between the 3-dc groups, 3 dc, chain 2, 3 dc in the next chain-2 space* around. Join with a slip stitch to the top of the initial chain 3.
- Finishing: Fasten off your yarn and weave in any loose ends with a tapestry needle.
2. Pillow Assembly
- Arrange the 16 granny squares in a 4x4 grid to form the front and back panels of the pillow.
- Using a whip stitch or slip stitch, join the squares together along the edges, ensuring that the right sides are facing out.
- Once the front and back panels are complete, place them right sides together and join the edges, leaving one side open for the pillow insert.
- Carefully insert the pillow into the opening, then close the remaining side using your preferred method (whip stitch or slip stitch).
3. Finishing Touches
- Weave in any remaining ends using a tapestry needle to ensure a neat finish.
- If necessary, block the pillow to ensure all squares lay flat and the pillow has a polished look.
Congratulations! You have successfully created your very own Sunburst Granny Square Pillow. Enjoy the vibrant colors and cozy comfort it brings to your home!