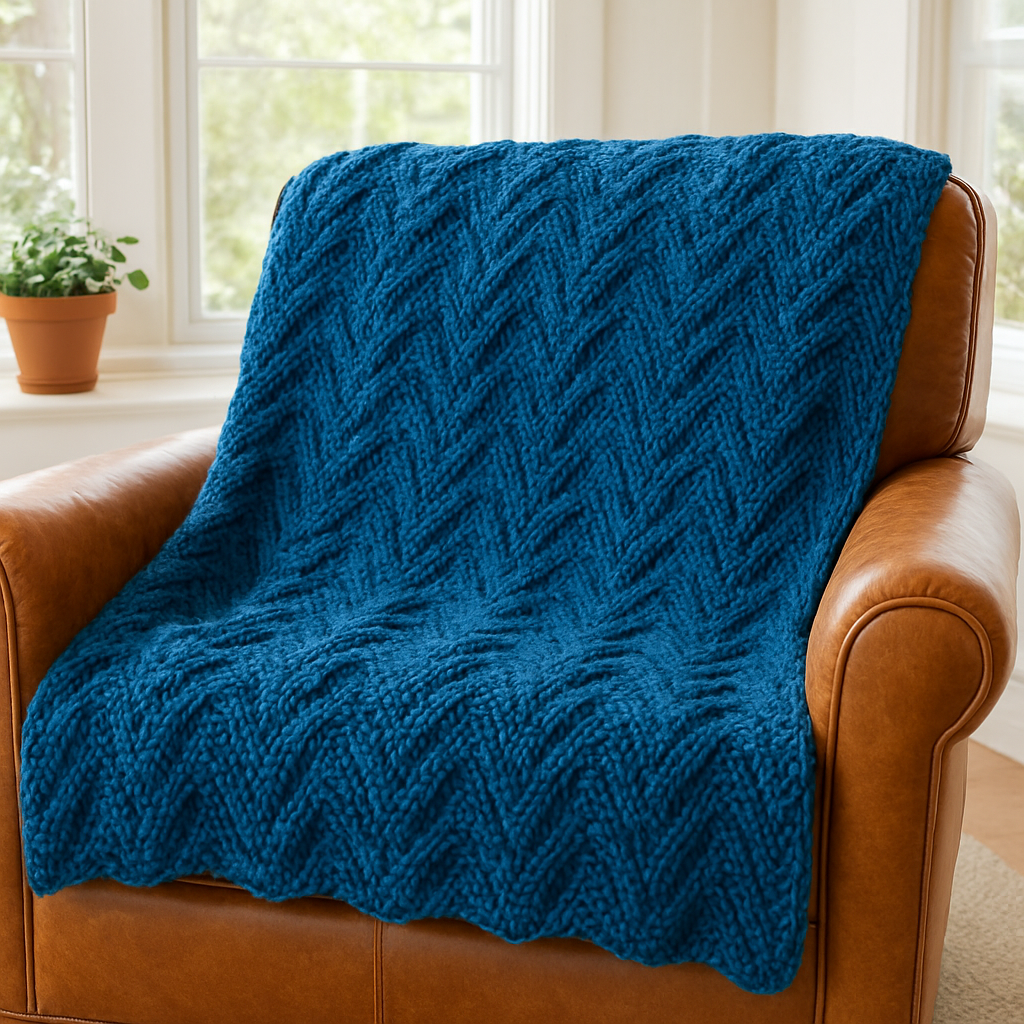
Chunky Knit Patterns
The Textured Terrain Blanket Free Pattern
Anonymous
•
July 03, 2026

The Textured Terrain Blanket Free Pattern
Introduction
Welcome to the captivating world of texture with the Textured Terrain Blanket! This cozy and visually striking piece combines chunky yarn with unique stitch patterns, making it a perfect addition to any room. Whether you're snuggling up on the couch or adding a touch of modern elegance to your home decor, this blanket is sure to impress. Best of all, this free pattern is designed with beginners in mind, so you can create your very own masterpiece with ease!
Materials Needed
- Yarn: Super bulky weight yarn (approximately 800 yards)
- Knitting Needles: US size 15 (10 mm) knitting needles
- Gauge: 8 stitches and 12 rows = 4 inches in stockinette stitch
- Tapestry Needle: For weaving in ends
Step-by-Step Instructions
- Cast On: Begin by casting on 80 stitches onto your knitting needle. Ensure your stitches are not too tight to allow for easy movement.
- Row 1 (Right Side): Knit all stitches across the row. This establishes the foundation of your blanket.
- Row 2 (Wrong Side): Purl all stitches across the row. This will create a nice contrast to the knit row.
- Row 3: *Knit 1, purl 1*; repeat from * to end of row. This creates a ribbing effect that adds texture.
- Row 4: *Purl 1, knit 1*; repeat from * to end of row. This will alternate the ribbing pattern from the previous row.
- Row 5: Knit all stitches across the row. This will help to define the texture further.
- Row 6: Purl all stitches across the row. This continues to build the texture of the blanket.
- Row 7: *Knit 2, purl 2*; repeat from * to end of row. This introduces a new texture to the blanket.
- Row 8: *Purl 2, knit 2*; repeat from * to end of row. This will alternate the stitches again, adding depth to your work.
- Repeat Rows 1-8: Continue repeating these 8 rows until your blanket measures approximately 60 inches long, or your desired length.
- Bind Off: Once you reach your desired length, bind off all stitches loosely to ensure the edge of your blanket is not too tight.
- Weave in Ends: Using a tapestry needle, weave in all loose ends to give your blanket a clean finish.
Congratulations! You have now completed your very own Textured Terrain Blanket. Enjoy the warmth and beauty of your handmade creation!