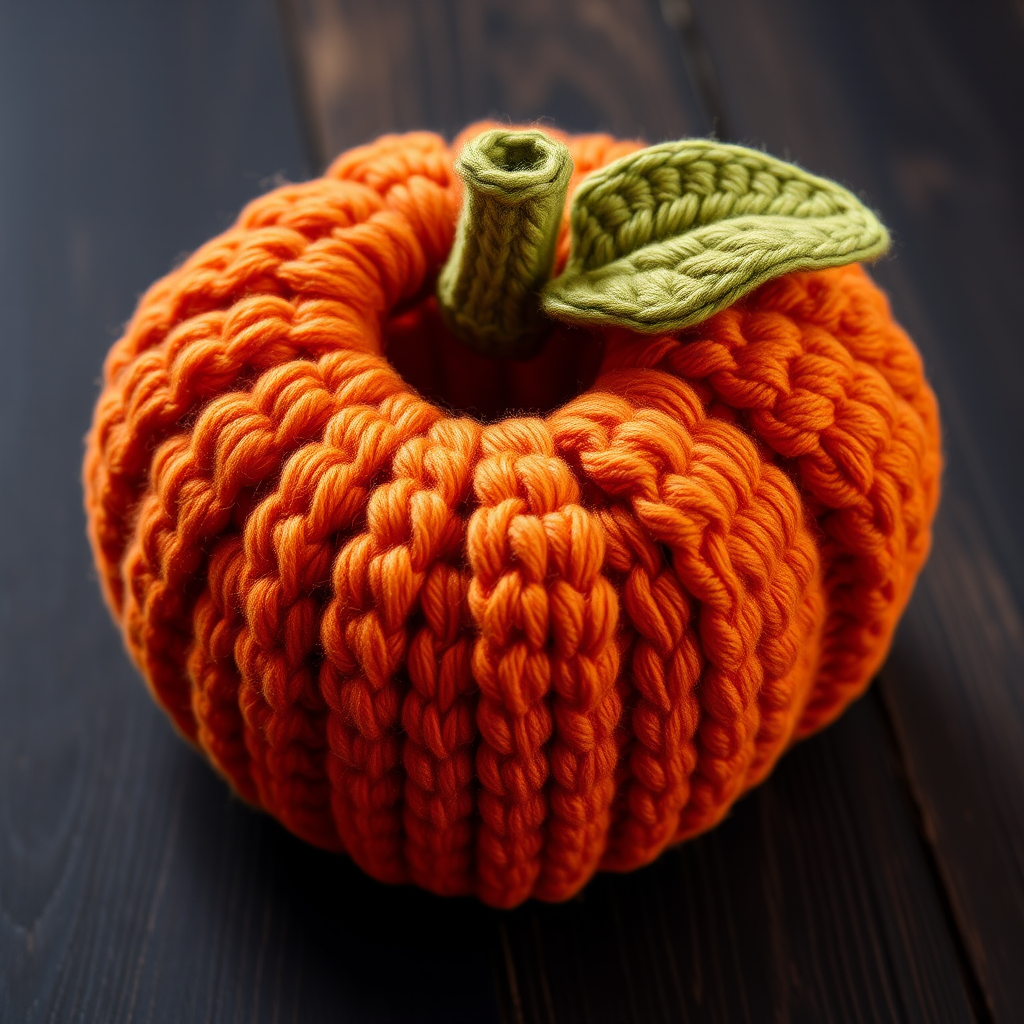
Victorian Tea Cozy Dome Free Crochet Pattern: Shell & Cluster Stripe Bell with Rose Appliqués

A Victorian Tea Cozy You Can Actually Make
If you have ever admired a beautiful crocheted tea cozy in a shop window and thought, "I could never make that," this pattern is for you. This Victorian Tea Cozy Dome is worked entirely in the round using only two simple stitches — the double crochet and the single crochet — plus a few easy variations that we will explain step by step. It is perfect for a complete beginner who has just learned to hold a hook, because every round is joined and every stitch is counted for you. The finished cozy is a soft, bell-shaped dome about 9 inches tall that slips over a standard 4–6 cup teapot, with alternating cream shell stripes and dusty rose cluster stripes that give it a lovely textured, romantic look. Two little crocheted roses with sage green leaves sit at the crown, and a small hanging loop means you can display it on a hook when it is not keeping your tea warm. By the end, you will have a handmade centerpiece that looks far more complicated than it really is.
Materials Needed
- Yarn: DK weight (category 3) cotton or cotton-blend yarn, approximately 180–200 yards total, divided as follows:
- 120 yards cream (Color A)
- 50 yards dusty rose (Color B)
- 15 yards sage green (Color C)
- 10 yards deep rose (Color D)
- Hook: 4.0 mm crochet hook (US size G/6), or whatever size you need to match the gauge below.
- Stitch markers: At least 4, to mark the beginning of each round and the center of shells.
- Tapestry needle: A blunt-tipped needle with a large eye for weaving in ends and sewing on the roses.
- Scissors: Small sharp scissors for cutting yarn.
- Finished size: 9 inches (23 cm) tall from base to top of dome, not counting the hanging loop. The base circumference is 22 inches (56 cm), unstretched. It fits a standard 4–6 cup teapot.
Abbreviations and Beginner Glossary
Every abbreviation used in this pattern is listed here in plain English. Read through this list once before you begin — you do not need to memorize it.
- ch – chain. Make a loop of yarn over your hook and pull it through the loop already on your hook. Each one you make is a "chain stitch."
- sl st – slip stitch. Insert your hook into the stitch, yarn over, and pull the yarn through both the stitch and the loop on your hook in one motion. It makes a nearly invisible join.
- sc – single crochet. Insert hook into stitch, yarn over, pull up a loop (2 loops on hook), yarn over, pull through both loops. One loop remains.
- dc – double crochet. Yarn over, insert hook into stitch, yarn over, pull up a loop (3 loops on hook), yarn over, pull through 2 loops (2 loops remain), yarn over, pull through last 2 loops. One loop remains.
- hdc – half double crochet. Yarn over, insert hook into stitch, yarn over, pull up a loop (3 loops on hook), yarn over, pull through all 3 loops at once.
- tr – treble crochet. Yarn over twice, insert hook, yarn over, pull up a loop, then yarn over and pull through 2 loops three times. (Not used in the main body, but listed for completeness.)
- dc2tog – double crochet 2 together (also called a "cluster" in this pattern). Yarn over, insert hook in next stitch, yarn over, pull up a loop, yarn over, draw through 2 loops (2 loops on hook). Yarn over, insert hook in the same stitch, yarn over, pull up a loop, yarn over, draw through 2 loops (3 loops on hook). Yarn over, draw through all 3 loops. This makes one puffy stitch.
- sc2tog – single crochet 2 together (a decrease). Insert hook into next stitch, yarn over, pull up a loop (2 loops on hook). Insert hook into the following stitch, yarn over, pull up a loop (3 loops on hook). Yarn over, pull through all 3 loops. Two stitches become one.
- shell – work 5 double crochet into the same stitch or chain space.
- beg – beginning.
- rnd – round. One complete circle of stitches worked in the round.
- st / sts – stitch / stitches.
- rep – repeat. Do the instructions between the asterisks again.
- magic ring – an adjustable loop of yarn you crochet into, then pull tight to close the center hole. If you prefer, chain 4 and join with a slip stitch to make a ring instead.
Gauge
16 double crochet x 8 rounds = 4 inches (10 cm) in double crochet. One finished shell (5 double crochet) measures approximately 1.25 inches wide.
Why gauge matters: Gauge is how many stitches and rounds fit into a set measurement. If your stitches are too big, the cozy will be baggy and slip off the teapot; if they are too small, it will not fit over the pot at all. Because this cozy is worked in the round, matching the round height matters most — it controls the 9-inch height.
How to make a gauge swatch: With Color A and your 4.0 mm hook, chain 22. Work 1 double crochet in the third chain from the hook and in each chain across (20 double crochet). Work 9 more rows of double crochet, chaining 3 and turning at the end of each row. Lay the swatch flat and measure a 4-inch square in the middle. Count the stitches across and the rows up. If you have more stitches than 16, your tension is tight — try a larger hook. If you have fewer, your tension is loose — try a smaller hook. Change hook size and swatch again until you are close.
Beginner Tips Before You Start
- Use a stitch marker at the start of every round. Place it in the first stitch you make after the beginning chain. When you reach the marker again, you know the round is complete and you will not accidentally add or lose stitches.
- Do not pull your yarn too tight. Beginners often choke the hook. Keep a relaxed, even tension so the shell stitches stay puffy and the dome keeps its soft shape.
- Count your stitches at the end of every round. The stitch count in parentheses is your safety net. If it does not match, rip back that round and try again — it is much easier to fix one round than to discover a mistake ten rounds later.
- Change colors at the join. When you join with a slip stitch at the end of a round, finish that slip stitch with the new color. This hides the color change neatly at the back of the cozy.
- Work the cluster into the same stitch twice. The cluster (dc2tog) is worked into one stitch, not two. This is what makes the puffy cluster texture — read the glossary definition carefully.
- Keep your beginning chain loose. The chain-3 at the start of each round counts as your first double crochet. If it is tight, the join will pucker.
Step-by-Step Instructions
Note: The body is worked in the round from the base upward without turning. Each round is joined with a slip stitch to the first stitch. The chain-3 at the beginning of a double crochet round counts as the first double crochet unless stated otherwise.
Base (Color A)
With Color A, make a magic ring.
Rnd 1: Ch 3 (counts as first dc), work 11 dc into ring, join with sl st to top of beg ch-3. (12 dc)
Rnd 2: Ch 3, dc in same st, 2 dc in each st around, join with sl st to top of beg ch-3. (24 dc)
Rnd 3: Ch 3, dc in same st, *dc in next st, 2 dc in next st; rep from * around, join with sl st to top of beg ch-3. (36 dc)
Rnd 4: Ch 3, dc in same st, *dc in next 2 sts, 2 dc in next st; rep from * around, join with sl st to top of beg ch-3. (48 dc)
Rnd 5: Ch 3, dc in same st, *dc in next 3 sts, 2 dc in next st; rep from * around, join with sl st to top of beg ch-3. (60 dc)
Rnd 6: Ch 3, dc in same st, *dc in next 4 sts, 2 dc in next st; rep from * around, join with sl st to top of beg ch-3. (72 dc)
Rnd 7: Ch 3, dc in same st, *dc in next 5 sts, 2 dc in next st; rep from * around, join with sl st to top of beg ch-3. (84 dc)
Rnd 8: Ch 3, dc in same st, *dc in next 6 sts, 2 dc in next st; rep from * around, join with sl st to top of beg ch-3. (96 dc)
Rnd 9: Ch 1, sc in each st around, join with sl st to first sc. (96 sc) This round forms the base edge.
Body — Shell and Cluster Stripes
Rnd 10 (Shell stripe, Color A): Ch 3 (counts as first dc), 4 dc in same st (first shell made), *skip 2 sts, cluster in next st, skip 2 sts, shell in next st; rep from * around, ending with skip 2 sts, cluster in next st, skip 2 sts, join with sl st to top of beg ch-3. (12 shells, 12 clusters)
Rnd 11 (Cluster stripe, Color B): Ch 1, sc in same st, *cluster in center dc of next shell, sc in next cluster; rep from * around, join with sl st to first sc. (12 clusters, 12 sc)
Rnd 12 (Shell stripe, Color A): Ch 3, 4 dc in same st, *skip next sc, cluster in next cluster, skip next sc, shell in next sc; rep from * around, join with sl st to top of beg ch-3. (12 shells, 12 clusters)
Rnd 13 (Cluster stripe, Color B): Rep Rnd 11. (12 clusters, 12 sc)
Rnds 14–21: Rep Rnds 12–13 four times, alternating Color A shell stripes and Color B cluster stripes. (8 stripe rounds total)
Crown Shaping
Rnd 22 (Decrease shell stripe, Color A): Ch 3, 2 dc in same st, *skip 2 sts, cluster in next st, skip 2 sts, 3 dc in next st; rep from * around, join with sl st to top of beg ch-3. (12 shells of 3 dc, 12 clusters)
Rnd 23 (Decrease cluster stripe, Color B): Ch 1, sc in same st, *cluster in center dc of next shell, sc in next cluster; rep from * around, join with sl st to first sc. (12 clusters, 12 sc)
Rnd 24 (Decrease shell stripe, Color A): Ch 3, 2 dc in same st, *skip next sc, cluster in next cluster, skip next sc, 3 dc in next sc; rep from * around, join with sl st to top of beg ch-3. (12 shells of 3 dc, 12 clusters)
Rnd 25 (Final decrease, Color B): Ch 1, sc in same st, *cluster in center dc of next shell, sc in next cluster; rep from * around, join with sl st to first sc. (12 clusters, 12 sc)
Rnd 26 (Closing round, Color A): Ch 1, sc in each st around, join with sl st to first sc. (24 sc)
Rnd 27: Ch 1, sc2tog around, join with sl st to first sc. (12 sc)
Rnd 28: Ch 1, sc2tog around, join with sl st to first sc. (6 sc)
Fasten off, leaving a 6-inch tail. Thread the tail through the remaining 6 stitches and pull tight to close the crown.
Hanging Loop
With Color A, join yarn at the top center of the crown. Ch 12, sl st to the same stitch to form a loop, then work 24 sc around the chain loop, join with sl st to first sc. Fasten off and weave in ends.
Rose Appliqué (make 2 — one in Color B, one in Color D)
Ch 4, join with sl st to form a ring.
Rnd 1: Ch 1, work 8 sc into ring, join with sl st to first sc. (8 sc)
Rnd 2: Ch 1, *sc in next st, ch 2, sl st in same st; rep from * around. (8 petals)
Rnd 3: Ch 1, working behind petals, *sc in next st, ch 3, sl st in same st; rep from * around. (8 larger petals)
Rnd 4: Ch 1, *sc in next st, ch 4, sl st in same st; rep from * around. (8 outer petals)
Fasten off, leaving a 6-inch tail for sewing. Shape the rose by gently curling the petals inward.
Leaf (make 2, Color C)
Ch 6.
Row 1: Sc in 2nd ch from hook, hdc in next ch, dc in next ch, hdc in next ch, sc in last ch. Ch 1, turn.
Row 2: Sc in each st across. Fasten off, leaving a 6-inch tail.
Assembly and Finishing
1. Weave in ends. Thread each yarn tail onto the tapestry needle and run it back and forth through the back of several stitches, then trim close to the work. Do this for every end except the rose and leaf tails, which you will use for sewing.
2. Steam-block the cozy. Pin the dome lightly into shape on a towel or over a rounded form. Hold a steam iron an inch or two above the fabric (do not press it down) and let the steam relax the shell stitches. Let it dry completely.
3. Arrange the roses. Place the two roses at the crown, slightly offset from each other, with one leaf tucked under each rose. Pin them in place with sewing pins.
4. Sew them on. Using the yarn tails and the tapestry needle, sew each rose and leaf securely to the crown with small, invisible stitches, catching only the back of the petals so the stitches do not show on the front.
5. Final shaping. Weave in the remaining ends. Gently shape the dome over a teapot or a rounded form and allow it to dry completely before displaying.
Pro Tips and Variations
- Change the colorway. Swap the dusty rose for lavender and the deep rose for plum for a cooler Victorian palette, or use a single color for a minimalist look — just keep the shell and cluster stripes so the texture still shows.
- Adjust the size. To fit a larger teapot, add one more increase round to the base (Rnd 9 would become 108 dc) and work one extra shell/cluster repeat in the body. To fit a smaller pot, stop the base at Rnd 7 (84 dc) and work one fewer stripe repeat.
- Substitute the yarn. A worsted weight (category 4) cotton will make a thicker, sturdier cozy — swatch first and go down a hook size if needed. Avoid fuzzy or slippery yarns, which hide the shell texture.
- Add a border. Work one round of sc around the bottom edge in Color C for a sage green trim that ties the leaves into the design.