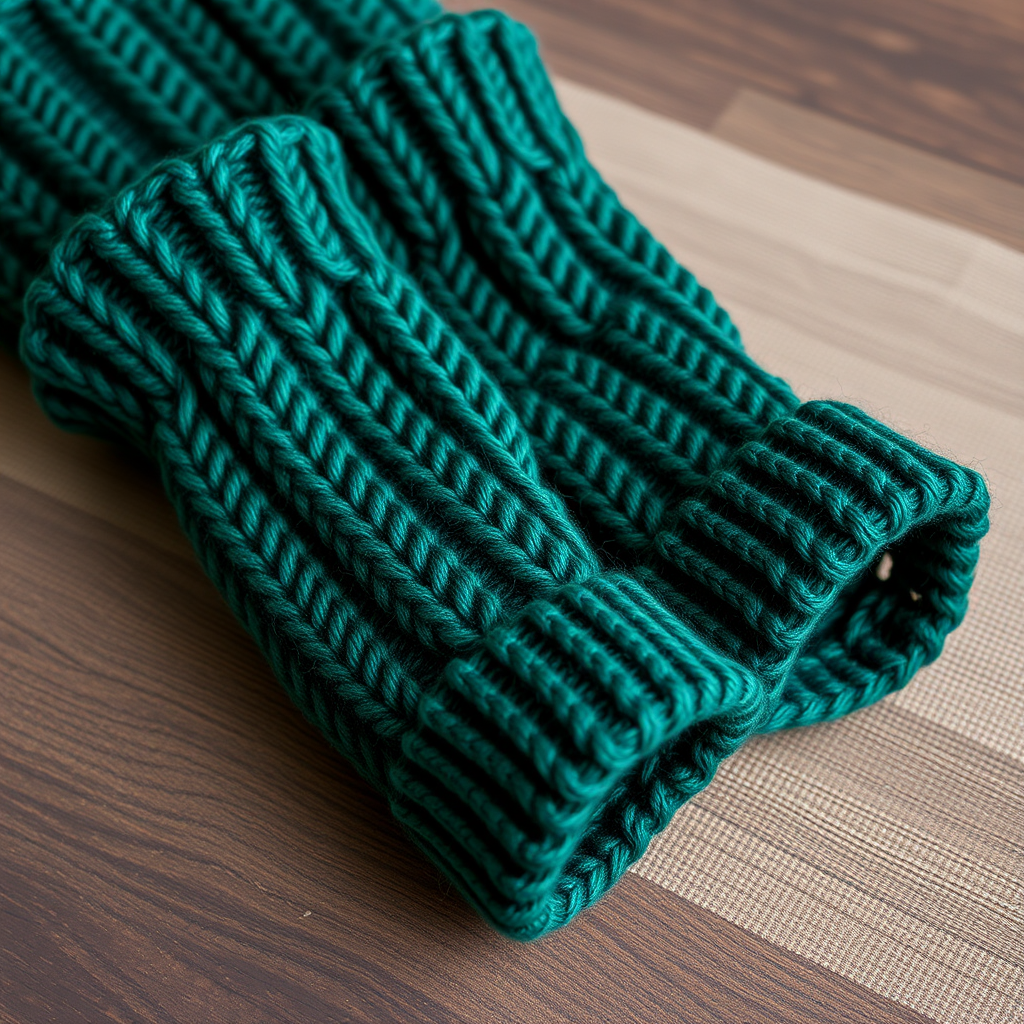
Vintage Velvet Dog Collar Free Pattern – Cable Knit with Rose Accents

A Timeless Treasure for Your Furry Friend: The Vintage Velvet Dog Collar
There's something undeniably special about handmade gifts, especially when they're for our beloved four-legged companions. This Vintage Velvet Dog Collar pattern is the perfect blend of cozy craftsmanship and nostalgic elegance. Imagine your pup trotting down the street wearing a plush, cable-knit collar adorned with a delicate, hand-crocheted rose. It's more than just an accessory; it's a statement of love and style that turns an everyday walk into a charming, nostalgic stroll. This free pattern is designed to be accessible for beginners while still offering a rewarding challenge, and the result is a stunning, heirloom-quality piece that will make tails wag with pride.
This pattern combines the classic texture of a cable knit with the delicate artistry of a crocheted rose, creating a beautiful contrast that feels both vintage and fresh. The deep burgundy and soft cream color palette is timeless, but feel free to experiment with your own favorite hues to match your dog's personality. Let's dive into this delightful project and create something truly special for your best friend.
Gathering Your Materials
Before we begin, let's make sure you have everything you need. This project requires a mix of knitting and crochet supplies, all of which are easy to find at your local craft store.
Yarn & Notions
- Main Color (MC): Worsted weight yarn in deep burgundy (approx. 100-150 yards, depending on collar length).
- Contrast Color (CC): Worsted weight yarn in soft cream (small amount for the rose).
- Green Yarn: A small amount of worsted weight green yarn for the leaves.
- D-ring or Button: One for the closure.
- Yarn Needle: For weaving in ends and sewing pieces together.
- Stitch Markers (optional): To help keep track of your rows.
Tools
- Knitting Needles: US 7 (4.5 mm) knitting needles.
- Crochet Hook: US G/6 (4.0 mm) crochet hook.
- Cable Needle: A small cable needle or double-pointed needle for the cable stitch.
- Scissors: For cutting yarn.
Gauge: 20 stitches and 26 rows = 4 inches in stockinette stitch. While gauge isn't critical for a collar, keeping it consistent will ensure a neat, professional finish.
Step-by-Step Instructions: Knitting the Collar Band
We'll start by knitting the main body of the collar. This piece is worked flat and features a beautiful central cable flanked by a neat ribbed edge.
Getting Started: The Ribbed Edges
- Cast On: With your MC yarn and US 7 needles, cast on 8 stitches.
- First Ribbed Section: Work in a k2, p2 ribbing pattern for 2 inches. This means you'll knit 2 stitches, purl 2 stitches, and repeat across the row. On the next row, you'll knit the knit stitches and purl the purl stitches as they appear. This creates a stretchy, neat edge that will sit comfortably against your dog's neck.
The Cable Pattern
Now we'll introduce the star of the show: the cable. This pattern is a simple 4-row repeat that creates a beautiful twist.
- Row 1 (Right Side): K2, P2, K4. (You are knitting the first two stitches, purling the next two, and knitting the last four).
- Row 2 (Wrong Side): P2, K2, P4. (Purl the first two, knit the next two, and purl the last four).
- Row 3 (Cable Row - Right Side): K2, P2, then slip the next 2 stitches onto your cable needle and hold it in front of your work. Knit the next 2 stitches from your left needle, then knit the 2 stitches from the cable needle. This creates the cable twist.
- Row 4 (Wrong Side): P2, K2, P4.
- Repeat: Continue repeating Rows 1-4 until the collar measures your desired length. For a medium-sized dog, this is typically 12-16 inches. Always end on a Wrong Side row (Row 2 or 4) to ensure the cable is ready to be worked on the next Right Side row.
Finishing the Knitted Band
- Second Ribbed Section: Once you've reached your desired length, work in the k2, p2 ribbing pattern for another 2 inches, mirroring the beginning.
- Bind Off: Bind off all stitches in pattern. This means you'll knit the knit stitches and purl the purl stitches as you bind them off. This keeps the edge stretchy and consistent with the ribbing.
Step-by-Step Instructions: Crocheting the Rose Motif
Now for the delicate, romantic centerpiece. This crocheted rose is created by working a simple circle and then twisting it into a beautiful bloom.
Crocheting the Rose Base
- Magic Ring: With your CC yarn and US G/6 hook, make a magic ring.
- Round 1: Chain 3 (this counts as your first double crochet). Work 11 double crochets (dc) into the ring. Join with a slip stitch to the top of the starting chain-3. You should now have 12 dc stitches.
- Round 2: Chain 3 (counts as first dc). Work 1 dc in the same stitch. Then, work 2 dc in each stitch around. Join with a slip stitch to the top of the chain-3. You should now have 24 dc stitches.
- Round 3: Chain 3 (counts as first dc). Work 1 dc in the same stitch. Then, work 2 dc in each stitch around. Join with a slip stitch to the top of the chain-3. You should now have 48 dc stitches. Fasten off, leaving a long tail (about 12 inches) for sewing.
Shaping the Rose
- Roll the Circle: Take your crocheted circle and begin to roll it from the outside edge inwards, creating a spiral shape. The center of the circle will become the center of the rose.
- Secure the Shape: Using the long tail you left, thread it onto a yarn needle. Sew through the layers at the base of the rose to secure the spiral shape. Make a few firm stitches to ensure it holds its form. Weave in the starting tail from the magic ring as well.
Step-by-Step Instructions: Crocheting the Leaves
These simple leaves add the perfect finishing touch of greenery.
- Foundation Chain: With your green yarn, chain 6.
- Leaf Shape: Single crochet (sc) in the 2nd chain from the hook. Half double crochet (hdc) in the next chain. Double crochet (dc) in the next chain. Half double crochet (hdc) in the next chain. Single crochet (sc) in the last chain.
- Finish: Fasten off, leaving a tail for sewing. You should have a small, leaf-shaped piece. Make a second leaf in the same way.
Assembly: Bringing It All Together
This is the most rewarding part—watching your collar come to life!
- Attach the Rose and Leaves: Position the rose and leaves in the center of the knitted collar band, right on top of the cable section. Arrange the leaves so they peek out from behind the rose. Using your yarn needle and the tails, sew them securely onto the collar. Make sure your stitches are firm but not too tight, so the fabric doesn't pucker.
- Add the Closure: Attach a D-ring to one end of the collar. You can do this by sewing it securely into the ribbed edge. On the opposite end, create a loop by folding the ribbing over and sewing it down, creating a buttonhole-style loop. Alternatively, you can sew a button onto one end and create a loop on the other. Choose the method that best suits your dog's size and comfort.
- Weave in All Ends: Carefully weave in any remaining yarn tails from the knitting and crochet work to give your collar a clean, professional finish.
And there you have it—a stunning, handcrafted Vintage Velvet Dog Collar that's ready for its debut. This project is a wonderful way to spend a cozy afternoon, and the result is a unique, heartfelt accessory that your furry friend will wear with pride. Happy crafting!