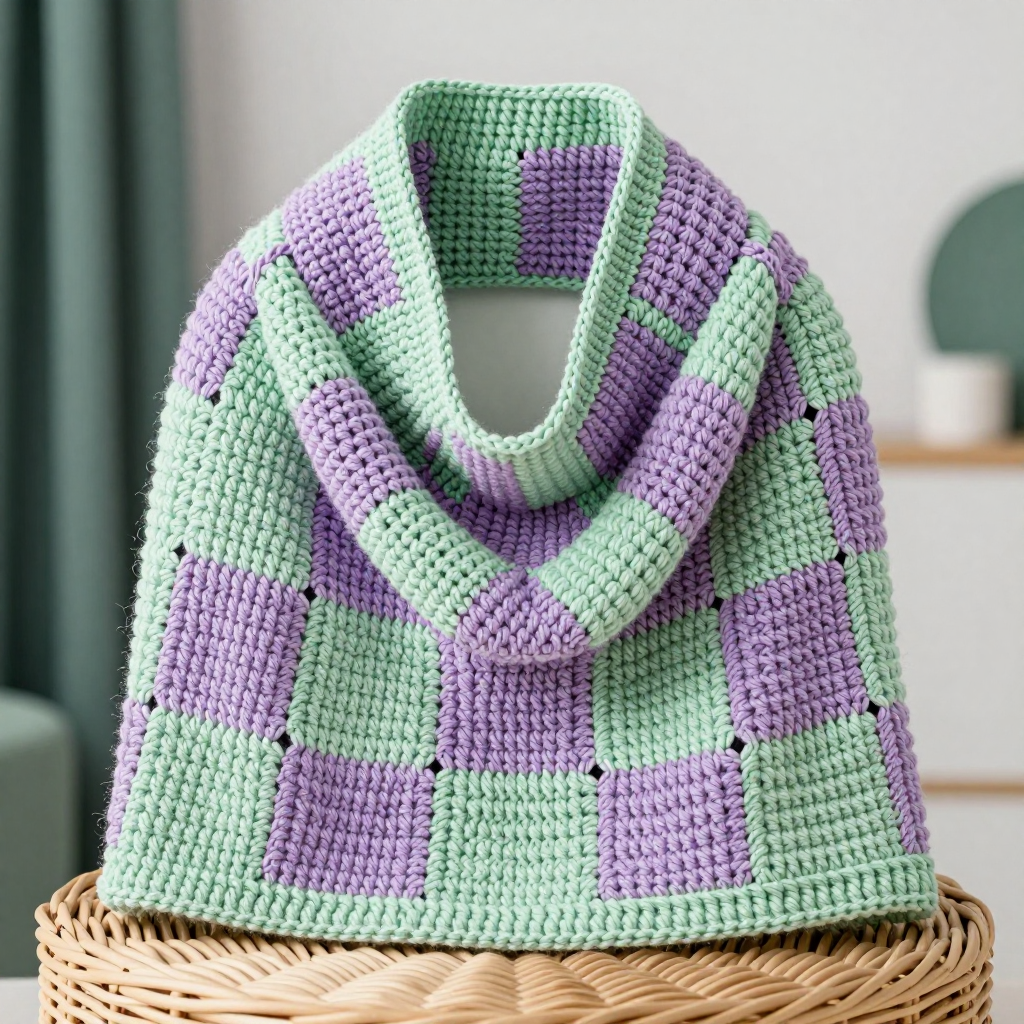
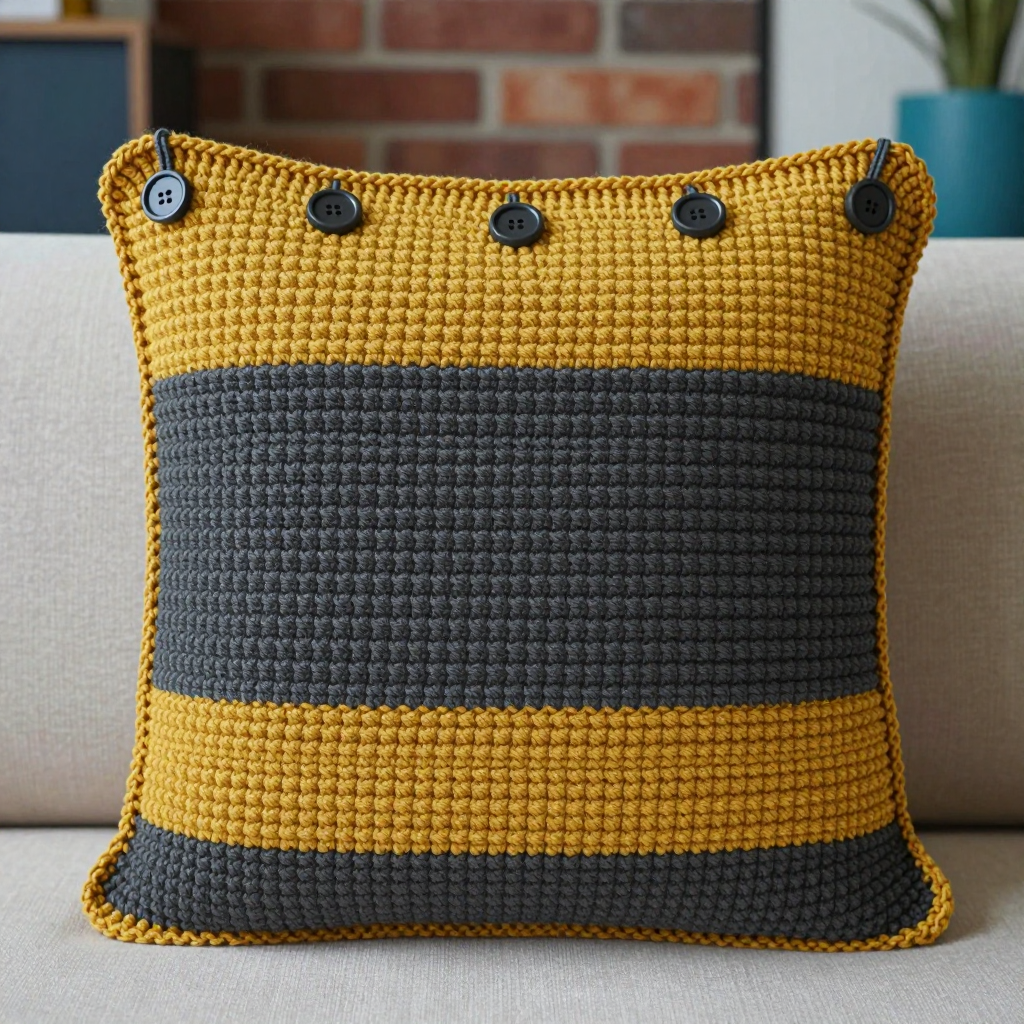
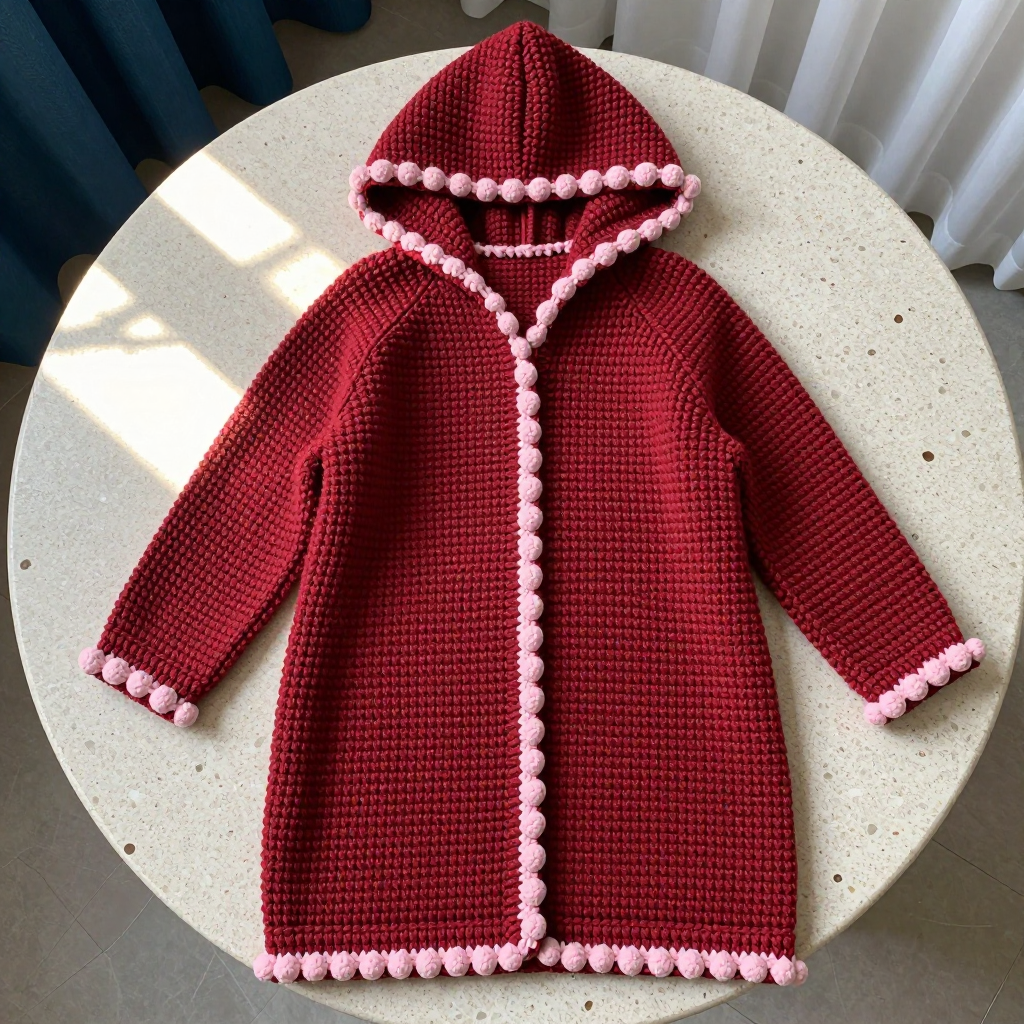
Oatmeal Polka Dot Boxy Knit Cardigan Free Pattern for Toddlers
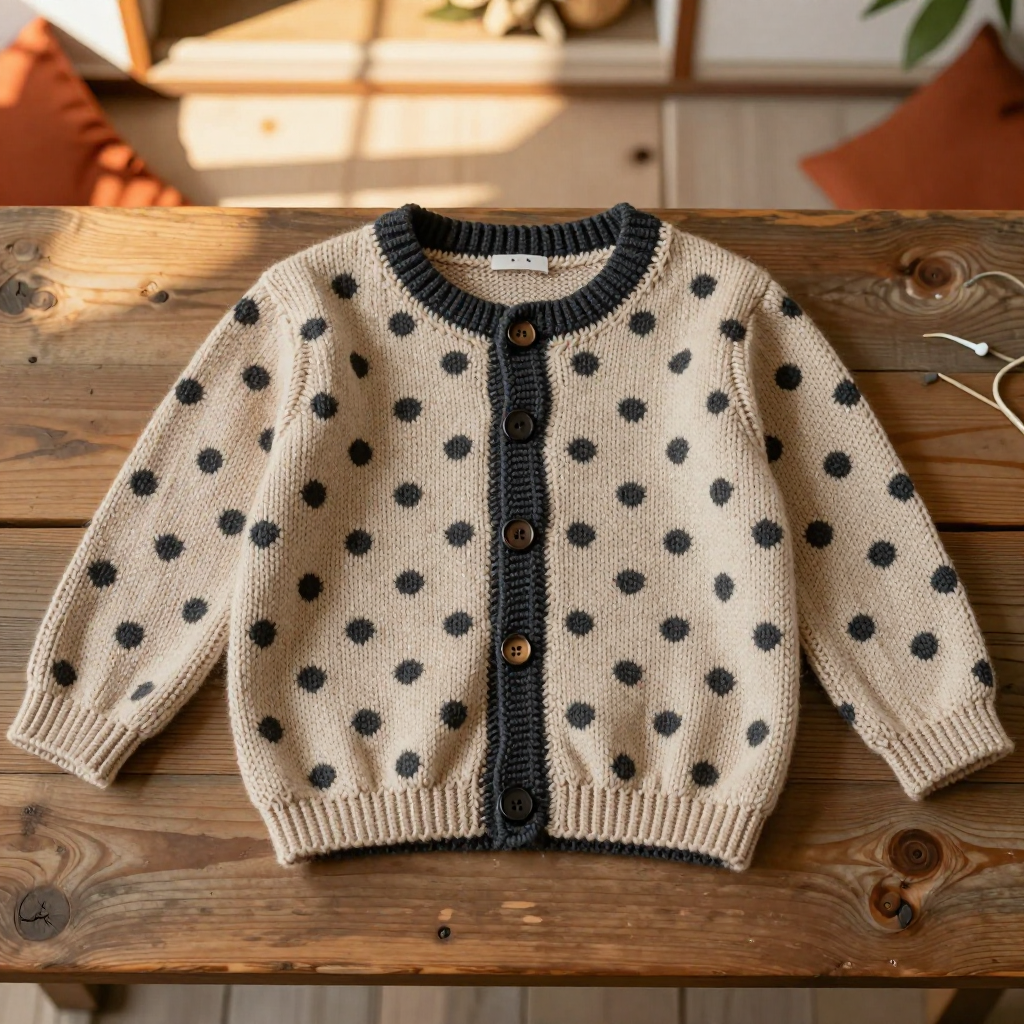
Oatmeal Polka Dot Boxy Knit Cardigan: A Free Beginner-Friendly Toddler Pattern
Introduction
If you have ever looked at a hand-knitted cardigan and thought, "I could never make that," this is the pattern that will prove you wrong. The Oatmeal Polka Dot Boxy Cardigan is built from two simple rectangles and two straight sleeve tubes, so there is no complicated shaping, no set-in sleeve math, and no scary curves to navigate. It is perfect for a brand-new knitter who has just learned to knit and purl and wants a real, wearable finished garment to show for it. The finished cardigan is soft, light, and squishy in baby-soft acrylic, with a relaxed boxy shape that gives toddlers room to move, scattered charcoal polka dots that look playful and modern, and a smart charcoal contrast button band that makes the whole thing look far more advanced than it actually is. Once it is done, you will have a cozy little layer that looks boutique-bought and feels like a hug.
Materials Needed
- Yarn: Baby-soft DK-weight (light worsted) acrylic yarn, approximately 250 yds / 230 m per 100 g skein.
- Main Color (MC), Oatmeal: approx. 300 yds / 275 m (about 1.2 skeins)
- Contrast Color (CC), Charcoal: approx. 90 yds / 82 m (about 0.4 skein)
- Main needles: US 6 (4.0 mm) straight or circular needles (circular is easier for holding many stitches)
- Ribbing and button band needles: US 5 (3.75 mm) straight or circular needles
- Stitch markers: at least 6 (for marking the center front fold, armholes, and dot placement)
- Stitch holders or waste yarn: for holding stitches temporarily
- Tapestry needle: a large blunt needle for seaming and weaving in ends
- Scissors
- 4 buttons: approx. 5/8 in / 15 mm
Finished sizes (2 years / 3 years):
- Chest circumference: 24 (26) in / 61 (66) cm
- Length: 12 (13) in / 30.5 (33) cm
- Sleeve length from underarm: 8 (9) in / 20 (23) cm
- Designed ease: 2–3 in / 5–7.5 cm of positive ease (roomy, boxy fit)
Abbreviations and Beginner Glossary
Do not worry if these look like a secret code. Every single one is explained below in plain English.
- K (knit): Insert the right needle into the front of the stitch on the left needle, wrap the yarn around, and pull the loop through. This creates a smooth "V" shape.
- P (purl): Insert the right needle into the front of the stitch from right to left, wrap the yarn, and pull the loop through. This creates a bumpy texture.
- St(s) (stitch/stitches): A single loop of yarn on your needle.
- RS (right side): The front, public side of your work that everyone will see.
- WS (wrong side): The back, hidden side of your work.
- Stockinette stitch: Knit on the RS rows and purl on the WS rows. This gives you the smooth, flat "V" fabric you see on most sweaters.
- K2, P2 ribbing: A stretchy pattern of two knits followed by two purls, repeated across the row.
- K1, P1 ribbing: A stretchy pattern of one knit followed by one purl, repeated across the row.
- K2tog (knit 2 together): Insert your needle into two stitches at once and knit them as one. This makes a decrease (removes a stitch).
- M1L (make 1 left): Lift the horizontal bar of yarn between two stitches with your left needle, then knit into the back of it. This adds one new stitch.
- Yo (yarn over): Wrap the yarn over the right needle to create an extra loop. This makes a small hole, which becomes a buttonhole.
- Slip 1 purlwise with yarn in front: Move one stitch from the left needle to the right needle without knitting it, keeping the working yarn toward you. This makes a neat edge.
- Stranded colorwork: Knitting with two colors in the same row, carrying the unused color loosely across the back of the work.
- Float: The strand of unused yarn carried across the back of your work during colorwork.
- Bind off (cast off): The way you finish an edge so the stitches do not unravel.
- Pick up and knit: Insert your needle into the edge of your finished fabric, wrap the yarn, and pull up a loop to create a new stitch along that edge.
- Blocking: Gently wetting and shaping your finished knitting so it settles into its final size and looks even.
Gauge
22 stitches and 30 rows = 4 in / 10 cm in stockinette stitch on US 6 (4.0 mm) needles, after blocking.
Why gauge matters: Gauge is how many stitches and rows fit into a square of fabric. If your stitches are bigger than the pattern expects, your cardigan will come out too large; if they are smaller, it will be too small. Because this cardigan is boxy and has no shaping to correct the fit, gauge is the single most important thing to check before you begin.
How to make a gauge swatch: Cast on 30 stitches with your US 6 (4.0 mm) needles and MC. Knit in stockinette stitch (knit one row, purl one row) for about 5 in / 12 cm. Bind off. Lay the swatch flat, gently steam or wet it, and let it dry. Place a ruler across the middle and count how many stitches fit in 4 in / 10 cm. If you have more than 22, your stitches are too small — go up a needle size. If you have fewer than 22, your stitches are too big — go down a needle size. Repeat until you match.
Beginner Tips Before You Start
- Use stitch markers to track your dots. Place a marker every time you begin a charcoal dot block so you never lose your place in the chart.
- Do not pull the yarn too tight during colorwork. When you carry charcoal across the back, keep the float loose — about the width of your finger. Tight floats make the fabric pucker and the cardigan too small.
- Catch your floats every 3–4 stitches. This prevents long loops on the inside that little fingers can catch on.
- Count your stitches at the end of every row. It is far easier to fix a mistake on the row you made it than ten rows later.
- Knit the two front panels as one rectangle, then fold. This is the trick that makes this pattern so beginner-friendly — you only knit one front piece, then fold it in half.
- Keep your tension relaxed on the ribbing. Ribbing pulls in naturally; if you knit it tightly, the hem and cuffs will feel stiff.
Step-by-Step Instructions
Colorwork Chart (Polka Dots)
Each dot is a 5-stitch by 5-row block of charcoal (CC) on oatmeal (MC), separated by 7–9 stitches and 7–9 rows of MC. Work the following 24-row repeat across the body and sleeves. On WS rows, purl all stitches in the color shown.
- Row 1 (RS): *K9 MC, K5 CC; repeat from * to end, ending with K9 MC.
- Rows 2–5: Work stitches as they appear (knit MC stitches, knit CC stitches).
- Row 6: *K9 MC, K5 MC; repeat from * (all MC).
- Rows 7–12: All MC.
- Row 13: *K4 MC, K5 CC, K5 MC; repeat from * to end, adjusting to keep dots staggered.
- Rows 14–17: Work stitches as they appear.
- Row 18: All MC.
- Rows 19–24: All MC.
Repeat Rows 1–24 for the scattered dot pattern, staggering the dots every repeat.
Back (worked flat as a rectangle)
With US 5 (3.75 mm) needles and MC, cast on 66 (72) sts.
- Row 1 (RS): K2, *P2, K2; repeat from * to end. (66 (72) sts)
- Row 2 (WS): P2, *K2, P2; repeat from * to end. (66 (72) sts)
- Rows 3–12: Repeat Rows 1–2 five more times (12 rows total, approx. 1.5 in / 4 cm), ending on a WS row. (66 (72) sts)
Change to US 6 (4.0 mm) needles.
- Next row (RS): Knit, increasing 0 (0) sts evenly. (66 (72) sts)
- Rows 1–24: Work in stockinette stitch following the Polka Dot Chart, beginning and ending with MC edge sts. (66 (72) sts)
- Repeat Rows 1–24 two more times (72 rows total of chart). (66 (72) sts)
- Continue in stockinette stitch in MC only until piece measures 12 (13) in / 30.5 (33) cm from cast-on edge, ending on a WS row. (66 (72) sts)
- Bind off all sts loosely.
Front (worked as one folded rectangle)
The front is knitted as a single rectangle that is folded at the center front to create both front panels.
With US 5 (3.75 mm) needles and MC, cast on 66 (72) sts.
- Rows 1–12: Work ribbing exactly as for Back (Rows 1–2 repeated six times), ending on a WS row. (66 (72) sts)
Change to US 6 (4.0 mm) needles.
- Rows 1–24: Work in stockinette stitch following the Polka Dot Chart. (66 (72) sts)
- Repeat Rows 1–24 two more times (72 rows total of chart). (66 (72) sts)
- Continue in stockinette stitch in MC only until piece measures 12 (13) in / 30.5 (33) cm from cast-on edge, ending on a WS row. (66 (72) sts)
- Bind off all sts loosely.
Fold the front rectangle in half widthwise (33 (36) sts each half) to create the two front panels. Mark the fold as the center front. The two halves will overlap slightly at the center front when seamed to the back.
Sleeves (make 2, worked flat as straight tubes)
With US 5 (3.75 mm) needles and MC, cast on 34 (38) sts.
- Rows 1–12: Work in k2, p2 ribbing for 1.5 in / 4 cm, ending on a WS row. (34 (38) sts)
Change to US 6 (4.0 mm) needles.
- Rows 1–24: Work in stockinette stitch following the Polka Dot Chart, increasing 1 st at each end every 8th row 6 (7) times. (46 (52) sts)
- Continue straight without further increases until sleeve measures 8 (9) in / 20 (23) cm from cast-on edge, ending on a WS row. (46 (52) sts)
- Bind off all sts loosely.
Charcoal Contrast Button Band
With US 5 (3.75 mm) needles and CC, pick up and knit along the entire front opening (both front edges and neck): approx. 3 sts for every 4 rows, plus 1 st at each corner.
- Rows 1–4: Work in k1, p1 ribbing for 1 in / 2.5 cm.
- Buttonhole row (RS): Work 3 sts, *yo, k2tog, work 9 (10) sts; repeat from * 3 times, yo, k2tog, work to end. (4 buttonholes)
- Rows 6–7: Work 2 more rows in ribbing.
- Bind off in ribbing.
Sew 4 buttons opposite the buttonholes.
Neckband (optional)
With US 5 (3.75 mm) needles and CC, pick up and knit approx. 60 (66) sts around the neck opening.
- Rows 1–6: Work in k1, p1 ribbing for 0.75 in / 2 cm.
- Bind off in ribbing.
Assembly and Finishing
- Block all pieces to measurements. Lightly wet each piece, press gently in a towel to remove excess water, and pin flat to the finished measurements. Let dry completely.
- Sew shoulder seams. Place Back and Front rectangles RS together. Measure 4 (4.5) in / 10 (11.5) cm from each outer edge toward center for shoulders, leaving the center 16 (18) sts open for the neck. Using your tapestry needle and a length of MC, sew these shoulder sections together with a simple whipstitch or mattress stitch.
- Sew side seams. Sew from underarm to hem, leaving armholes open: measure 5 (5.5) in / 12.5 (14) cm down from the shoulder for the armholes. Use mattress stitch for an invisible seam.
- Sew sleeve seams. Fold each sleeve in half lengthwise and sew the underarm seam with mattress stitch.
- Set in sleeves. Match the center of each sleeve to the shoulder seam and pin in place. Sew the sleeve into the armhole, easing any fullness evenly around the curve.
- Weave in all ends. Thread each yarn tail onto your tapestry needle and weave it back and forth through the wrong side of the fabric for about 2 in / 5 cm, then trim.
- Final block. Give the finished cardigan one last light block to settle the seams and colorwork.
Pro Tips and Variations
- Change the dot color. Swap charcoal for dusty rose, mustard, or sage green for a completely different look. Any DK-weight acrylic in a contrasting color will work.
- Adjust the size. To make a larger size, add stitches in multiples of 14 (the dot repeat) to the cast-on count and add length in 24-row chart repeats. Always re-check your gauge first.
- Substitute the yarn. A soft DK-weight cotton or cotton-acrylic blend works beautifully for spring. Avoid fuzzy yarns for the colorwork, as the dots will lose their crisp shape.
- Skip the dots for a quicker knit. Work the entire body and sleeves in MC only for a minimalist, modern cardigan that comes together in a weekend.