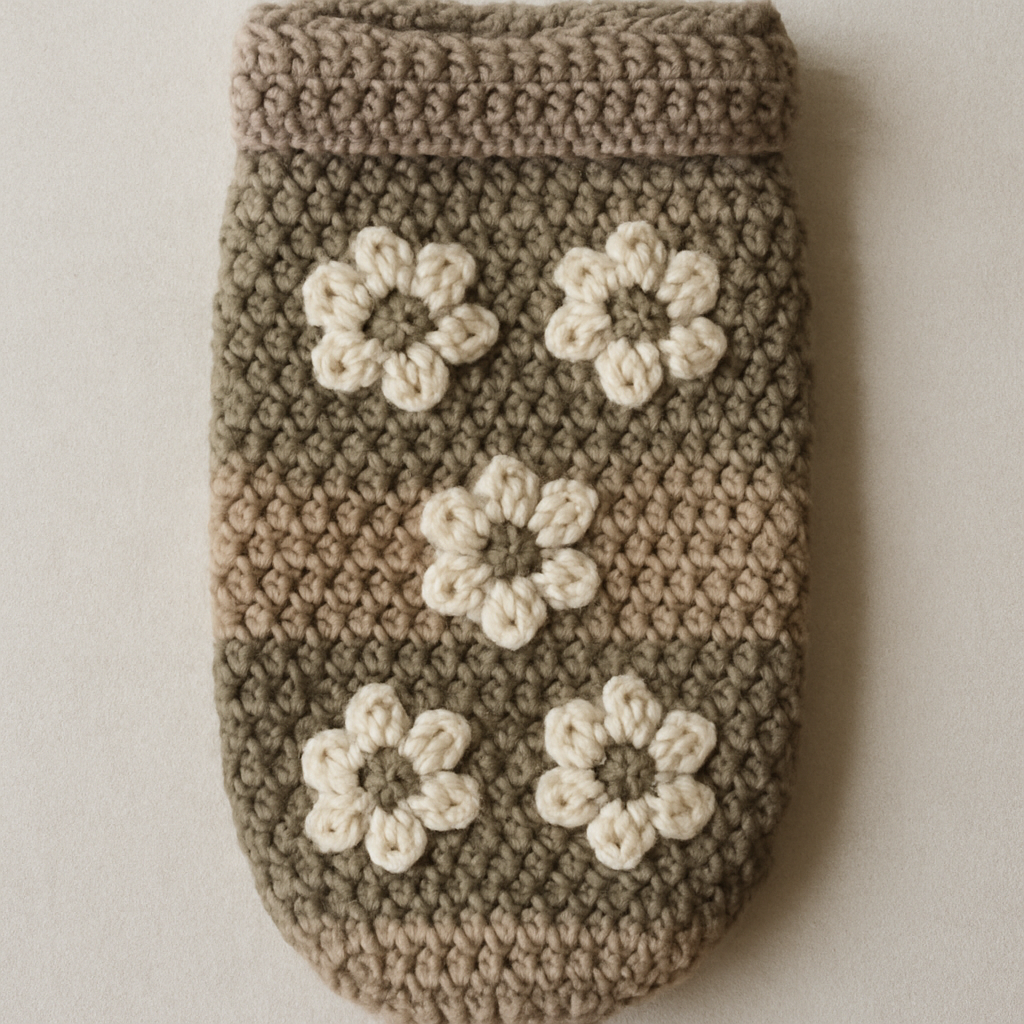
Whimsical Woodland Fawn Crochet Outfit Set Free Pattern

Whimsical Woodland Fawn Crochet Outfit Set: A Complete Beginner-Friendly Pattern
There is something truly magical about dressing a little one in a handmade outfit that feels both cozy and enchanting. This Whimsical Woodland Fawn Crochet Outfit Set is designed to capture that wonder—a complete ensemble featuring a hooded cardigan, matching booties, and an adorable antler headband. Whether you are crafting for a newborn photoshoot, a baby shower gift, or simply to create an heirloom piece your family will treasure, this pattern is as rewarding to make as it is beautiful to behold.
Using only basic single crochet stitches and simple shaping, this set is surprisingly accessible for beginners while still offering plenty of charm for experienced makers. The warm oatmeal, rich chocolate brown, and soft cream palette evokes the quiet beauty of a forest floor, making this outfit perfect for snuggly autumn days or year-round woodland adventures. Let’s gather our materials and begin this delightful project together.
Materials Needed
Before we dive into the stitches, let’s ensure you have everything you need. This project uses simple, readily available materials that you may already have in your stash.
Yarn
- Worsted weight yarn in three colors:
- Oatmeal (main color for cardigan body and booties) – approximately 250g
- Chocolate brown (for hood, edging, and antlers) – approximately 100g
- Cream (for bootie cuffs and headband base) – approximately 50g
- Total yarn needed: approximately 400g
Pro tip: Choose a soft, washable acrylic or a cotton-blend yarn for baby items. Look for a yarn labeled "baby" or "gentle" for extra softness against delicate skin.
Hook and Notions
- 5.0 mm crochet hook (US H-8)
- Yarn needle for weaving in ends and sewing pieces together
- Scissors
- Stitch markers (optional but helpful)
- 3-4 small buttons for the cardigan closure
- Measuring tape
Gauge
16 single crochet stitches x 18 rows = 4 inches square
Always make a gauge swatch before starting to ensure your finished items match the intended size. If your gauge is off, adjust your hook size accordingly—smaller hook for tighter stitches, larger hook for looser ones.
Step-by-Step Instructions
This pattern is written for 0-3 months size. We will work through each piece systematically, starting with the cardigan, then the booties, and finally the headband. Take your time, count your stitches carefully, and enjoy the process.
Part 1: The Hooded Cardigan
The cardigan is worked in flat panels and seamed together. We'll begin with the back panel, then create the two front panels, sleeves, and finally the hood.
Back Panel
- Row 1: Chain 42. Single crochet (sc) in the 2nd chain from your hook and in each chain across. You should have 41 stitches.
- Rows 2-20: Chain 1, turn your work. Single crochet in each stitch across. (41 sts)
- Row 21 (Shape armholes): Chain 1, turn. Slip stitch (sl st) in the first 3 stitches. Single crochet in the next 35 stitches. You will have 35 stitches remaining.
- Rows 22-30: Chain 1, turn. Single crochet in each stitch across. (35 sts)
- Fasten off and set aside.
Left Front Panel
- Row 1: Chain 22. Single crochet in the 2nd chain from hook and in each chain across. You should have 21 stitches.
- Rows 2-20: Chain 1, turn. Single crochet in each stitch across. (21 sts)
- Row 21 (Shape armhole): Chain 1, turn. Slip stitch in the first 3 stitches. Single crochet in the next 18 stitches. You will have 18 stitches.
- Rows 22-30: Chain 1, turn. Single crochet in each stitch across. (18 sts)
- Row 31 (Shape neck): Chain 1, turn. Single crochet in the first 12 stitches. Leave the remaining 6 stitches unworked. You will have 12 stitches.
- Rows 32-34: Chain 1, turn. Single crochet in each stitch across. (12 sts)
- Fasten off.
Right Front Panel
- Work the same as the left front panel through Row 30.
- Row 31 (Shape neck - mirrored): Chain 1, turn. Slip stitch in the first 6 stitches, then single crochet in the remaining 12 stitches. You will have 12 stitches.
- Rows 32-34: Chain 1, turn. Single crochet in each stitch across. (12 sts)
- Fasten off.
Sleeves (Make 2)
- Row 1: Chain 24. Single crochet in the 2nd chain from hook and in each chain across. You should have 23 stitches.
- Rows 2-18: Chain 1, turn. Single crochet in each stitch across. (23 sts)
- Row 19 (Increase row): Chain 1, turn. Work 2 single crochet in the first stitch, single crochet in the next 21 stitches, then 2 single crochet in the last stitch. You will have 25 stitches.
- Rows 20-24: Chain 1, turn. Single crochet in each stitch across. (25 sts)
- Fasten off. Repeat for the second sleeve.
Hood
- Row 1: Chain 42. Single crochet in the 2nd chain from hook and in each chain across. You should have 41 stitches.
- Rows 2-20: Chain 1, turn. Single crochet in each stitch across. (41 sts)
- Fasten off, leaving a long tail for sewing.
- Fold the hood in half with right sides together. Sew the top seam closed using your yarn needle and the long tail. Turn right side out.
Cardigan Assembly
- Sew shoulder seams: With right sides together, sew the top of the back panel to the tops of the front panels at the shoulder edges.
- Sew side seams: With right sides together, sew the sides of the back panel to the sides of the front panels, leaving the armhole openings free.
- Sew sleeve seams: Fold each sleeve in half lengthwise with right sides together. Sew the underarm seam.
- Set in sleeves: Turn the cardigan inside out. Insert each sleeve into the armhole opening, matching the sleeve seam to the underarm of the cardigan. Sew around the armhole to attach the sleeves securely.
- Attach the hood: With right sides together, pin the bottom edge of the hood to the neckline of the cardigan. Sew around the neckline to attach the hood.
- Add edging: Attach your chocolate brown yarn to the bottom corner of the right front panel. Single crochet evenly around the entire opening of the cardigan—up the right front, around the hood, and down the left front. When you reach corners, work 3 single crochet in the same stitch to create a neat turn. Fasten off and weave in ends.
- Add buttons and button loops: Sew 3-4 buttons evenly spaced on the left front panel. On the right front panel, create small button loops by chaining 5-6 stitches and slip stitching back to the edge, or simply use the spaces between stitches as buttonholes. Fasten off and weave in all ends.
Part 2: The Matching Booties (Make 2)
These adorable booties are worked in the round from the sole up. They are quick to make and incredibly sweet.
Sole
- Round 1: Chain 10. Single crochet in the 2nd chain from hook, single crochet in the next 7 chains, then work 3 single crochet in the last chain. Now working on the opposite side of the chain, single crochet in the next 7 chains, then work 2 single crochet in the last chain. Join with a slip stitch to the first stitch. You should have 20 stitches.
- Round 2: Chain 1. Work 2 single crochet in the first stitch, single crochet in the next 7 stitches, 2 single crochet in each of the next 3 stitches, single crochet in the next 7 stitches, then 2 single crochet in each of the last 2 stitches. Join with a slip stitch. You should have 26 stitches.
- Round 3: Chain 1. Single crochet in each stitch around. Join with a slip stitch. (26 sts)
Body of Bootie
- Rounds 4-8: Chain 1. Single crochet in each stitch around. Join with a slip stitch at the end of each round. (26 sts)
- Ankle section: Chain 1. Single crochet in each stitch around for 4 more rounds (Rounds 9-12). Join with a slip stitch at the end of each round. Fasten off.
Cuff
- Attach your cream yarn to the top edge of the bootie.
- Rounds 1-2: Chain 1. Single crochet in each stitch around. Join with a slip stitch at the end of each round. (26 sts)
- Fasten off and weave in all ends. Repeat the entire process for the second bootie.
Part 3: The Antler Headband
The crowning touch of this outfit is the whimsical antler headband. It’s simple to make and adds so much character.
Headband Base
- Using cream yarn, chain 40.
- Single crochet in the 2nd chain from hook and in each chain across. You should have 39 stitches.
- Fasten off, leaving a long tail for sewing the ends together.
- Sew the two short ends together to form a loop. Weave in ends.
Antlers (Make 2)
- Main stem: Using chocolate brown yarn, chain 12. Single crochet in the 2nd chain from hook and in each chain across. You should have 11 stitches. Fasten off.
- Branch: Chain 8. Single crochet in the 2nd chain from hook and in each chain across. You should have 7 stitches. Fasten off.
- Assemble antler: Position the branch about 1 inch from the top of the main stem. Sew the branch securely to the main stem using your yarn needle.
- Repeat for the second antler.
Final Assembly
- Position the two antlers on the headband, spacing them about 2 inches apart. Center them on the front of the headband.
- Sew each antler securely to the headband, making sure they are firmly attached.
- Optional embellishment: Create two small cream pom-poms and attach one to the tip of each antler for an extra touch of whimsy.
- Weave in all remaining ends.
Finishing Touches and Care Tips
Congratulations! You have just completed a beautiful, heirloom-quality woodland fawn outfit set. Before gifting or using, give your creation a gentle hand wash in cool water with a mild baby-safe detergent. Lay flat to dry, reshaping as needed. This will help the stitches settle and ensure the outfit is fresh and ready for its little adventurer.
This pattern is wonderfully versatile—you can easily adjust the size by adding or subtracting stitches in multiples of 2 to the foundation chains, or by working more rows for a longer body. Feel free to experiment with different color combinations to create a unique look, such as soft pink and grey for a girly fawn or classic white and brown for a more traditional woodland feel.
We hope you enjoyed creating this Whimsical Woodland Fawn Outfit Set as much as we enjoyed designing it. There is nothing quite like the joy of seeing a tiny baby wrapped in something you made with your own hands. Happy crocheting, and may your stitches always be even and your yarn never tangle!