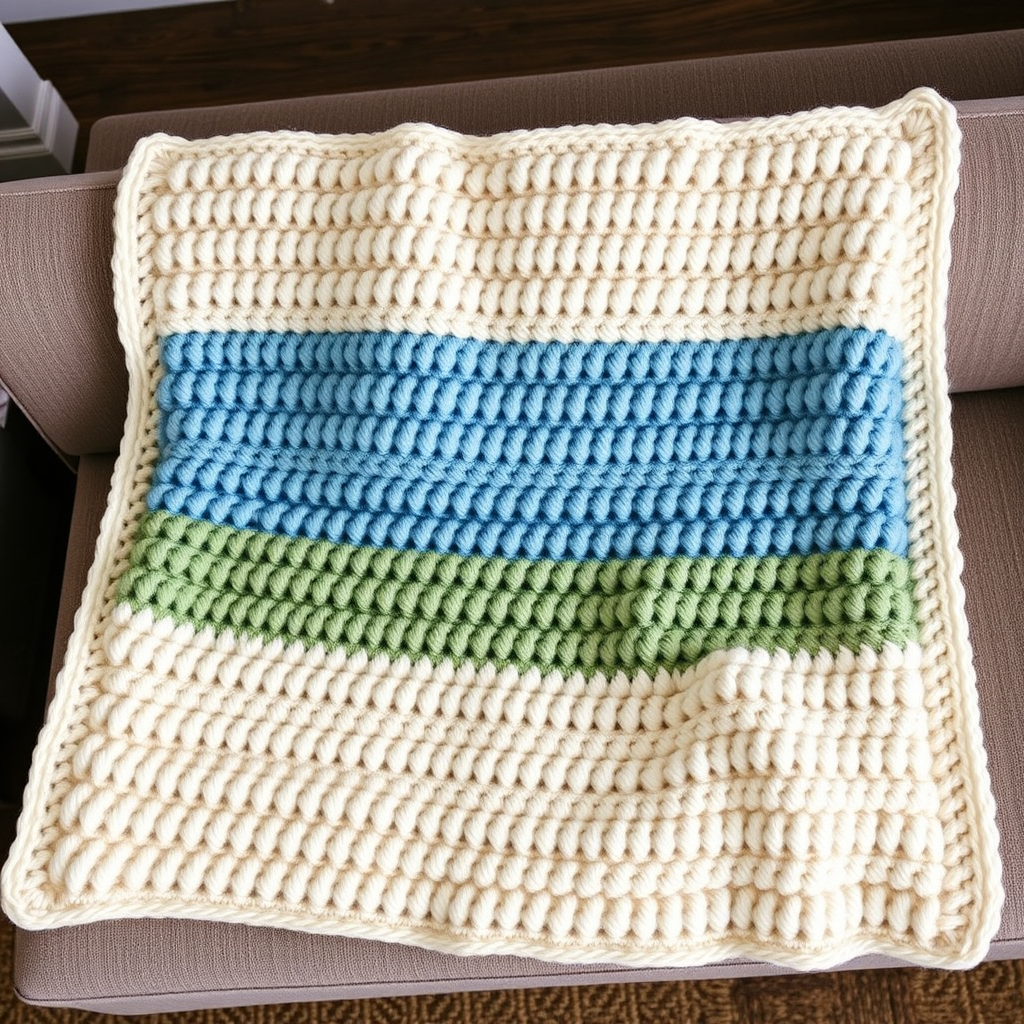
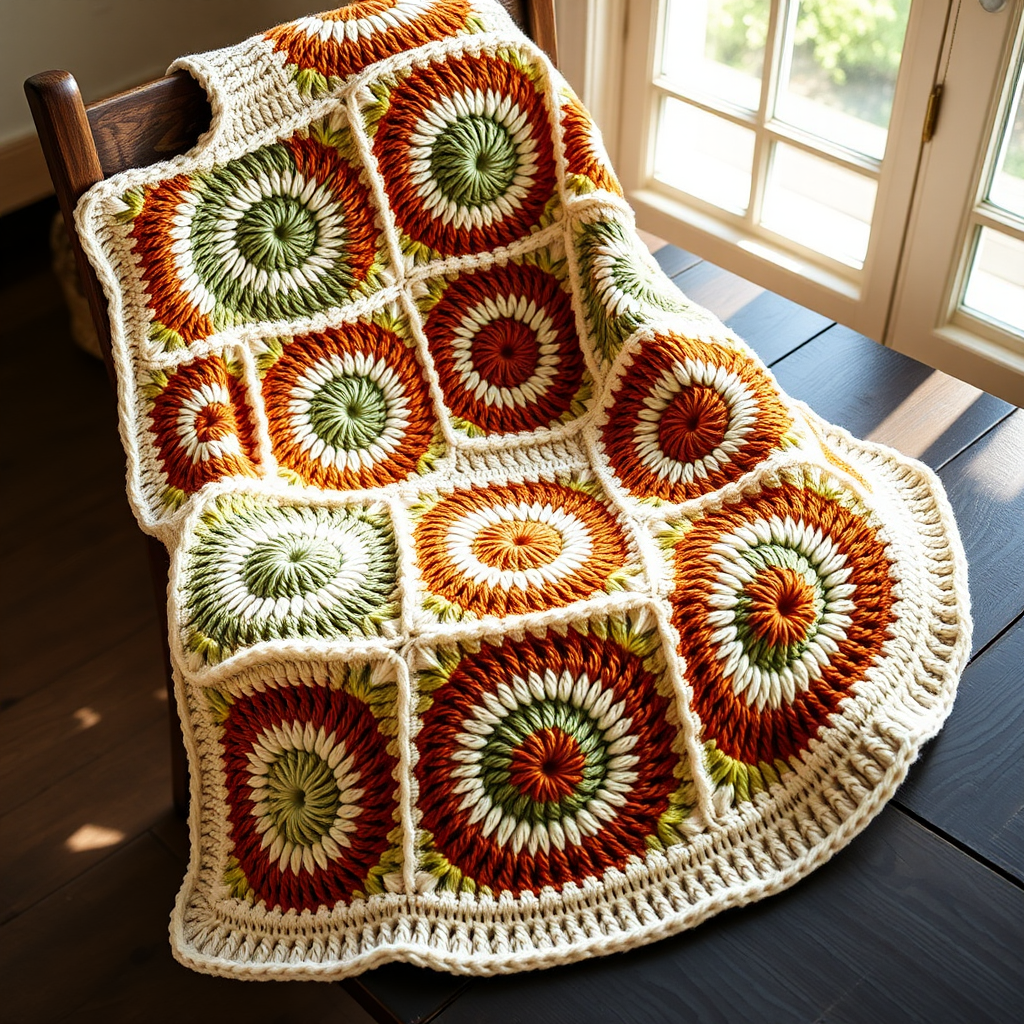
Whispering Dunes Hexagon Throw Free Pattern – Crochet with Sand and Sage Stripes

Result: You should have 6 dc pairs and 6 ch-2 spaces, forming the beginning of your hexagon shape.
Round 2: Building the Corners
Still with color A:
- Slip stitch into the next ch-2 space (this moves your working position to the corner).
- Chain 3 (counts as first dc).
- Dc in the same space. You now have 2 dc in this corner.
- Chain 1 (this creates a small gap between clusters).
- In the next ch-2 space, work: [dc 2, ch 2, dc 2]. This creates the corner of your hexagon.
- Chain 1.
- Repeat from * around the entire round. Here's the pattern:
- *[dc 2, ch 2, dc 2] in next ch-2 space, ch 1*
- When you reach the first corner space (where you started), work dc 2 in that space, then ch 2.
- Join with a slip stitch to the top of the initial chain-3.
Result: You'll have 12 dc pairs total, 6 corners (each with a ch-2 space), and 6 ch-1 spaces between the clusters.
Round 3: Expanding the Sides
Still with color A:
- Slip stitch into the next ch-1 space (this moves you to the first side gap).
- Chain 3 (counts as first dc).
- Dc in the same space. You now have 2 dc in this ch-1 space.
- Chain 1.
- In the next corner ch-2 space, work: [dc 2, ch 2, dc 2].
- Chain 1.
- In the next ch-1 space, work: dc 2.
- Chain 1.
- Repeat from * around the entire round. Here's the pattern:
- *[dc 2, ch 2, dc 2] in next corner ch-2 space, ch 1, dc 2 in next ch-1 space, ch 1*
- When you reach the first ch-1 space (where you started), work dc 2 in that space, then ch 1.
- Join with a slip stitch to the top of the initial chain-3.
Result: You'll have 18 dc pairs total, 6 corners, and 6 ch-1 spaces on each side (between corners).
Round 4: Continuing the Pattern
Still with color A:
- Repeat Round 3's pattern exactly. Slip stitch into the next ch-1 space, ch 3, dc in same space, ch 1.
- Work [dc 2, ch 2, dc 2] in each corner ch-2 space.
- Work dc 2 in each ch-1 space along the sides.
- Chain 1 between each cluster.
- Join with a slip stitch to the top of the initial chain-3.
Result: You'll have 24 dc pairs total, 6 corners, and 12 ch-1 spaces (2 on each side between corners).
Round 5: Introducing Color B (Sage)
Change to color B (Sage):
- Attach color B with a slip stitch in any ch-1 space.
- Repeat Round 3's pattern exactly: ch 3, dc in same space, ch 1, [dc 2, ch 2, dc 2] in each corner, dc 2 in each ch-1 space, ch 1 between clusters.
- Join with a slip stitch to the top of the initial chain-3.
Result: You'll have 30 dc pairs total, 6 corners, and 18 ch-1 spaces (3 on each side between corners).
Round 6: Introducing Color C (Terracotta)
Change to color C (Terracotta):
- Attach color C with a slip stitch in any ch-1 space.
- Repeat Round 3's pattern exactly: ch 3, dc in same space, ch 1, [dc 2, ch 2, dc 2] in each corner, dc 2 in each ch-1 space, ch 1 between clusters.
- Join with a slip stitch to the top of the initial chain-3.
Result: You'll have 36 dc pairs total, 6 corners, and 24 ch-1 spaces (4 on each side between corners).
Round 7: Introducing Color D (Cream)
Change to color D (Cream):
- Attach color D with a slip stitch in any ch-1 space.
- Repeat Round 3's pattern exactly: ch 3, dc in same space, ch 1, [dc 2, ch 2, dc 2] in each corner, dc 2 in each ch-1 space, ch 1 between clusters.
- Join with a slip stitch to the top of the initial chain-3.
Result: You'll have 42 dc pairs total, 6 corners, and 30 ch-1 spaces (5 on each side between corners).
Finishing the Motif: Fasten off, leaving a tail of about 6 inches. Weave in all ends using your yarn needle. Repeat this entire process to create 19 hexagons total.
Assembly: Joining the Hexagons
Now that you have all 19 hexagons, it's time to arrange and join them into the beautiful honeycomb layout.
Step 1: Arrange Your Hexagons
Lay out your hexagons on a flat surface in the following honeycomb pattern:
- Row 1: 5 hexagons
- Row 2: 5 hexagons (offset slightly so they nestle between the hexagons of Row 1)
- Row 3: 5 hexagons (offset to match Row 1)
- Row 4: 4 hexagons (offset to match Row 2)
This creates a large, organic hexagon shape overall. Play with the arrangement until you're happy with the color distribution – you can mix up which hexagons go where to create a more random, scrappy look, or keep them uniform for a more structured design.
Step 2: Join the Hexagons
With color D (Cream):
- Pick up two adjacent hexagons, placing them right sides together.
- Using the whip stitch method or single crochet join, work through the back loops only of both hexagons along one straight edge.
- Start at one corner and work your way to the other corner, matching the stitches evenly.
- When you reach a corner where three hexagons meet, make sure to secure all three together securely with a few extra stitches.
- Continue joining all hexagons in this manner until the entire blanket is assembled.
Pro Tip: The whip stitch creates a nearly invisible seam, while single crochet join adds a subtle textured ridge. Choose whichever you prefer – both will hold securely.
Border: Adding the Finishing Touch
With all hexagons joined, it's time to add a clean, cohesive border to frame your beautiful throw.
Round 1: Foundation Border
With right side facing, attach color D (Cream) to any outer corner:
- Chain 3 (counts as first dc).
- Dc in each dc across the edge of the blanket.
- When you reach an outer corner, work [dc 2, ch 2, dc 2] in the corner space to turn the corner smoothly.
- Continue around the entire blanket, working dc in each dc and [dc 2, ch 2, dc 2] in each outer corner.
- Join with a slip stitch to the top of the initial chain-3.
Round 2: Finishing Border
- Chain 3 (counts as first dc).
- Dc in each dc around the entire blanket.
- Work [dc 2, ch 2, dc 2]Also Check Out: We think you'd love this beautiful pattern on our sister site: Knitted Christmas Doll with Hat