Aurora Cascade Cable Shawl Free Pattern – A Knitted Twilight Sky Wrap

Aurora Cascade Cable Shawl Free Pattern – A Knitted Twilight Sky Wrap
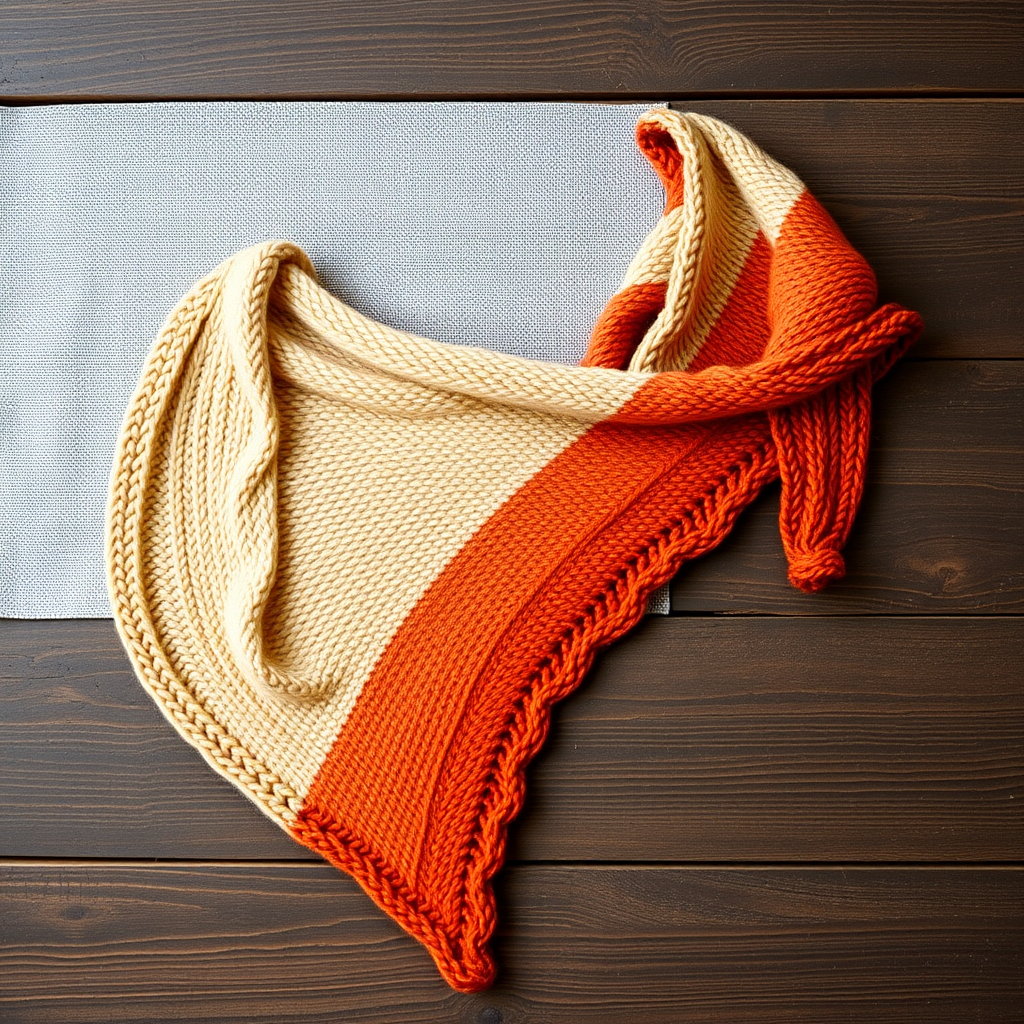
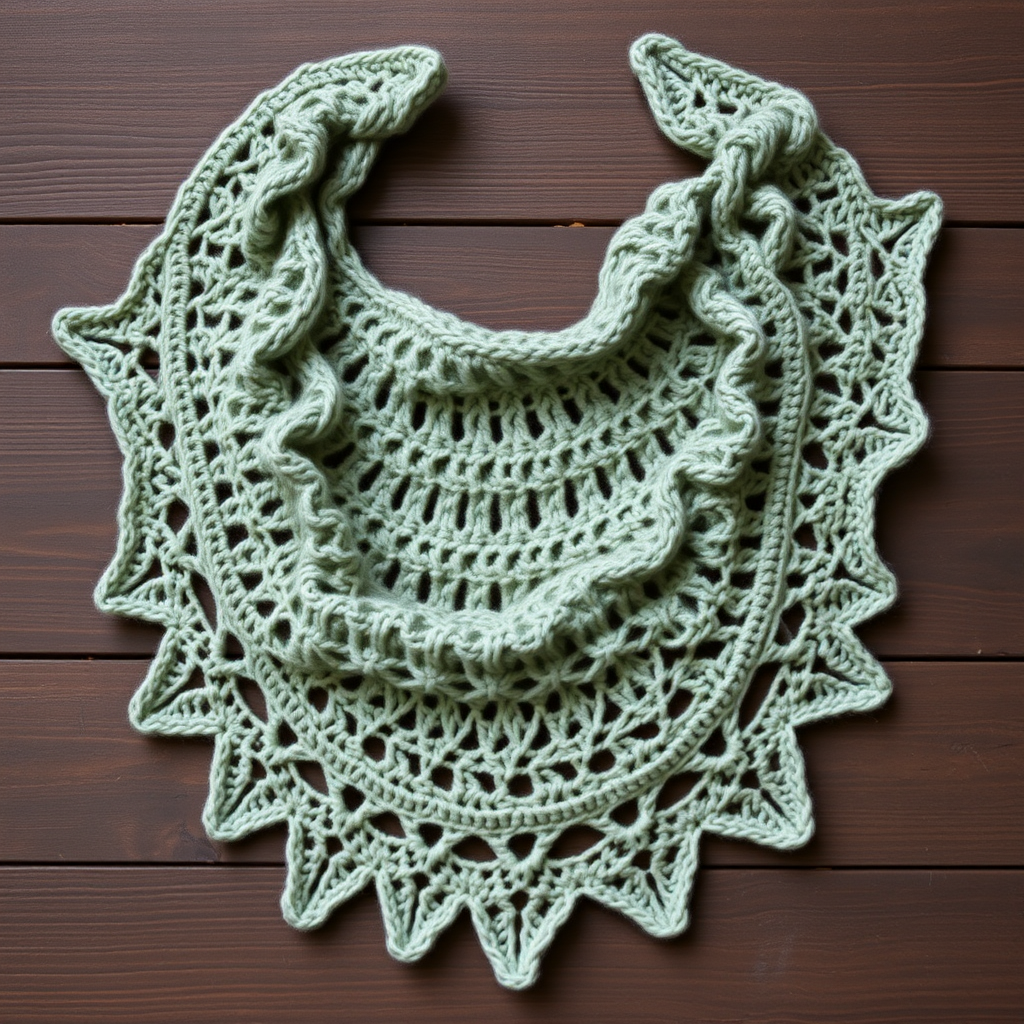
Wrap yourself in the shifting colors of a twilight sky with this deeply textured cable shawl, featuring a dramatic cascade of braided cables and a soft, draping silhouette. This free pattern offers a meditative knit that builds into a stunning, heirloom-quality accessory. Whether you're a seasoned knitter looking for a new challenge or a confident beginner ready to tackle cables, the Aurora Cascade Shawl is a rewarding project that produces a breathtaking result. The finished piece is a wide, shallow triangle with a gently curved bottom edge and a delicate, eyelet lace border, making it the perfect layering piece for cool evenings or a thoughtful handmade gift.
Materials Needed
Before you begin, gather the following materials to ensure a smooth knitting experience. The quality of your yarn will greatly impact the final drape and feel of your shawl, so choose a fiber you love.
- Yarn: Worsted weight yarn in a gradient or tonal colorway (e.g., Lion Brand Mandala in 'Centaur' or a hand-dyed gradient from dark teal to dusty rose). Approximately 800-900 yards. The gradient effect is key to the "twilight sky" look, but a solid tonal color will also showcase the cable texture beautifully.
- Needles: US Size 8 (5.0 mm) 32-inch circular knitting needle (for working back and forth). The long cord is essential to hold the increasing number of stitches.
- Cable Needle: A small cable needle (or a double-pointed needle) for making the cable crosses.
- Stitch Markers: At least 2 markers to help you keep track of the center spine and pattern repeats.
- Tapestry Needle: For weaving in ends and finishing.
Gauge: 18 stitches and 24 rows = 4 inches in stockinette stitch (after blocking). Gauge is not critical for this shawl, but it will affect the final size and drape. A looser gauge will create a drapier fabric, while a tighter gauge will be more structured.
Step-by-Step Instructions
Note: This shawl is worked from the top center down, increasing on each side of the central spine. The cable pattern is charted in the instructions below. Read all instructions before beginning. The center stitch is always purled on the wrong side (WS) and knit on the right side (RS).
Special Stitches
These are the cable techniques you'll use throughout the pattern. Practice them on a swatch if you're new to cabling.
- C4F (Cable 4 Front): Slip 2 stitches to cable needle, hold in front, knit 2, knit 2 from cable needle.
- C4B (Cable 4 Back): Slip 2 stitches to cable needle, hold in back, knit 2, knit 2 from cable needle.
- T3F (Twist 3 Front): Slip 1 stitch to cable needle, hold in front, knit 2, purl 1 from cable needle.
- T3B (Twist 3 Back): Slip 2 stitches to cable needle, hold in back, purl 1, knit 2 from cable needle.
Setup and Foundation
We'll start by creating the top point of the shawl and establishing the central increase spine.
Setup:
Cast on 3 stitches.
Row 1 (WS): Knit all.
Row 2 (RS): K1, yo, k1, yo, k1. (5 stitches)
Row 3: K2, p1, k2.
Row 4: K2, yo, k1, yo, k2. (7 stitches)
Row 5: K3, p1, k3.
Row 6: K3, yo, k1, yo, k3. (9 stitches)
Row 7: K4, p1, k4.
Row 8: K4, yo, k1, yo, k4. (11 stitches)
Row 9: K5, p1, k5.
Row 10: K5, yo, k1, yo, k5. (13 stitches)
Row 11: K6, p1, k6.
Row 12: K6, yo, k1, yo, k6. (15 stitches)
Begin Cable Pattern
Now we'll introduce the cable twists. The pattern is a repeating 18-row sequence. The increases happen on odd-numbered (RS) rows, and the cables are worked on specific rows to create the cascade effect.
Row 1 (RS): K6, yo, k1, yo, k6. (17 stitches)
Row 2 (WS): K7, p1, k7. (Note: the center stitch is always purled on WS, knit on RS.)
Row 3: K5, C4F, yo, k1, yo, C4B, k5. (19 stitches)
Row 4: K8, p1, k8.
Row 5: K8, yo, k1, yo, k8. (21 stitches)
Row 6: K9, p1, k9.
Row 7: K4, C4B, k4, yo, k1, yo, k4, C4F, k4. (23 stitches)
Row 8: K10, p1, k10.
Row 9: K10, yo, k1, yo, k10. (25 stitches)
Row 10: K11, p1, k11.
Row 11: K3, C4F, k4, C4B, yo, k1, yo, C4F, k4, C4B, k3. (27 stitches)
Row 12: K12, p1, k12.
Row 13: K12, yo, k1, yo, k12. (29 stitches)
Row 14: K13, p1, k13.
Row 15: K2, C4B, k4, C4F, k4, yo, k1, yo, k4, C4B, k4, C4F, k2. (31 stitches)
Row 16: K14, p1, k14.
Row 17: K14, yo, k1, yo, k14. (33 stitches)
Row 18: K15, p1, k15.
Repeat Rows 1-18 until the shawl measures approximately 28 inches from the cast-on edge, ending with a WS row. The number of repeats will depend on your yarn and desired size. You can easily adjust the size by working more or fewer repeats. Remember to keep your stitch markers in place to identify the center stitch if you use them.
Edging
The delicate eyelet border adds a beautiful finish and helps the shawl lay flat. This section is simple and repetitive.
Row 1 (RS): K1, *yo, k2tog* repeat from * to * until 1 stitch before center, yo, k1, yo, repeat from * to * until 1 stitch remains, k1. (This row increases by 2 stitches.)
Row 2 (WS): Knit all.
Row 3: K1, *yo, k2tog* repeat from * to * across, ending with k1.
Row 4: Knit all.
Row 5: Bind off loosely (use a larger needle or a stretchy bind-off like the Icelandic bind-off).
Finishing
Weave in all ends carefully with your tapestry needle. Block the shawl gently, pinning out the points of the cables and the edging to open up the lace and define the shape. This step is crucial for cables—it will relax the stitches and make the twists pop. Allow to dry completely before removing pins.
Your Aurora Cascade Cable Shawl is now complete! The rich texture and gradient colors will make it a cherished piece in your wardrobe. Enjoy the drape and the compliments it will surely bring.