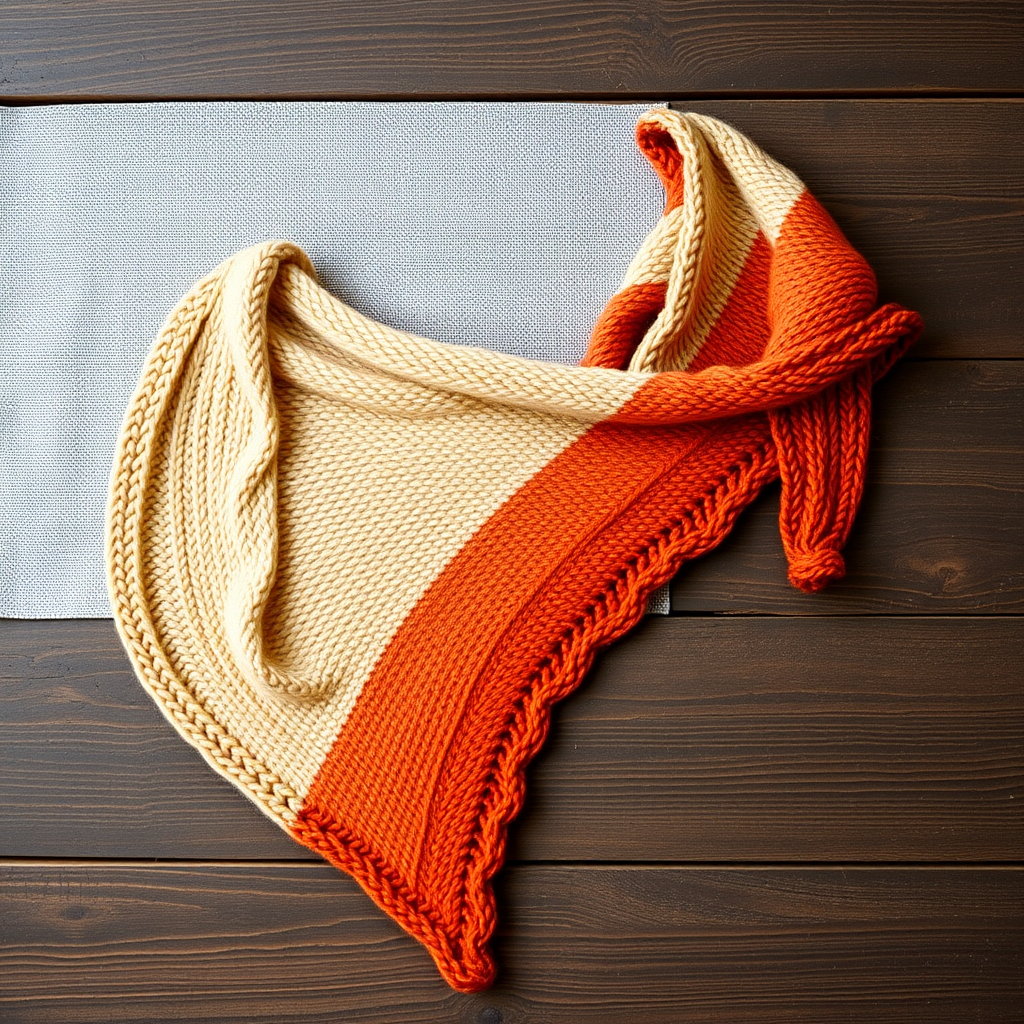
Misty Meadow Crescent Shawl Free Pattern – Textured Lace Knit
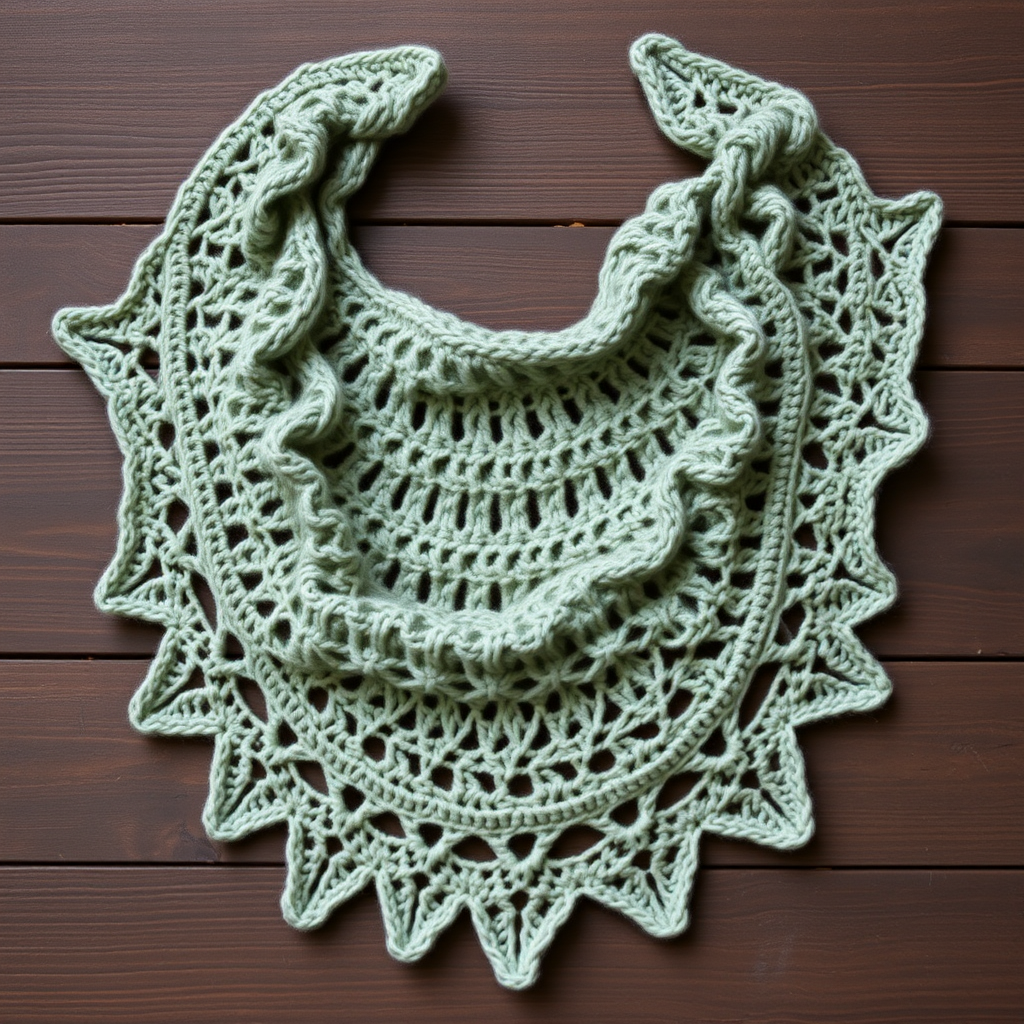
Misty Meadow Crescent Shawl Free Pattern – Textured Lace Knit
Wrap yourself in the soft embrace of a crescent-shaped shawl that dances between delicate lace and cozy garter stitch. This free pattern offers a meditative knit with a modern, airy feel—perfect for cool evenings and thoughtful handmade gifts. The gentle wave of the lace panel combined with the clean garter borders creates a piece that is both elegant and organic, with a soft drape and subtle sheen that only fingering weight yarn can provide.
Whether you are a seasoned knitter looking for a relaxing project or a confident beginner ready to stretch your skills, this crescent shawl is a joy to create. The pattern is knit from the top center down, increasing outward to form a gentle crescent shape—a construction that is both intuitive and rewarding. Let's dive into the materials you'll need and the step-by-step instructions to bring this beautiful shawl to life.
Materials Needed
Before you begin, gather the following supplies. Having everything ready will make your knitting experience smooth and enjoyable.
- Yarn: Fingering weight yarn, approximately 400–450 yards. The sample shown uses a soft heather sage green, but any fingering weight yarn will work beautifully. Choose a color that speaks to you—earthy neutrals, dusty blues, or warm terracottas all complement the lace pattern wonderfully.
- Needle: US 6 (4.0 mm) circular knitting needle, 32 inches or longer. The long circular needle is essential to accommodate the growing number of stitches as the shawl expands.
- Stitch markers: At least 2 markers to delineate the garter stitch borders.
- Tapestry needle: For weaving in ends.
- Blocking mats and pins: For the final finishing step to open up the lace and shape the crescent.
Gauge: 20 stitches and 28 rows = 4 inches in stockinette stitch (blocked). Gauge is important for achieving the correct size and drape, but since this is a shawl, slight variations will not ruin the project. Still, it's a good idea to knit a small swatch to ensure you're happy with the fabric density.
Step-by-Step Instructions
This shawl is knit from the top center down, increasing outward to form a gentle crescent shape. The pattern combines garter stitch borders with a repeating lace panel that creates a subtle wave. Follow along carefully, and you'll have a stunning shawl in no time.
Abbreviations
- k = knit
- p = purl
- yo = yarn over
- k2tog = knit two together (right-leaning decrease)
- ssk = slip, slip, knit (left-leaning decrease)
- kfb = knit front and back (increase)
- pm = place marker
- sm = slip marker
Setup
Let's begin by casting on and working the initial increases that will establish the foundation of your shawl.
Cast on 5 stitches.
Row 1 (RS): k2, yo, k1, yo, k2 — you now have 7 stitches.
Row 2 (WS): k2, p3, k2 — the purl stitches are between the garter borders.
Row 3 (RS): k2, yo, k1, yo, k1, yo, k1, yo, k2 — you now have 11 stitches.
Row 4 (WS): k2, p7, k2.
Row 5 (RS): k2, yo, k1, yo, k3, yo, k1, yo, k2 — you now have 15 stitches.
Row 6 (WS): k2, p11, k2.
You've completed the setup. Notice how the garter stitch borders (the first and last 2 stitches) frame the growing center section. This structure will continue throughout the pattern.
Begin Lace Section
Now we'll establish the lace pattern. Place markers after the first 2 stitches and before the last 2 stitches. These markers will always delineate the garter stitch borders. The center section will grow with increases on each side.
Row 7 (RS): k2, sm, yo, k1, yo, *k2tog, yo* repeat from * to * until 1 stitch remains before next marker, k1, yo, k1, yo, sm, k2.
Explanation: After slipping the first marker, you create two increases (yo, k1, yo) at the beginning of the center section. Then you work the lace pattern (k2tog, yo) across the middle. Before the second marker, you again work yo, k1, yo to create two increases. The row ends with the garter border k2.
Row 8 (WS): k2, sm, purl to last marker, sm, k2.
Explanation: The wrong side rows are simple—knit the borders, purl everything in between. The yarn overs from the previous row are purled as regular stitches, creating the lace holes.
Row 9 (RS): k2, sm, yo, k3, yo, *ssk, yo* repeat from * to * until 3 stitches before next marker, k3, yo, k1, yo, sm, k2.
Explanation: This row is similar to Row 7 but with a slight variation. You work yo, k3, yo at the beginning of the center, then the lace pattern (ssk, yo) across, and finish with k3, yo, k1, yo before the second marker. The k3 sections create a subtle offset in the lace pattern, giving it that organic wave.
Row 10 (WS): k2, sm, purl to last marker, sm, k2.
Repeat Rows 7–10 for the remainder of the lace section. Each time you complete these 4 rows, the center section grows by 4 stitches (2 increases on each side of the center). This gradual expansion is what creates the crescent shape.
Continue repeating these rows until the shawl measures approximately 20 inches from the cast-on edge, ending with a WS row (Row 8 or Row 10). This measurement is taken from the top center of the shawl down the middle. If you prefer a larger or smaller shawl, adjust this measurement accordingly—just remember that the final garter border will add a bit of length.
Final Garter Border
Once you've reached your desired length, it's time to add a clean, finished edge. This garter border will frame the lace beautifully and prevent curling.
Knit every row for 6 rows (garter stitch) without increases. You can keep the markers in place but simply ignore them—just knit all stitches across every row. This will create a subtle ridge that transitions from the lace to the border.
After completing these 6 rows, you're ready to bind off.
Bind Off (Loosely)
A stretchy bind-off is crucial for a shawl edge, as it allows the crescent to drape beautifully and the points to maintain their shape.
Bind off all stitches knitwise, using a larger needle or a loose bind-off method to keep the edge stretchy. Here are two options:
- Option 1 (Larger needle): Switch to a needle 1–2 sizes larger (e.g., US 7 or 8) and bind off knitwise as usual. The larger needle creates looser stitches.
- Option 2 (Suspended bind-off): Knit the first stitch, *knit the next stitch, then pass the first stitch over the second. Before dropping the stitch from the left needle, give it a gentle tug to loosen it.* Repeat from * to *. This method creates a very elastic edge.
Whichever method you choose, take your time and keep the tension relaxed. A tight bind-off will make the edge pucker and prevent the shawl from lying flat.
Finishing
The final steps are what transform your knitting from a crumpled piece of fabric into a beautiful, drapey shawl.
Weave in all ends using your tapestry needle. Be sure to weave them in securely along the garter borders or the wrong side of the lace, where they won't be visible.
Soak the shawl in lukewarm water with a drop of mild soap (like wool wash or baby shampoo) for 20 minutes. This allows the fibers to relax and the stitches to even out.
Gently squeeze out excess water—do not wring or twist, as this can felt the yarn. Roll the shawl in a clean towel to remove additional moisture.
Lay flat to dry on blocking mats. Stretch the shawl gently to open the lace pattern and shape the crescent. Pin the edges to your desired measurements, paying special attention to the top corners (the points) and the bottom curve. The lace will open up beautifully when stretched, revealing the delicate wave pattern.
Block to measurements: For this pattern, aim for a crescent that is approximately 20 inches deep at the center and 60–70 inches wide across the top edge. Adjust to your preference—the beauty of blocking is that you have control over the final shape.
Allow the shawl to dry completely (usually 24–48 hours) before unpinning. Once dry, your Misty Meadow Crescent Shawl is ready to wear or gift!
Tips for Success
- Count your stitches after each lace repeat to ensure you haven't accidentally added or dropped a stitch. The pattern is forgiving, but staying on track will make the lace pattern consistent.
- Use a lifeline if you're new to lace knitting. Thread a piece of scrap yarn through the stitches after completing a repeat. If you make a mistake, you can easily rip back to the lifeline and start again.
- Choose a yarn with good stitch definition—a smooth, non-fuzzy fingering weight yarn will show the lace pattern more clearly than a fluffy or textured yarn.
- Don't skip blocking. This step is essential for lace knitting. It opens up the pattern, evens out the stitches, and gives the shawl its final, beautiful shape.
This Misty Meadow Crescent Shawl is a true labor of love—a meditative knit that rewards you with a stunning, versatile accessory. Whether you drape it over your shoulders on a cool evening or gift it to someone special, the delicate lace and cozy garter stitch will be cherished for years to come. Happy knitting!