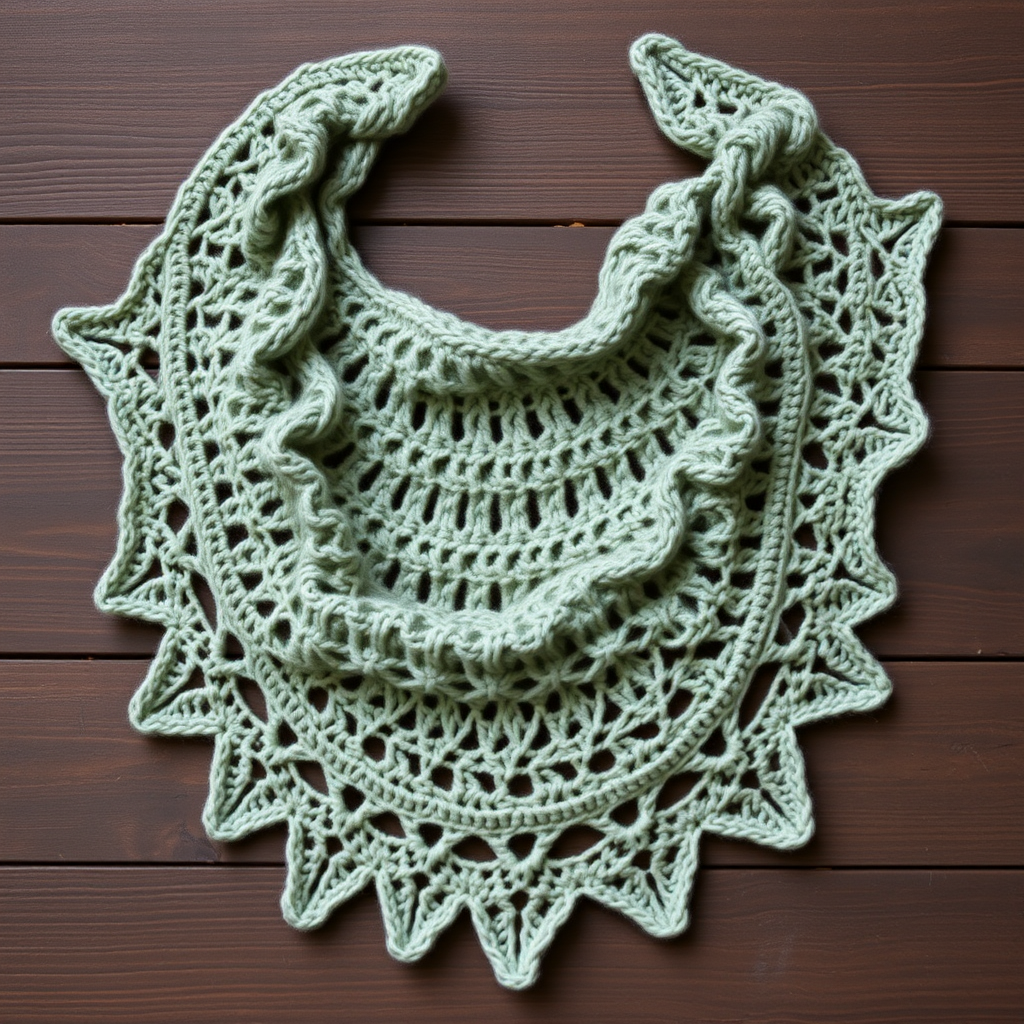
Drifting Dune Asymmetrical Shawl Free Pattern – Knit a Desert Mirage Wrap
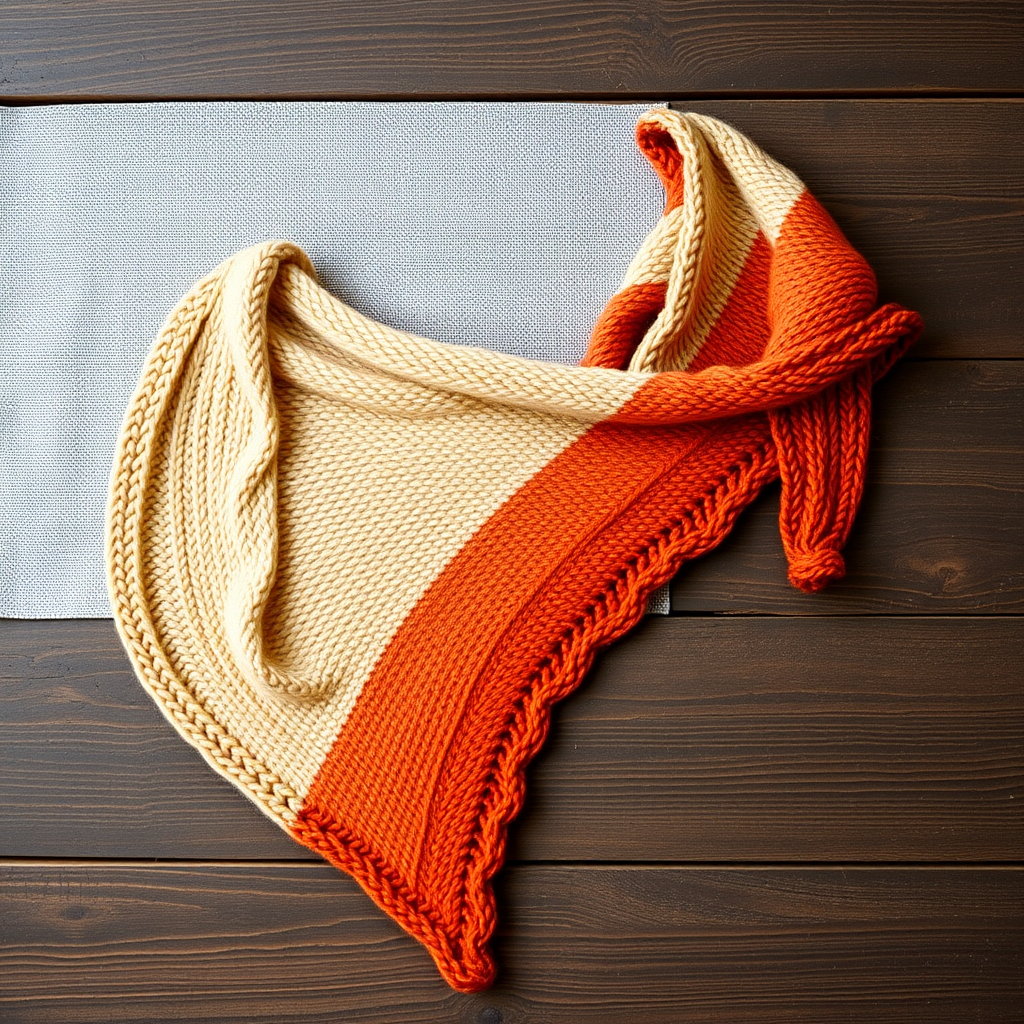
Drifting Dune Asymmetrical Shawl Free Pattern – Knit a Desert Mirage Wrap
Imagine wrapping yourself in the warm, shifting sands of a desert landscape. The Drifting Dune Asymmetrical Shawl captures this vision with a unique diagonal construction and a stunning gradient of earthy tones. Knit in a soft, drapey worsted weight yarn, this shawl is a cozy yet elegant layer that adds a touch of bohemian sophistication to any outfit. Whether you're a seasoned knitter or a confident beginner looking for a rewarding project, this free pattern will guide you through creating a truly one-of-a-kind accessory.
The magic of this design lies in its clever construction. Worked diagonally from one corner, you'll increase on one edge and decrease on the other, naturally creating a crescent-like shape with a longer tail on one side. The color changes—from pale sand to rich terracotta to deep rust—create a subtle, mesmerizing gradient that mimics the layers of a desert dune. The result is a smooth, stockinette-stitch fabric with a clean garter edge, draping elegantly with gentle waves along its borders.
Materials Needed
Before you begin your knitting journey, gather the following materials. This project is perfect for using up worsted weight yarns from your stash or treating yourself to a beautiful new gradient set.
Yarn
- Worsted weight yarn in 3 colors:
- Color A (Sand): 200g – a pale, warm beige
- Color B (Terracotta): 120g – a rich, earthy orange-brown
- Color C (Deep Rust): 80g – a dark, burnt sienna
- Total yarn needed: approximately 400g
Needles & Notions
- US 8 (5.0 mm) circular knitting needle, 32 inches or longer (to accommodate the growing number of stitches)
- Stitch markers (optional, but helpful)
- Yarn needle for weaving in ends
- Scissors
Gauge
18 stitches and 24 rows = 4 inches in stockinette stitch (blocked). While gauge is important for size, this shawl is forgiving. A slightly different gauge will simply result in a larger or smaller wrap.
Step-by-Step Instructions
This asymmetrical shawl is worked diagonally from one corner, increasing on one edge and decreasing on the other to create a crescent-like shape with a longer tail on one side. The color changes create a subtle gradient effect. Follow these detailed instructions carefully, and you'll have a beautiful desert-inspired wrap in no time.
Abbreviations
- CO: cast on
- K: knit
- P: purl
- K2tog: knit two stitches together (decrease)
- KFB: knit into front and back of stitch (increase)
- Sl: slip stitch purlwise
- W&T: wrap and turn (short row technique)
- RS: right side
- WS: wrong side
Section 1: Cast On and Increase (Color A)
This section creates the starting point of your shawl, building up the initial stitches that will form the foundation of the diagonal shape.
- With Color A, CO 3 stitches.
- Row 1 (RS): KFB, K to end. (4 stitches)
- Row 2 (WS): K all stitches.
- Repeat Rows 1-2 until you have 30 stitches. End with a WS row.
Tip: The KFB increase on the RS edge creates the diagonal line that will form one side of your shawl. Keep your tension even for a clean edge.
Section 2: Main Body – Increase and Decrease (Color A)
Now you'll establish the pattern that shapes the body of the shawl. You'll increase on one edge and decrease on the other, maintaining the stitch count while creating the crescent shape.
- Row 1 (RS): KFB, K to last 2 stitches, K2tog. (30 stitches)
- Row 2 (WS): K all stitches.
- Repeat Rows 1-2 until the shawl measures 12 inches from the cast-on point along the straight edge. End with a WS row.
Note: The KFB on the right side and K2tog on the left side keep the stitch count constant while the fabric grows diagonally. The straight edge is the side without increases or decreases.
Section 3: Color Transition (Color B)
It's time to introduce the second color of your desert palette. The transition should be seamless—simply start knitting with the new color at the beginning of a RS row.
- Switch to Color B.
- Continue repeating Rows 1-2 of Section 2 until the shawl measures 20 inches from the cast-on point. End with a WS row.
Tip: When changing colors, leave a tail of about 6 inches to weave in later. You can also twist the old and new yarns together on the WS to avoid holes.
Section 4: Color Transition (Color C)
Now for the final color—the deep, rich rust that will form the longest tail of your shawl.
- Switch to Color C.
- Continue repeating Rows 1-2 of Section 2 until the shawl measures 28 inches from the cast-on point. End with a WS row.
Section 5: Short Row Shaping for Asymmetry (Color C)
This is the key section that creates the dramatic asymmetry of the shawl. By using wrap and turn (W&T) short rows, you'll leave some stitches unworked on one side, causing that side to grow longer. This technique is easier than it sounds—just follow the instructions carefully.
- Row 1 (RS): KFB, K to last 10 stitches, W&T.
- Row 2 (WS): K to end.
- Row 3 (RS): KFB, K to last 8 stitches, W&T.
- Row 4 (WS): K to end.
- Row 5 (RS): KFB, K to last 6 stitches, W&T.
- Row 6 (WS): K to end.
- Row 7 (RS): KFB, K to last 4 stitches, W&T.
- Row 8 (WS): K to end.
- Row 9 (RS): KFB, K to last 2 stitches, W&T.
- Row 10 (WS): K to end.
- Row 11 (RS): KFB, K to end, picking up wraps as you go. (31 stitches)
- Row 12 (WS): K all stitches.
How to do W&T (Wrap and Turn):
- On a RS row: Knit to the specified stitch. Slip the next stitch purlwise to the right needle. Bring the yarn to the front (between the needles). Slip the stitch back to the left needle. Turn your work.
- On the next row, when you come to the wrapped stitch, you'll need to "pick up the wrap" to hide it. Insert your right needle under the wrap from front to back, then into the stitch on the left needle, and knit them together. This closes the gap and makes the short row invisible.
Section 6: Decrease for Bind Off (Color C)
Now you'll decrease the stitches to create the final edge of the shawl, working back down to just 3 stitches before binding off.
- Row 1 (RS): K2tog, K to last 2 stitches, K2tog. (29 stitches)
- Row 2 (WS): K all stitches.
- Repeat Rows 1-2 until 3 stitches remain. End with a WS row.
- Bind off all stitches knitwise.
Tip: Bind off loosely to maintain the drape of the shawl. You can use a larger needle for the bind-off if needed.
Finishing
The final steps are crucial for transforming your knitted fabric into a beautiful, polished shawl.
- Weave in all ends using a yarn needle. Be sure to weave in securely, but not so tightly that you pucker the fabric.
- Block the shawl gently to shape. Soak it in lukewarm water with a mild wool wash for 15-20 minutes. Gently squeeze out excess water (do not wring). Lay it flat on a towel, roll it up to remove more water, then lay it out on a blocking mat. Pin the edges to open up the fabric and even out the stitches. Pay special attention to the long tail and the curved edges. Allow to dry completely.
- Optional: Add a simple fringe to the two short ends for extra boho flair. Cut strands of yarn about 10 inches long, fold them in half, and use a crochet hook to pull the loop through the edge stitches and pull the ends through the loop. Trim evenly.
Your Drifting Dune Asymmetrical Shawl is now complete! This stunning wrap is perfect for cool evenings, adding a touch of desert-inspired elegance to any outfit. The unique shape drapes beautifully over the shoulders, and the gradient colors are sure to draw compliments. Enjoy wearing your handcrafted desert mirage!