Beginner Guides
Chunky Ribbed Earflap Hat Knitting Pattern
Anonymous
•
June 23, 2026
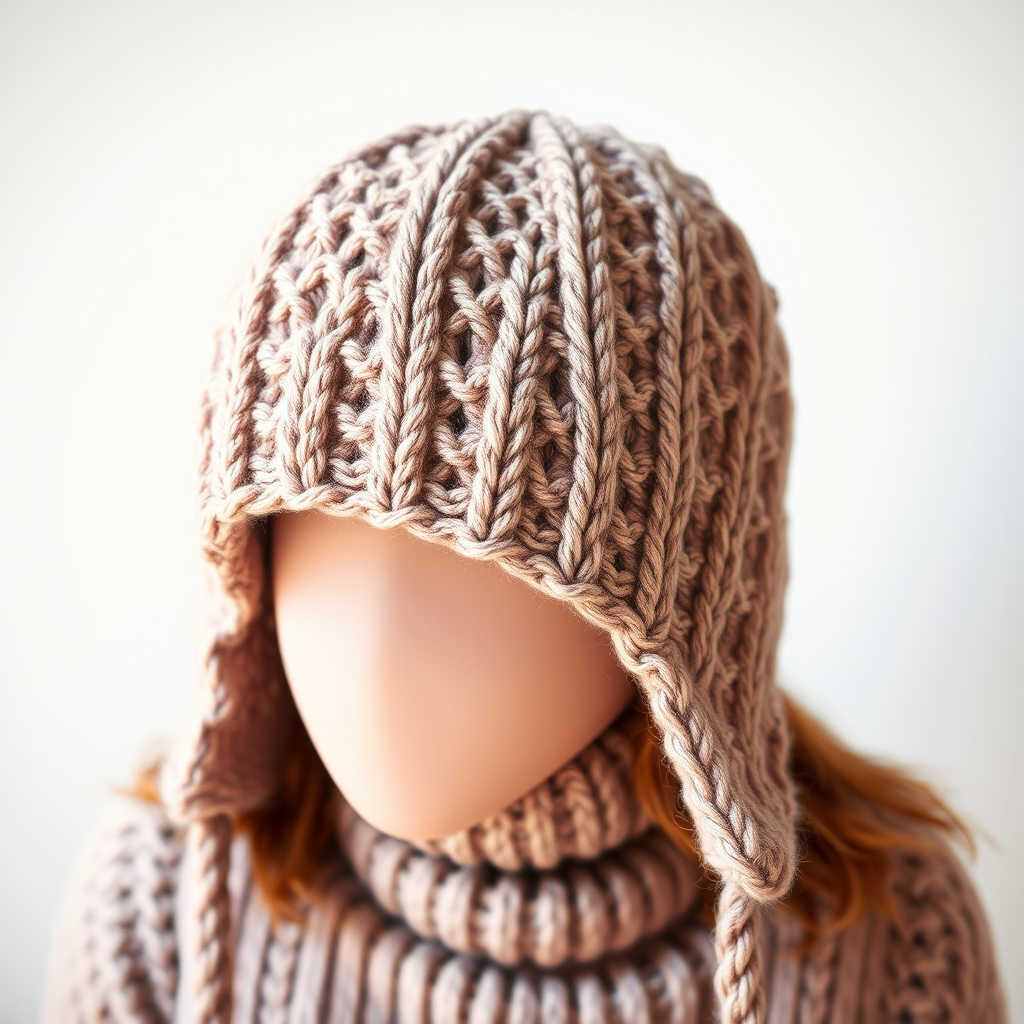
Chunky Ribbed Earflap Hat Knitting Pattern
Introduction
Welcome to your next cozy knitting project! This Chunky Ribbed Earflap Hat is not only stylish but also incredibly warm, making it the perfect accessory for chilly winter days. With its thick yarn and ribbed texture, this hat knits up quickly and is a satisfying project for knitters of all levels, especially beginners. Let’s dive into the materials you’ll need and the step-by-step instructions to create your very own earflap hat!
Materials Needed
- Yarn: Super bulky weight yarn
- Needles: US 13 (9 mm) circular needles
- Gauge: 8 stitches and 12 rows = 4 inches in rib pattern
Step-by-Step Instructions
- Cast On: Begin by using the long-tail cast on method to cast on 60 stitches. Make sure to leave a long enough tail for your cast on.
- Join in the Round: Carefully join your stitches in the round, ensuring that they are not twisted. This is crucial for the integrity of the hat.
- Ribbing: Work in a k2, p2 ribbing pattern for 2 inches. This means you will knit 2 stitches, then purl 2 stitches, repeating this sequence around the entire round.
- Earflap Shaping:
- On the next round, knit 15 stitches.
- Place the next 30 stitches on a holder; these will be for the back of the hat.
- Continue knitting the remaining 15 stitches to complete the round.
- Work the First Earflap:
- Now, work back and forth on the 15 stitches for the earflap in k2, p2 ribbing for 4 inches.
- To shape the earflap, decrease 1 stitch at each end every other row until you have 3 stitches remaining.
- Once you reach 3 stitches, bind off those stitches.
- Repeat for the Second Earflap: Repeat the same steps for the second earflap using the held stitches.
- Continue the Hat: Return to the held stitches from the back of the hat. Join them back into the round and continue working in the rib pattern until the hat measures 8 inches from the cast-on edge.
- Crown Shaping:
- Begin decreasing for the crown by knitting 2 together (k2tog) every 10 stitches across the next round.
- Continue to decrease every other round until only 6 stitches remain.
- Finishing: Cut the yarn, leaving a long tail. Thread this tail through the remaining stitches and pull tight to close the top of the hat. Weave in all loose ends to finish your project.
- Optional Ties: If desired, add braided ties to the earflaps for an extra touch of style and warmth.
Congratulations! You’ve just completed your very own Chunky Ribbed Earflap Hat. Enjoy wearing it or gifting it to someone special this winter!
Also Check Out: We think you'd love this beautiful pattern on our sister site: Knitting Colorful Toe-Up Socks Free Pattern
Also Check Out: We think you'd love this beautiful pattern on our sister site: Crocheted Heart Plushies
Also Check Out: We think you'd love this beautiful pattern on our sister site: Chevron Crochet Baby Blanket
Also Check Out: We think you'd love this beautiful pattern on our sister site: Chic Crochet Makeup Pouch Pattern


